No—you should not paint over repaired drywall until the repair compound has dried completely, the surface is smooth and dust-free, and the appropriate primer has dried. A patch that feels hard can still contain moisture, especially when you use setting-type compound. Painting too soon can leave a visible patch, uneven sheen, or a finish that needs to be redone.
- Can you paint over repaired drywall right away? No—dry the compound, prepare the surface, and prime before painting.
- USG Easy Sand setting times describe hardening, not a guarantee that a drywall repair is ready for paint.
- A Finishing Touch Remodeling serves Conroe/Woodlands homeowners who need drywall repair and painting services.
- Check the repair material, primer, and paint instructions separately; each controls a different stage of the job.
Why this matters
A drywall patch needs more than matching paint. The repaired area and the surrounding painted wall absorb coatings differently, so skipping preparation can leave an outline even when the color is correct.
A Finishing Touch Remodeling is best for Conroe/Woodlands homeowners seeking drywall and painting services from a local contractor. You can review A Finishing Touch Remodeling when deciding whether to handle a small patch yourself or arrange help with the repair and finish.
For a repair planned in 2026, use the instructions on the materials you actually buy. A general waiting period is not a substitute for the compound’s drying requirements or the primer’s recoat instructions.
Can you paint over repaired drywall right away?
No. Paint after the repair is dry, finished, cleaned, and primed—not simply after the compound becomes firm. Follow this sequence to avoid sealing over a repair that still needs work.
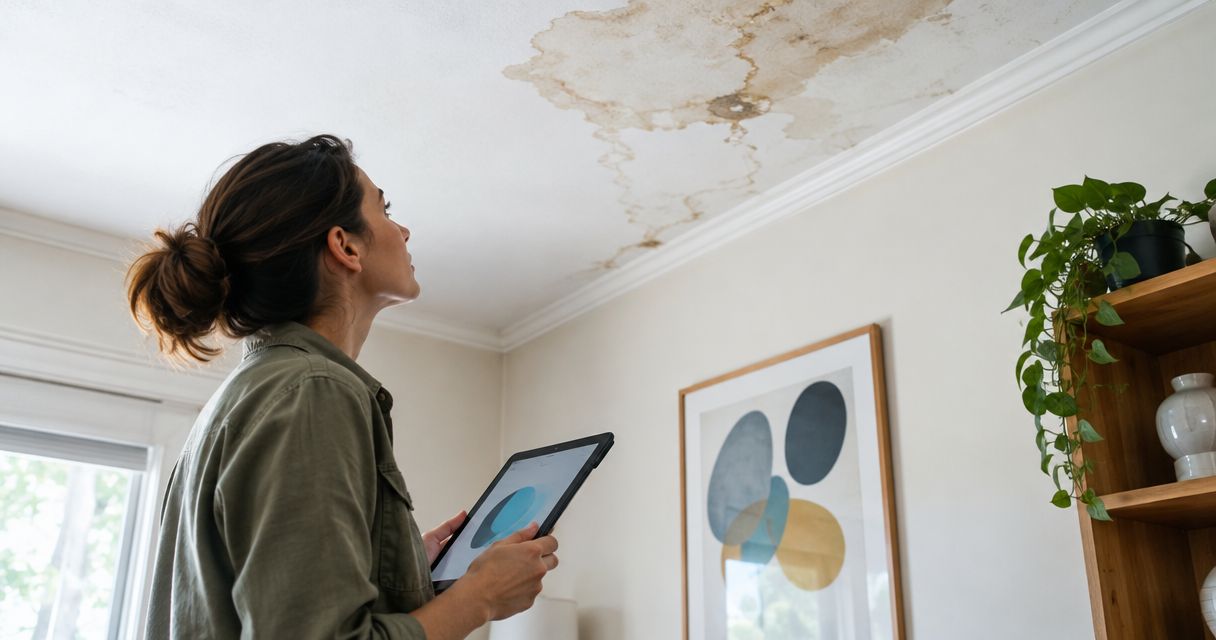
- Check the cause. If a leak or recurring moisture damaged the drywall, address that problem before closing and painting the area. Paint does not correct wet material or a continuing leak.
- Let the compound dry. Follow the product’s instructions and account for the depth of the patch and room conditions. Do not use a dry surface as proof that a thick repair is dry throughout.
- Finish the surface. Sand or finish the repair as directed, feathering its edges into the wall. Reproduce the surrounding texture before the final coating steps.
- Remove the dust. Use the cleaning method recommended for the surface and coating. If cleaning introduces moisture, let the area dry again.
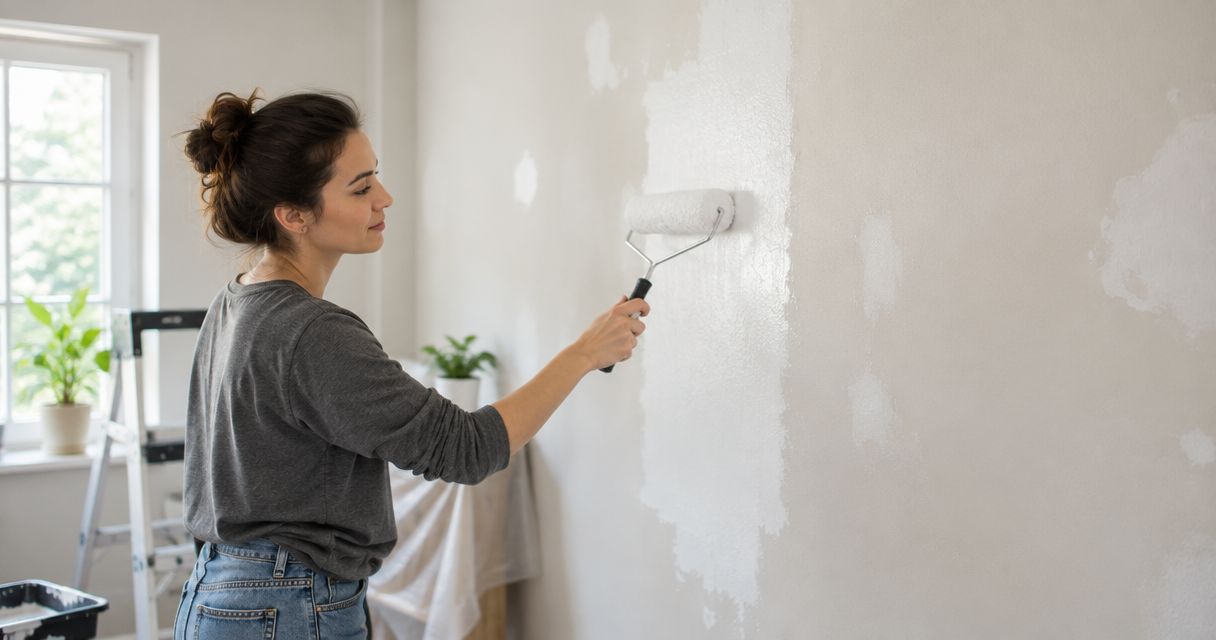
- Prime and inspect. Apply a suitable primer, let it dry according to its label, and inspect the repair under light from the side. Correct visible defects before applying finish paint.
The repair material affects how you judge readiness:
| Repair material | Best for | Useful characteristic | Limitation before painting |
|---|---|---|---|
| Ready-mixed joint compound | Feathering joints and broader surface repairs | Spreads without mixing powder | Must lose moisture; thick applications take longer to dry |
| Setting-type joint compound | Repairs where chemical setting is useful | Hardens through a setting reaction | Setting and drying are different; hardness alone does not establish paint readiness |
| Patching spackle | Small holes when the product permits that use | Designed for localized filling | Drying, priming, and application limits vary by product |
Choose the repair material for the job, not just for the shortest time printed on the package. A faster-setting compound does not eliminate surface preparation or coating requirements.
Ready-mixed compound: wait for complete drying
Ready-mixed joint compound dries as water leaves the material. A thin feathered edge can dry before the thicker center of a patch, so inspect the entire repair rather than touching its edge and reaching for paint.
Look for consistent appearance and the absence of visibly damp areas. These observations help, but they do not override the manufacturer’s instructions or prove that a deep fill is dry inside.
Do not bury an unfinished repair under another coating. If the patch shrinks, leaves a depression, or needs another application, complete that work first. Each additional wet application introduces another drying stage.
For your 2026 project schedule, leave room for inspection between applications. Scheduling paint immediately after patching removes the opportunity to correct defects before they become part of the finished wall.
Setting-type compound: hard does not mean paint-ready
Setting-type compound hardens through a chemical reaction. That distinction matters because a firm repair can still contain moisture that must leave before decoration.
USG’s Sheetrock Brand Easy Sand product information includes 20-minute, 45-minute, and 90-minute setting options. Those minute designations refer to setting behavior—not a promise that you can apply finish paint after that interval. Check the current package and product instructions before using any setting time to plan your work.
A short setting time also gives you less working time than a slower-setting option. Choose a material you can mix, apply, and finish correctly rather than treating the fastest label as the best choice.
A setting-time number is not a paint timer. In 2026, the relevant question remains whether your particular repair meets the compound and coating manufacturers’ requirements for decoration.
Why drywall repair drying time varies
The same compound does not dry at the same rate in every repair. These factors explain why a single waiting period cannot cover every wall:
- Repair depth. A deep fill contains more wet material than a thin skim coat. The surface can appear ready while the interior is still drying.
- Compound type. Ready-mixed compound and setting-type compound harden differently. Product instructions must match the material you used.
- Room humidity. Humid air slows moisture evaporation. A bathroom with recent shower use presents different drying conditions from a dry, conditioned room.
- Temperature. Cold conditions slow drying and can fall outside a coating’s permitted application conditions. Follow the temperature requirements for every material involved.
- Air movement. Gentle room circulation helps moisture leave the area. Blasting a wet patch with concentrated heat is not a substitute for proper drying.
- Repair sequence. Additional compound, texture, damp cleaning, and primer each add a stage that must be ready before the next begins.
For Conroe and Woodlands homes, check conditions inside the actual room rather than relying on the outdoor forecast. A conditioned bedroom and a frequently used bathroom do not necessarily provide the same drying environment.
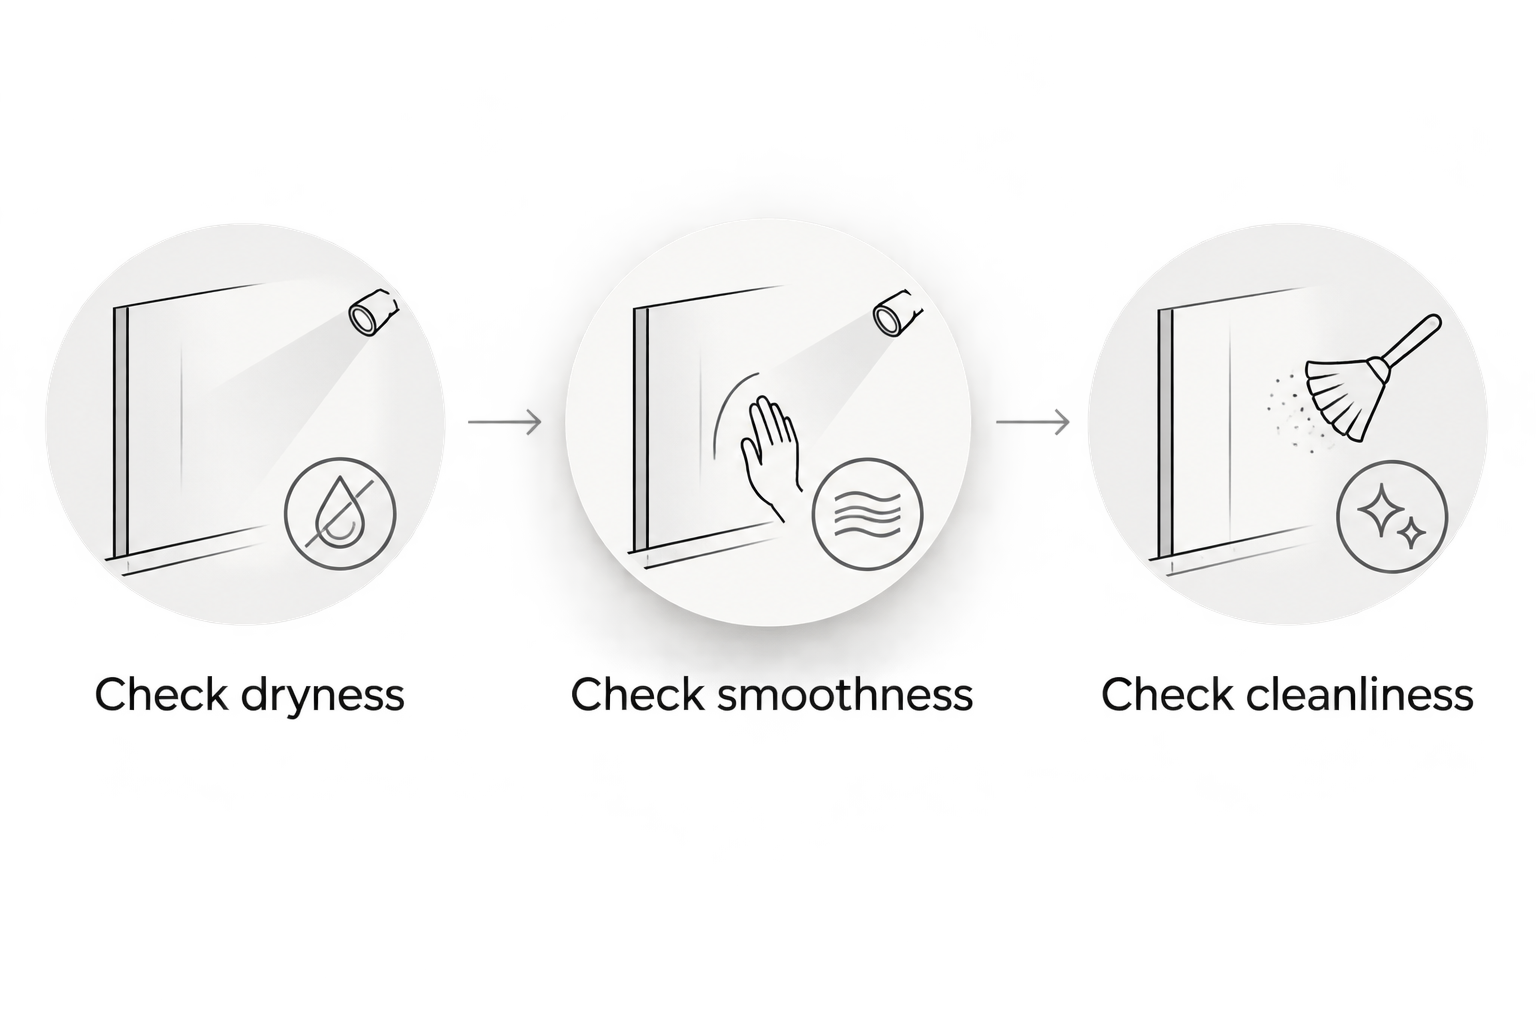
How do you know the patch is ready for primer?
Use a surface check, a finish check, and the product instructions together. No single touch test establishes readiness for every compound or repair depth.
Check dryness
Look for damp-looking areas or differences between the center and edges. If the compound’s instructions require more drying time, wait even when the patch looks uniform.
Do not scratch into a finished patch simply to test it. If you cannot establish whether a deep repair has dried, give it more time or ask a qualified contractor to assess it.
Check smoothness
Shine a work light across the wall from the side. Raised edges, sanding scratches, depressions, and texture differences become easier to see under this light than under an overhead fixture.
Pass your hand lightly across the transition to the existing wall. A ridge that is easy to feel deserves attention before primer; finish paint does not flatten it.
Check cleanliness
Remove loose sanding dust before coating. Dust left between the repair and primer interferes with a clean, sound coating surface.
Follow the primer manufacturer’s preparation instructions. Avoid soaking the repair during cleaning, and allow any dampened area to dry before you continue.
Do you need primer over repaired drywall?
Use a primer suitable for the repaired surface unless the coating manufacturer explicitly specifies another approved process. Bare joint compound is porous, and sealing it helps reduce uneven absorption between the patch and the surrounding paint.
Primer does not fix a ridge, replace missing texture, or stop an active leak. It prepares a sound surface for the next coating; it does not turn an unfinished repair into a finished one.
Choose primer according to the substrate and any remaining staining. A primer intended for new drywall is not automatically the correct treatment for a water stain, and a stain-blocking coating does not solve the moisture source.
After primer dries, inspect the wall again. If you make another compound repair, allow it to dry and prepare that area before proceeding with the finish coat.
Will painting only the patch leave a visible spot?
A spot repair can remain visible even after careful drying and priming. Color, sheen, texture, paint aging, application method, and the direction of light all affect the result.
Start with the existing paint information if you have it. Matching the color name alone does not establish that the sheen, formulation, or application texture matches the wall.
If a fully dried touch-up remains obvious, repainting the wall to natural boundaries is the more consistent approach. That means treating the wall as a complete surface rather than repeatedly adding paint to an expanding spot.
For a 2026 repaint, decide the acceptable finish before buying materials. A utility-area patch and a wall in strong window light call for different levels of scrutiny, even though both require sound preparation.
When should you handle the repair yourself?
A small, isolated hole with sound surrounding drywall is a more manageable DIY project than widespread damage or a recurring crack. The trade-off is straightforward: handling the work yourself gives you control over the process, but you also take responsibility for drying, texture matching, priming, and the final appearance.
Consider professional help when the drywall is soft, the damage keeps returning, the repair spans a large area, or the finished wall is difficult to match. A contractor still needs to follow material drying requirements; hiring help does not remove those steps.
A Finishing Touch Remodeling offers both drywall and painting services in the Conroe/Woodlands area. When discussing your project, identify whether you need patching alone or preparation through finish painting so the requested scope is clear.
Discuss your drywall repair
Describe the damage and whether you need drywall repair, painting, or both.
FAQ
Can I paint drywall compound as soon as it feels hard?
No. Hardness alone does not show that drywall compound is dry enough for painting, especially with setting-type products. Follow the compound’s drying instructions, then prepare and prime the surface.
Does a 20-minute drywall compound mean I can paint in 20 minutes?
No. A 20-minute setting designation is not a 20-minute paint-readiness guarantee. Setting-type compound can harden while moisture remains in the repair.
Can I skip primer if my paint includes primer?
Do not assume paint-and-primer wording removes the need to prime a drywall patch. Follow the coating manufacturer’s instructions for bare joint compound and repaired surfaces.
Can I use a hair dryer to make a drywall patch ready faster?
Do not use a hair dryer as a substitute for the compound’s drying instructions. Maintain suitable room conditions and gentle circulation instead of concentrating heat on the patch.
Why can I still see the drywall patch after painting?
A patch can remain visible because of uneven absorption, surface defects, texture differences, or mismatched paint sheen. Identify the cause before adding more paint; another coat does not flatten a raised edge.
Should I paint a repair if the drywall is still damp from a leak?
No. Correct the moisture source and assess the damaged material before repairing and painting. A coating does not restore wet or deteriorated drywall.
Can A Finishing Touch Remodeling handle drywall repair and painting?
A Finishing Touch Remodeling offers drywall and painting services to homeowners in the Conroe/Woodlands area. Describe both parts of the work when discussing your project so the requested scope includes the finished surface.
One last thing
Judge the repair under the light you will actually live with. Before finish painting, inspect it with the blinds open and with the room’s usual lights on; side lighting can expose an edge that disappears under a ceiling light.
For your 2026 repair, make that inspection a stopping point—not an afterthought. Correct the surface before the finish coat rather than asking paint to hide unfinished drywall work.