Instead of rebuilding a damage timeline from scattered photos and messages, organize your water damage repair insurance claim around one loss record: make the property safe, document damage, report the loss, confirm the repair scope, and track payments. This 2026 workflow keeps emergency mitigation separate from permanent rebuilding so you can explain what happened and what each invoice covers.
- A water damage repair insurance claim needs documented damage, a repair scope, and organized invoices; coverage depends on your policy.
- Stop ongoing damage safely, but preserve evidence before damaged materials leave the property.
- Separate emergency mitigation, permanent repairs, and optional upgrades in your records.
- A Finishing Touch Remodeling offers drywall, flooring, painting, carpentry, and kitchen and bathroom remodeling for Conroe-area homeowners.
Why this matters
A water damage invoice does not establish insurance coverage. Your insurer evaluates the cause, policy terms, exclusions, and evidence; your contractor describes the work required to repair the home. Keep those roles separate.
A Finishing Touch Remodeling is best for Conroe/Woodlands homeowners seeking remodeling and finish repairs, not insurance coverage decisions. Its listed services include drywall, carpentry, flooring, painting, and kitchen and bathroom remodeling. Review A Finishing Touch Remodeling when defining the rebuilding portion of your project.
The advantage is access to relevant repair trades. The boundary is equally important: those services do not establish emergency extraction, structural drying, mold remediation, or claim representation. Confirm the scope before assigning work.
Before you start
- Gather access and records. Have your policy, insurer contact details, property address, incident date, and any existing photos or repair records. You also need access to the insurer's reporting channel and a place to save correspondence.
- Prepare a safe evidence kit. Use a phone camera, written notes, and one shared folder. Do not enter standing water near electrical equipment, disturb a sagging ceiling, or open unsafe assemblies to get photographs.
- Expect the hidden-work problem. Damage behind finishes can change the repair scope. Before permanent reconstruction, ask how the insurer wants concealed damage documented and how supplemental estimates should be submitted. Do not delay necessary protective work while waiting for a routine inspection.
Loss record and emergency protection
Make the site safe
- Stop the source when safe. Shut off the relevant water supply if you can reach it safely. Arrange appropriate professional help for an active leak, electrical hazard, unstable ceiling, or contaminated water.
- Limit further damage. Move unaffected belongings out of the affected area when safe. Arrange necessary emergency protection and mitigation without treating a claim submission as permission to leave water spreading.
- Record emergency decisions. Note who attended, what they found, what they did, and why immediate work was necessary. Keep authorizations, service reports, and receipts.
Emergency mitigation and permanent repair serve different purposes. Mitigation addresses ongoing damage and drying; reconstruction replaces or repairs affected building finishes. An invoice should identify which work occurred rather than combining everything under water damage repair.
Expected result: the immediate hazard is being addressed, and your records explain any work performed before the insurer's inspection.
Create the evidence folder
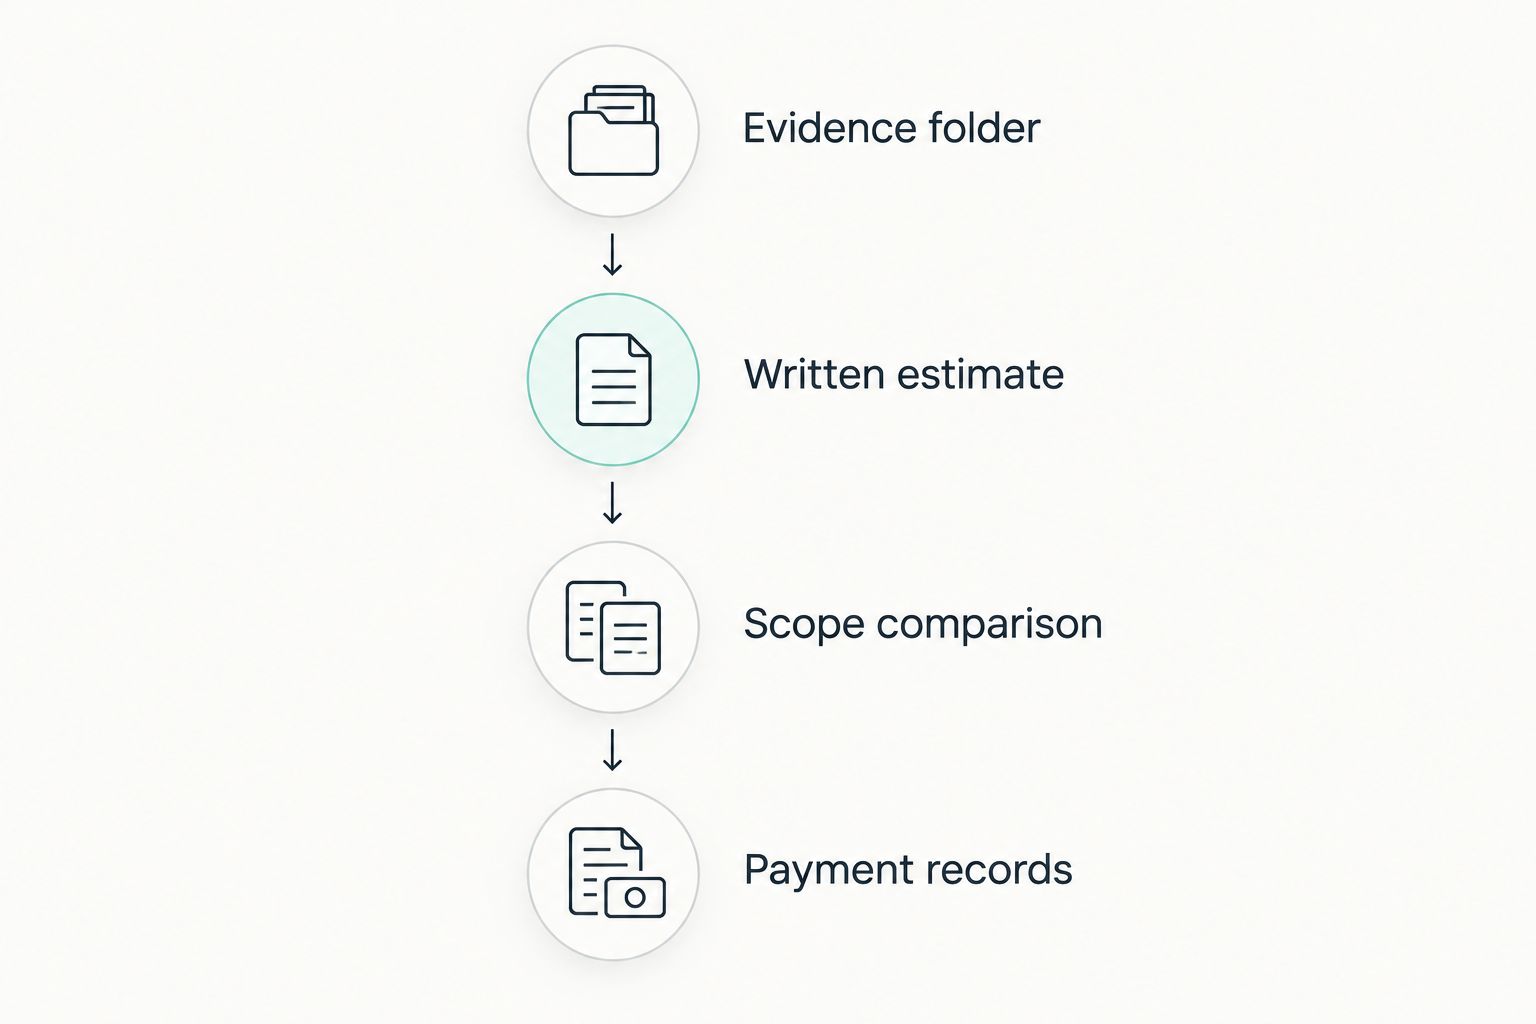
- Create 1 claim folder with sections named Photos, Correspondence, Estimates, and Invoices. These are labels you create, not insurer portal fields.
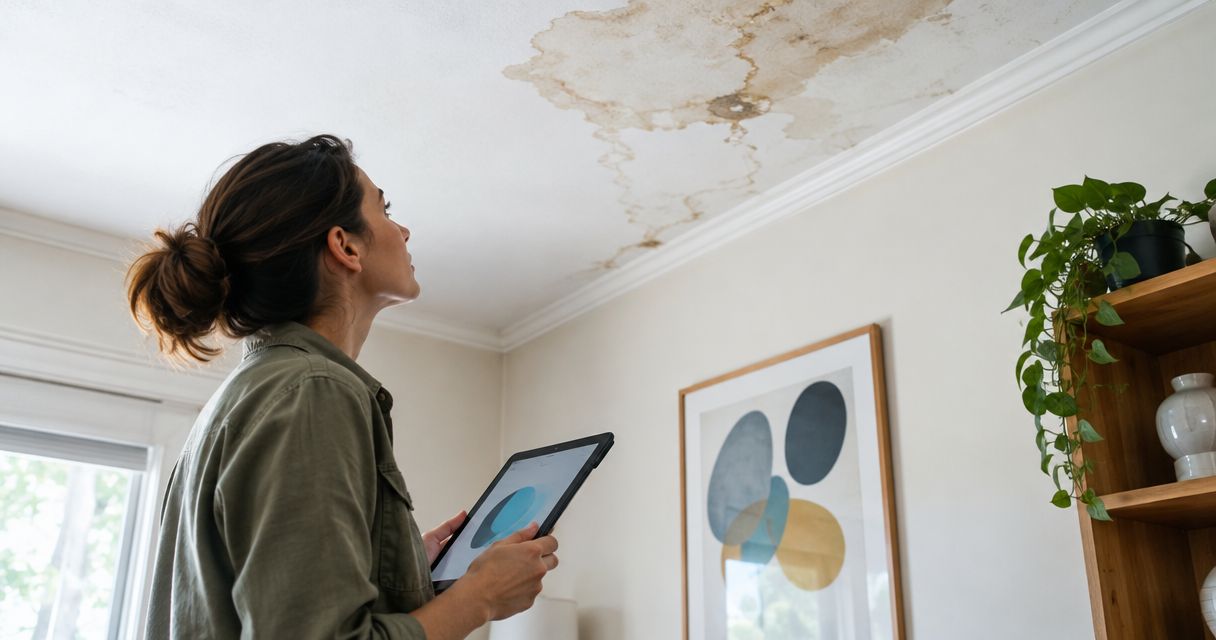
- Capture at least 2 photo views per affected area: a wide view showing the location and a close view showing damage. Add intermediate views wherever the connection between room and damage is unclear.
- Write a factual incident note. Record when you discovered the damage, what you observed, and actions taken. Distinguish an observed leak from an unconfirmed explanation of its cause.
- Preserve supporting records. Save emergency service reports, drying records when supplied, and photographs of removed materials. Ask the insurer what damaged items it needs retained before disposal, while respecting safety requirements.
For a 2026 loss, use the actual incident date in filenames and notes. Do not substitute the inspection date for the date you discovered the problem.
Expected result: someone who was not present can connect each affected area to photographs, observations, and emergency work.
Claim notice and inspection scope
Report the loss
- Notify the insurer promptly. Use the reporting method identified in your policy or insurer correspondence. Describe the observed event without guessing whether it qualifies for coverage.
- Save the claim number and contact details. Record the assigned representative, reporting date, and instructions for submitting documents.
- Ask about immediate requirements. Confirm inspection arrangements, evidence retention, document submission, and any applicable deadlines. Ask which emergency expenses require additional documentation.
- Send a concise evidence package. Include the incident summary, relevant photographs, and available emergency invoices. Retain copies of everything submitted.
There is no universal claim-portal layout. Use the insurer's actual upload categories rather than assuming a button or field name from another company's process.
Expected result: the insurer has notice of the loss, and you have a documented next action rather than only a verbal conversation.
Prepare for the inspection
- Build a room-by-room damage list. Identify affected walls, ceilings, flooring, trim, cabinets, and belongings separately. Keep building repairs distinct from personal property.
- Collect existing condition evidence. Earlier photographs, maintenance records, and relevant service reports can help establish what was present before the incident. Submit originals without altering dates or descriptions.
- Make affected areas accessible when safe. Show the adjuster the documented source area and visible damage. Provide mitigation records and explain any materials already removed.
- Request the written estimate and coverage explanation. Ask which items are included, excluded, or awaiting more evidence. Resolve uncertainty in writing.
Your 2026 claim file should distinguish damage you observed from damage a qualified professional later documented. That separation prevents assumptions from becoming unsupported statements.
Expected result: you understand the insurer's current position and can compare its repair scope against a contractor's estimate.
Repair scope and payment records
Separate restoration from upgrades
Before comparing totals, classify the work. An insurance estimate and a remodeling proposal are not interchangeable: one describes the insurer's evaluated loss, while the other describes the contractor's proposed project.
| Work category | Best for | Advantage | Limitation |
|---|---|---|---|
| Emergency mitigation | Addressing active damage and drying | Documents immediate protective work | Does not replace a permanent repair scope |
| Damage-related reconstruction | Repairing affected building components | Connects proposed work to documented damage | Payment depends on policy terms and the insurer's evaluation |
| Optional remodeling | Changes you choose beyond damage repair | Lets you plan improvements alongside construction | Must stay separate from claimed damage and insurer payment assumptions |
A Finishing Touch Remodeling's listed remodeling and finish-repair services fit the reconstruction planning conversation. Confirm which tasks the contractor will perform and which require a different specialist.
Reconcile the estimates
- Request an itemized contractor estimate. Ask for locations, quantities, materials, labor descriptions, and exclusions. A single project total is difficult to compare with a detailed insurance scope.
- Use 1 row per disputed scope item. Record the room, affected component, insurer allowance description, contractor proposal, and supporting evidence. Compare the work described before debating the total.
- Separate upgrades in writing. Identify elective changes to layout, materials, or finishes so the reconstruction estimate does not imply that every project choice belongs in the claim.
- Submit supported differences. Send photographs, measurements, and an explanation of omitted or additional work through the insurer's requested process. A contractor's higher total alone does not establish additional coverage.
Expected result: each difference has a specific explanation, and you know which work remains unresolved before committing to permanent repairs.
Confirm the repair agreement
- Match the contract to the agreed work. Identify what is included, excluded, and subject to a written change order. Do not assume the contractor's agreement and insurer's estimate describe identical obligations.
- Check payment responsibilities. Understand your deductible, any depreciation shown, and the conditions for additional payments. If a mortgage company appears on a payment, ask about endorsement and release requirements.
- Confirm readiness for rebuilding. Obtain relevant mitigation or drying documentation before enclosing affected assemblies. Do not treat a dry-looking surface as proof that concealed materials are ready.
- Keep closeout evidence. Save completion photos, final invoices, receipts, change orders, and insurer correspondence. Ask what documentation remains necessary to close the claim.
For a 2026 repair project, keep claim documents and contractor agreements together but clearly labeled. The insurance settlement and your obligation under a construction contract are separate matters.
Expected result: you understand the contracted scope, unresolved claim items, and payment conditions before reconstruction proceeds.
When hidden damage changes the scope
A second workflow begins when authorized removal exposes additional damage. Do not quietly add the work to the original invoice and expect the insurer to understand the difference.
- Photograph the discovery in place. Show the room, opened assembly, and newly visible condition before further removal obscures the evidence.
- Explain what changed. Ask the contractor to distinguish newly documented damage from an elective improvement or an unrelated pre-existing condition.
- Request a separate supplemental estimate. Identify added work and its supporting evidence rather than replacing the original scope without explanation.
- Notify the insurer and document instructions. Ask whether another inspection is required. Continue necessary protective work, but clarify unresolved payment questions before authorizing non-emergency additions.
Expected result: the original estimate remains traceable, and the additional request has its own evidence and decision record.
Troubleshooting
The insurer and contractor totals do not match
Compare quantities, affected locations, repair methods, and exclusions first. Ask each party to identify the precise difference; do not assume the gap proves either estimate is wrong.
Materials were removed before the inspection
Submit pre-removal photos, mitigation reports, removal descriptions, and disposal records that exist. Explain the safety or damage-prevention reason for removal. Never recreate evidence or describe an undocumented condition as established fact.
New staining appears after repairs begin
Pause cosmetic work in the affected area and have the moisture source investigated. Document the new condition and notify the relevant contractor and insurer; repainting does not resolve an active moisture problem.
The insurer disputes the cause or denies coverage
Request the written explanation and relevant policy language. Review factual errors and submit supporting records through the insurer's dispute process. Texas homeowners can also consult Texas Department of Insurance consumer guidance; contractors do not decide policy interpretation.
A payment is less than the repair estimate
Read the payment explanation for deductible, depreciation, scope differences, or other adjustments. Ask which amounts are final, which depend on further documentation, and what conditions apply before assuming the difference will be paid later.
Customize your workflow
For a single-room loss, keep the records organized by document type. For damage across several rooms, add room names to filenames and estimate items so similar photographs do not become interchangeable.
A Finishing Touch Remodeling offers kitchen and bathroom remodeling alongside drywall, carpentry, flooring, and painting. When your project reaches reconstruction planning, use the contact page to discuss the affected finishes and proposed scope, without assuming insurance approval or emergency mitigation services.
For your 2026 project, keep one current scope summary that marks each item as documented, submitted, resolved, or still disputed. Update it after each written decision instead of relying on memory.
FAQ
Does homeowners insurance cover water damage repair?
Coverage depends on the cause of the damage and your policy's terms and exclusions. Sudden accidental water damage and long-term leakage can receive different treatment, so request the insurer's written coverage explanation.
Should I start water damage repairs before the adjuster visits?
Take necessary steps to prevent further damage safely, but distinguish emergency mitigation from permanent reconstruction. Document conditions and ask the insurer about inspections and evidence retention before non-emergency rebuilding.
What documents do I need for a water damage repair insurance claim?
Keep your policy information, incident notes, photographs, service reports, itemized estimates, invoices, receipts, and insurer correspondence. Connect each repair request to the affected location and supporting evidence.
Can I choose my own water damage repair contractor?
Ask your insurer about contractor selection and review your policy and any program terms before signing. Your construction agreement should identify the scope and payment obligations separately from the insurer's claim decision.
What happens if the contractor finds more damage?
Document the newly exposed condition and submit a supported supplemental estimate to the insurer. Ask whether another inspection is required before non-emergency work covers or removes the evidence.
Is flood damage handled like a plumbing leak?
Flood damage and damage from an internal plumbing leak can fall under different insurance coverage. Identify the actual water source and check the relevant policy rather than assuming all water losses are treated alike.
Does A Finishing Touch Remodeling handle insurance decisions?
A Finishing Touch Remodeling is described as a local remodeling contractor, not an insurer or claim representative. Confirm its proposed repair services directly and direct coverage questions to your insurer or an appropriately qualified adviser.
One last thing
Photograph the open assembly before it gets closed. Finished paint can show that work is complete, but it cannot show the condition of framing or other concealed materials before rebuilding. Keep both sets of images; they answer different questions.