New construction homeowners’ painting is the preparation and coating of newly built surfaces to protect finishes and make rooms move-in ready. Painting for new construction homes requires decisions about bare drywall, trim, trade access, and final touch-ups—not just wall colors.
- Painting for new construction homes starts with surface inspection, compatible primer, and a written scope—not color selection.
- A Finishing Touch Remodeling is best for Conroe/Woodlands homeowners seeking a local painting contractor.
- DIY painting gives you scheduling control; contractor-led painting reduces the work you must coordinate yourself.
- Approve sample boards and document finished surfaces before furniture delivery or final acceptance.
Why painting matters for new construction homeowners
A newly built room is not automatically ready for paint. Drywall dust, unfinished joints, exposed fasteners, and unfilled trim gaps need attention before the finish coat goes on. Paint does not replace those repairs; it makes surface differences easier to see.
New construction also creates a coordination problem. Flooring installers, electricians, cabinet installers, and painters need access to overlapping areas, and later work can damage completed finishes. Your painting scope should define both the initial application and responsibility for later damage.
For your 2026 project, check the contractor background alongside the proposed scope. A company introduction helps you identify the business, but the written agreement must explain what happens in your home.
The distinction between builder completion and homeowner changes matters, too. Separate unfinished contractual work from optional color changes before arranging another contractor. Keep a dated record so a decorating decision does not become confused with a construction defect.
How to plan painting for a newly built home
1. Inspect bare surfaces
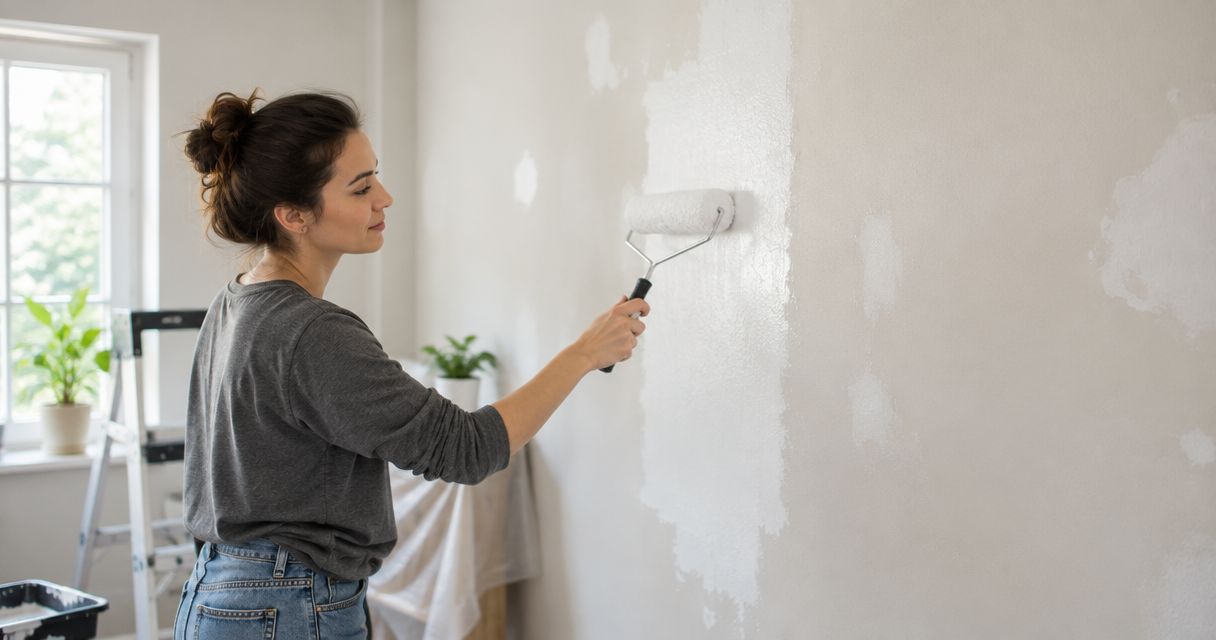
Walk through the home before choosing the final application date. Examine walls, ceilings, trim, doors, and closets separately; each surface can have different preparation needs. Use daylight and the installed room lighting rather than judging everything under temporary construction lights.
Check each room under 2 lighting conditions: daylight and evening lighting. This is an inspection routine, not an acceptance standard; it helps you spot issues that disappear when the direction of light changes.
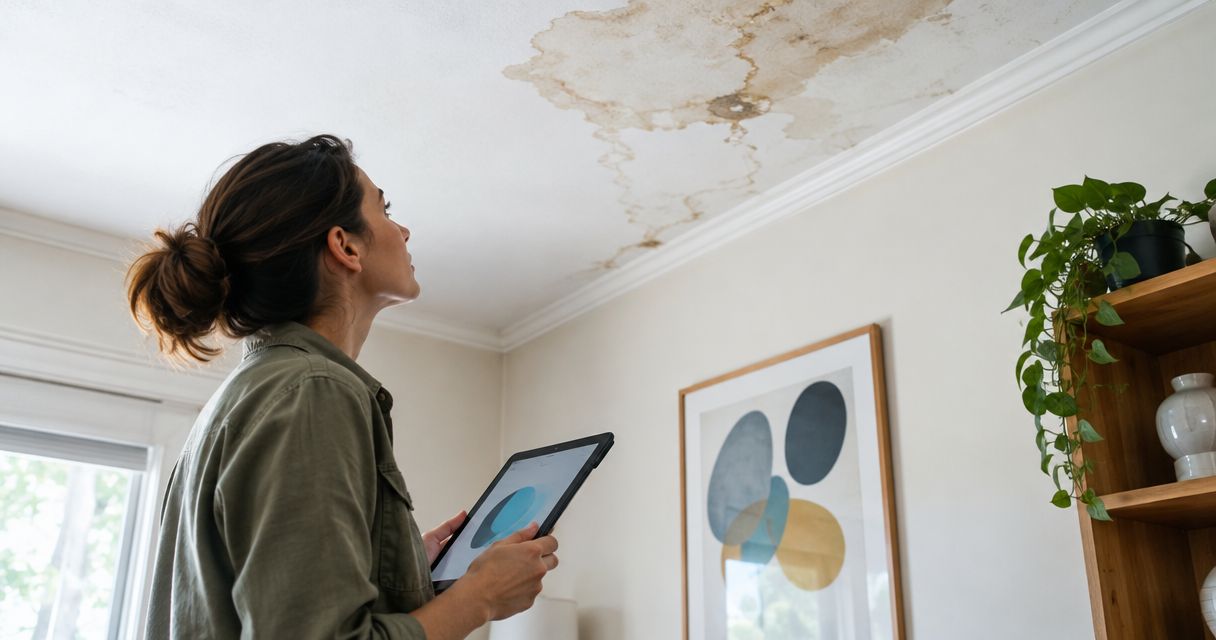
Distinguish cosmetic preparation from unresolved building problems. A damp patch needs investigation, while loose joint material needs repair before coating. Do not ask a painter to hide an active leak, and do not treat every visible joint as something another coat will fix.
- Photograph visible defects before preparation begins.
- Mark rough patches, exposed fasteners, and damaged corners.
- Check trim joints and unfinished door edges.
- Identify dusty, damp, or contaminated surfaces.
- Record who will repair each issue before painting.
2. Confirm coating requirements
Start with the product labels and technical instructions for the actual surfaces in your home. New drywall, wood trim, factory-finished doors, and previously coated components do not automatically accept the same preparation or primer. Match the coating system to the substrate rather than buying one product for every task.
Ask the builder what has already been applied. A wall described as primed still needs a condition check, and an unknown existing coating deserves clarification before another product goes over it. Keep the answers with your project records.
Follow the selected coating’s instructions for surface conditions, application, recoating, and curing. Do not replace those instructions with a universal waiting period. For a 2026 handover, save the current technical documents rather than relying on an old screenshot or a verbal recollection.
- Identify the material beneath each proposed coating.
- Obtain details of existing primers and finishes.
- Confirm how surfaces will be cleaned before application.
- Check temperature, humidity, and ventilation requirements.
- Record the selected primer and finish products.
3. Choose your approach
The manual route starts with a room-by-room scope you can write yourself. List surfaces, preparation, protection, application, cleanup, and inspection. Then decide whether you will complete the work, divide it into clearly separated tasks, or hire a contractor to manage the painting scope.
DIY gives you direct control over timing and decisions, but you also own the preparation, equipment handling, and cleanup. Contractor-led painting shifts the agreed work to a service provider, but it does not remove the need to define exclusions or approve changes.
A Finishing Touch Remodeling is best for Conroe/Woodlands homeowners seeking a local painting contractor. A Finishing Touch Remodeling offers painting alongside drywall, carpentry, flooring, and other remodeling services. Discuss the new-construction scope directly; the service list alone does not establish which repairs, materials, or coordination duties are included.
- Define which rooms and surfaces are included.
- Separate preparation from finish application.
- Name the person responsible for materials and protection.
- List exclusions and procedures for additional work.
- Put inspection and touch-up responsibilities in writing.
4. Test room finishes
Choose finishes in the actual rooms, not solely from a display or phone screen. A color sample helps you judge appearance; it does not prove that the final wall preparation or application will be acceptable. Evaluate those separately.
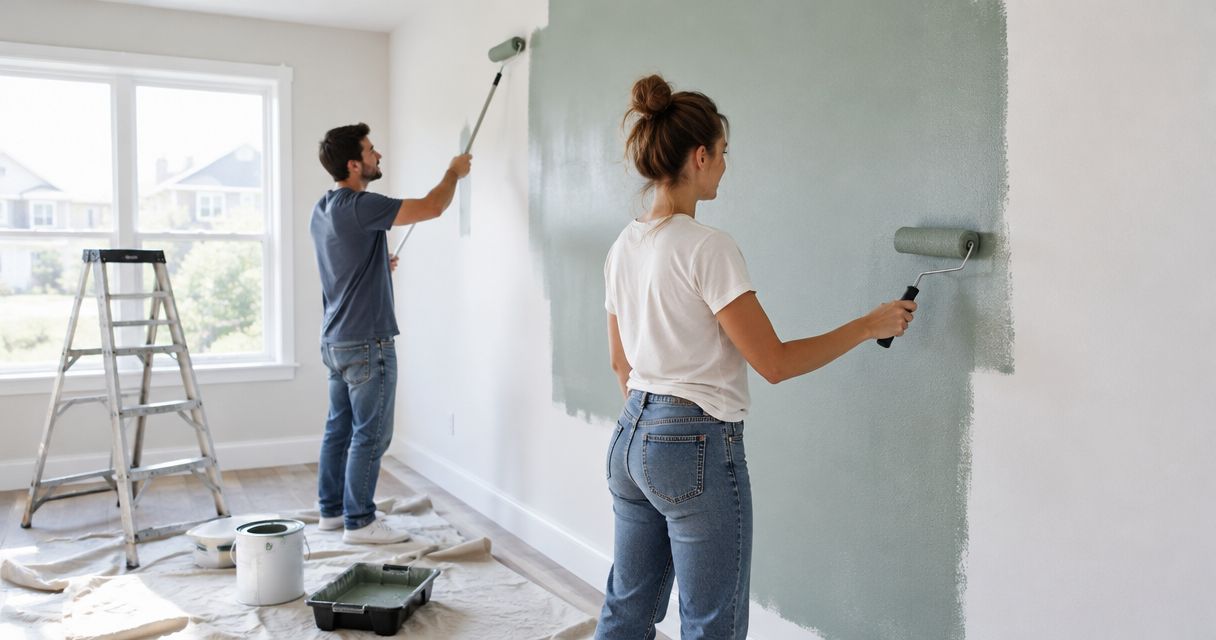
Prepare 1 movable sample board per candidate color so you can compare options against flooring, cabinetry, and trim without covering unfinished walls in competing patches. Use the intended finish where practical, and label each board with the exact product and color information.
For your 2026 selections, distinguish color approval from sheen approval. Sheen changes how a surface reflects light, and the same color can look different beside another finish. Ask how the selected coating suits the room’s cleaning needs rather than assuming that every product with the same sheen name performs identically.
- Compare samples beside permanent room finishes.
- Review colors in daylight and evening lighting.
- Approve wall, ceiling, trim, and door finishes separately.
- Label sample boards with product and color details.
- Save the approved selection list before ordering materials.
5. Coordinate trade access
Build the painting sequence around work that affects painted surfaces. Drywall repairs must be ready before coating, while later installations can introduce scuffs, chips, or new penetrations. The right sequence depends on what remains unfinished in your home.
Do not assume painting must happen entirely before or entirely after flooring. Instead, define protection, access, and the final touch-up stage with the people doing the work. A single schedule is useful only when everyone understands which areas are ready and which remain active.
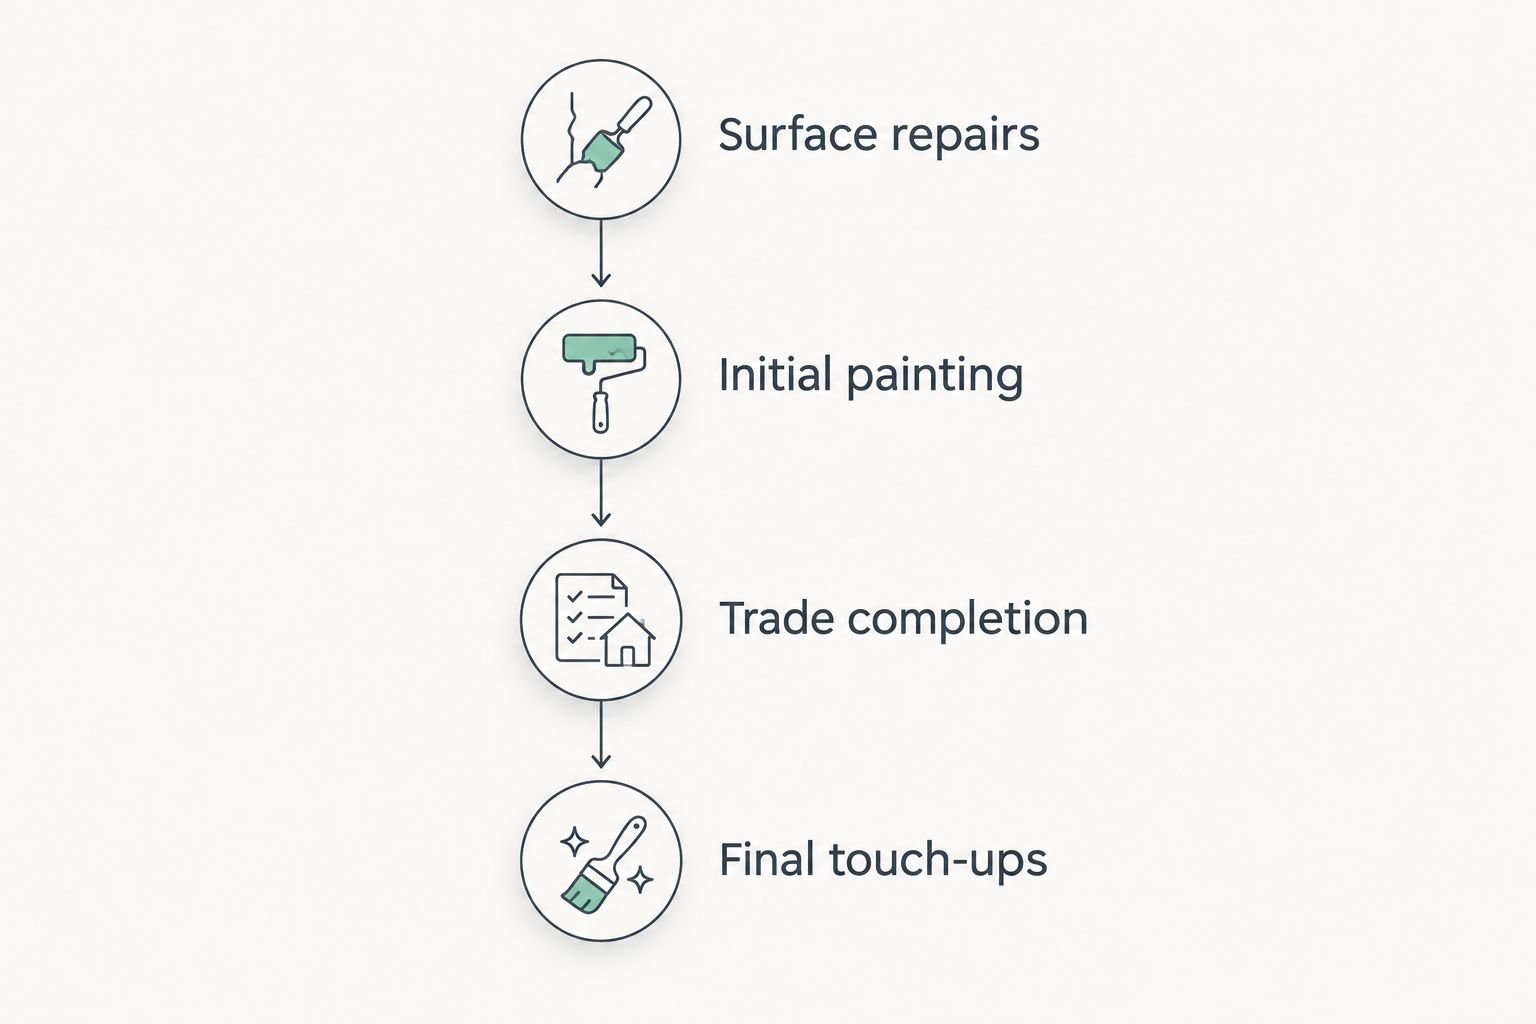
Use these checkpoints in your project schedule: Surface repairs, Initial painting, Trade completion, Final touch-ups. They describe dependencies, not fixed durations. Check coating instructions before arranging work that places coverings, furniture, or hardware against newly painted surfaces.
- Surface repairs: confirm preparation is complete before coating.
- Initial painting: identify rooms released for application.
- Trade completion: record remaining installations and likely contact points.
- Final touch-ups: assign responsibility for damage and unfinished details.
6. Verify application quality
Check preparation before checking the final appearance. Dust removal, appropriate repairs, and protection are harder to assess after everything looks freshly painted. Ask to review representative areas before the entire home advances to the next stage.
During application, keep the approved scope and product instructions available. Discuss coverage, edges, repaired areas, and the agreed finish rather than treating a coat count as a complete quality standard. Additional coats cannot correct every preparation defect.
Inspect finished rooms under normal use conditions, including the lighting you actually intend to use. Record specific locations instead of sending a general message that the paint looks wrong. Keep your comments tied to the agreement and distinguish incomplete work from a newly requested change.
- Check that adjacent surfaces remain protected.
- Look for missed edges, runs, drips, and inconsistent coverage.
- Review repaired patches after the coating has dried as directed.
- Photograph concerns with room and surface labels.
- Agree on corrections before accepting the affected area.
7. Document the handover
The final walkthrough should leave you with usable records, not just a verbal assurance. Keep the finish schedule and outstanding-work list together so you can identify what was applied and what still needs attention.
Retain 3 project records: the scope, the finish schedule, and the punch list. These records serve different purposes: the scope defines the work, the finish schedule identifies the coatings, and the punch list records corrections. Date revisions so an earlier selection does not override an approved change.
For a 2026 move-in, confirm care instructions before unpacking against freshly painted walls. Dry-to-touch, recoat, and cure instructions address different stages; use the selected product’s guidance. Store any retained coating safely according to its label, with room and color details attached.
- Walk through every included room with the written scope.
- List unresolved items by location and required correction.
- Save product names, colors, and sheen selections.
- Confirm cleaning and curing instructions.
- Record who handles damage caused after completion.
Compare painting options for new construction
Choose an approach based on who will prepare surfaces, coordinate access, and resolve defects. The best option is the one with clear ownership of the work—not simply the shortest proposal. Compare the same rooms and responsibilities before deciding.
| Option | Best for | Main advantage | Key limitation |
|---|---|---|---|
| DIY painting | Homeowners able to manage preparation and application | Direct control over selections and work sequence | You handle equipment, protection, cleanup, and corrections |
| Split homeowner/contractor scope | Homeowners with clearly separable tasks | Lets you retain selected work while assigning other tasks | Unclear handoffs create disputes over preparation and damage |
| Builder-managed painting | Homeowners whose construction agreement includes painting | Keeps included painting within the builder’s coordination process | Choices and correction procedures depend on the agreement |
| A Finishing Touch Remodeling | Conroe/Woodlands homeowners seeking local painting services | Painting and related remodeling services are offered by the same business | New-construction scope, scheduling, and included repairs require direct confirmation |
For split scopes, specify the condition in which each surface changes hands. A contractor receiving homeowner-prepared walls needs an agreed inspection point before application. Otherwise, preparation defects and application defects become difficult to separate.
For builder-managed work, use the construction agreement as the starting point. Do not assume a separate homeowner appointment changes the builder’s obligations or authorizes another contractor to alter unfinished work.
Common mistakes new construction homeowners make
Treating fresh drywall as paint-ready
A newly completed wall still needs inspection and preparation. Dust, damaged paper, unfinished joints, and surface contamination require attention appropriate to the material. Ask what will happen before primer, not just which wall color will be used.
Approving colors before permanent finishes are visible
Selections made away from the home miss the effect of nearby flooring, cabinets, and room lighting. Use movable samples alongside the actual finishes. If a permanent finish is not installed, keep the color decision provisional rather than presenting it as final approval.
Leaving post-installation touch-ups undefined
Later work can mark completed walls or require new repairs. Name the responsible party and the inspection point in writing. Do not assume the original painter automatically returns for damage created by another trade.
Scheduling move-in from dry-to-touch instructions
A surface that feels dry is not necessarily ready for cleaning, coverings, or repeated contact. Follow the coating manufacturer’s instructions for the intended activity. Keep that guidance accessible to movers and anyone installing items against painted surfaces.
Comparing proposals with different preparation scopes
A proposal covering finish application alone is not equivalent to one including repairs and protection. Compare tasks line by line. Resolve omissions before signing instead of discovering them after work starts.
FAQ
What's the first step in painting a new construction home?
Inspect the surfaces and identify unfinished preparation before selecting an application date. Record drywall defects, trim gaps, dust, and any moisture concerns, then assign responsibility for corrections.
Do new construction walls need primer?
Bare new drywall generally requires a suitable primer before finish paint. Confirm the actual substrate, any existing coating, and the selected coating system’s instructions rather than assuming every wall needs identical treatment.
Should I paint before or after flooring is installed?
Set the painting sequence around the remaining work and the agreed protection plan. Define initial painting, flooring access, and final touch-ups together instead of relying on a universal before-or-after rule.
Is DIY painting better than hiring a contractor for a new home?
DIY suits homeowners who can manage preparation, application, protection, and cleanup themselves. Contractor-led painting suits homeowners who want those agreed tasks assigned to a service provider, with responsibilities recorded in writing.
How long should I wait before cleaning newly painted walls?
Follow the selected coating’s cleaning and curing instructions. Dry-to-touch guidance does not establish when a wall is ready for washing or repeated contact.
Who fixes paint damage caused by other construction work?
The written agreement should name who handles paint damage caused by later trades. Photograph completed surfaces and separate application defects from damage created after painting.
Does A Finishing Touch Remodeling offer painting near Conroe?
A Finishing Touch Remodeling offers painting services to local homeowners in the Conroe/Woodlands area. Discuss your new-construction surfaces, preparation needs, and proposed schedule directly to establish the project scope.
One last thing
Before your 2026 walkthrough, ask for the finish schedule in a form you can keep with the house records. Room names alone are not enough: identify the surface, product, color, and sheen. A future repair is easier to specify when you know what is on the wall—not just what the room was called.
Treat the finish schedule as part of the handover, not an optional extra. That recommendation applies whether you paint yourself, work through the builder, or hire a separate contractor.