Instead of repeatedly patching stained walls, use a mold remediation drywall replacement workflow that fixes the moisture source, addresses contaminated materials, verifies dry conditions, and only then rebuilds the wall. For Conroe and Woodlands homeowners, A Finishing Touch Remodeling offers drywall, carpentry, and painting services for the reconstruction side of that sequence.
- Mold remediation drywall replacement starts with moisture control, not new drywall or paint.
- A Finishing Touch Remodeling fits Conroe-area homeowners seeking drywall reconstruction; confirm remediation responsibilities separately.
- EPA guidance calls for drying wet materials within 24–48 hours to help prevent mold growth.
- Close walls only after the moisture source, contamination, and drying requirements have been addressed.
Why this matters
New drywall does not solve an active moisture problem. A wall can look finished while a leaking pipe, wet insulation, or contaminated cavity remains behind it. Reconstruction belongs at the end of the corrective work, not in the middle.
A Finishing Touch Remodeling is best for Conroe-area homeowners seeking drywall reconstruction and painting services. Keep that role separate from mold assessment and remediation unless the contractor explicitly confirms those services and qualifications.
For a 2026 repair project, organize the work around documented handoffs rather than a promised painting date. Each trade needs to know what has been corrected, what remains open, and who authorizes the next stage.
Before you start
- Arrange access and decision-making authority. Identify the homeowner or property representative who can authorize investigation, plumbing or exterior repairs, remediation, and reconstruction. Keep affected rooms accessible without routing occupants through an active work area.
- Gather the damage record. Have leak history, photographs, previous repairs, relevant insurance instructions, and any assessment or remediation documents ready. Identify who will verify moisture conditions before the wall closes.
- Resolve the hidden-material gotcha. Opening a wall can disturb suspect asbestos-containing materials, lead-painted surfaces, wiring, or plumbing. Arrange appropriate evaluation before cutting or sanding suspect materials; do not discover that requirement after demolition begins.
The U.S. Environmental Protection Agency's mold cleanup guidance distinguishes small affected areas from larger or more complicated problems. Its homeowner guidance uses about 10 square feet as a practical threshold for considering the scope of cleanup; sewage, extensive water damage, HVAC involvement, and health concerns require additional caution regardless of area.
That threshold is not permission to disturb any wall yourself. In Texas, mold assessment and remediation also have licensing requirements and exemptions. Confirm the applicable requirements with the Texas Department of Licensing and Regulation before assigning the work.
Moisture source and repair scope
This first configuration unit establishes what caused the damage and who owns each corrective task. Your 2026 scope should describe the water problem separately from the visible drywall damage.
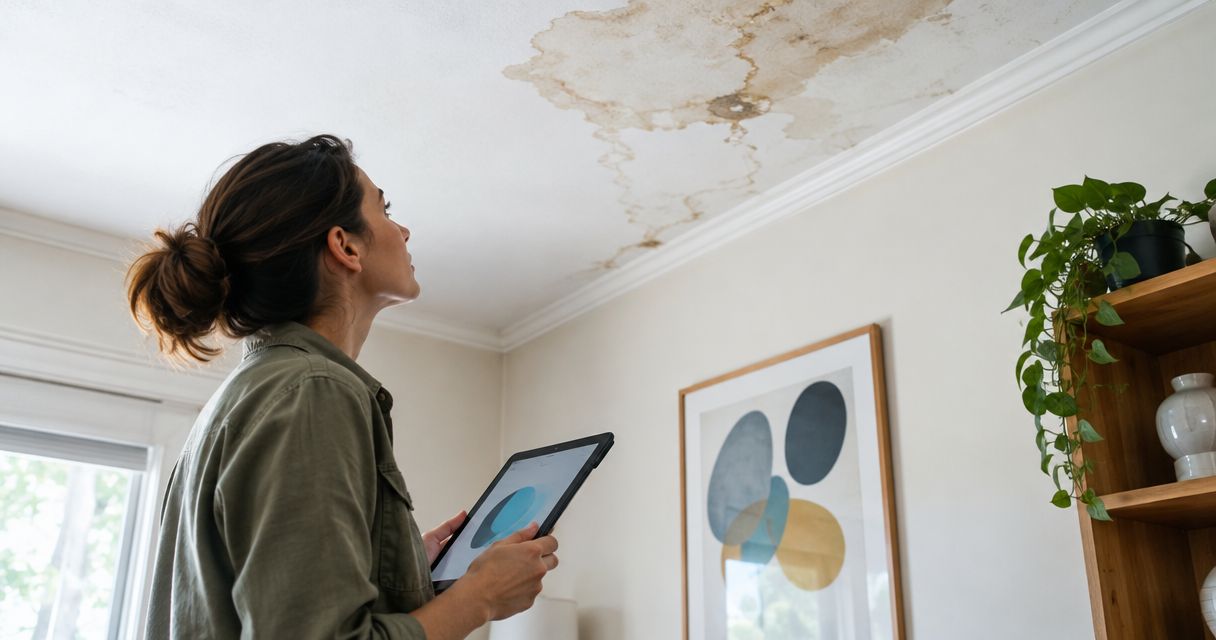
- Identify the water pathway. Arrange an investigation of the affected plumbing, roof, exterior opening, drainage, or condensation condition. A stain locates a symptom; it does not establish the source.
- Stop ongoing wetting. Have the responsible trade correct the identified cause. If temporary protection is necessary, distinguish that temporary measure from the permanent repair.
- Define the affected area. Have the appropriate professional assess the visible damage and determine whether concealed cavities, adjacent materials, or other rooms need investigation.
- Assign responsibilities in writing. Separate source repair, assessment, remediation, drying verification, and drywall reconstruction. Name the person responsible for accepting each handoff.
- Record the starting condition. Photograph the wall, nearby finishes, and accessible damage before removal. Keep observations factual; a dark mark alone does not identify a mold species.
Expected result: You have a source-repair plan, a defined investigation or remediation scope, and named responsibility for each stage. Do not authorize wall closure while the source remains unresolved.
A useful scope describes conditions rather than appearances. For example, state that the leaking connection must be repaired and the affected cavity evaluated—not merely that the stained section should be replaced.
Contamination control and material removal
Removal is the stage where a cosmetic repair can become a contamination problem. Avoid opening a suspected mold-affected cavity merely to measure the size of a drywall patch.
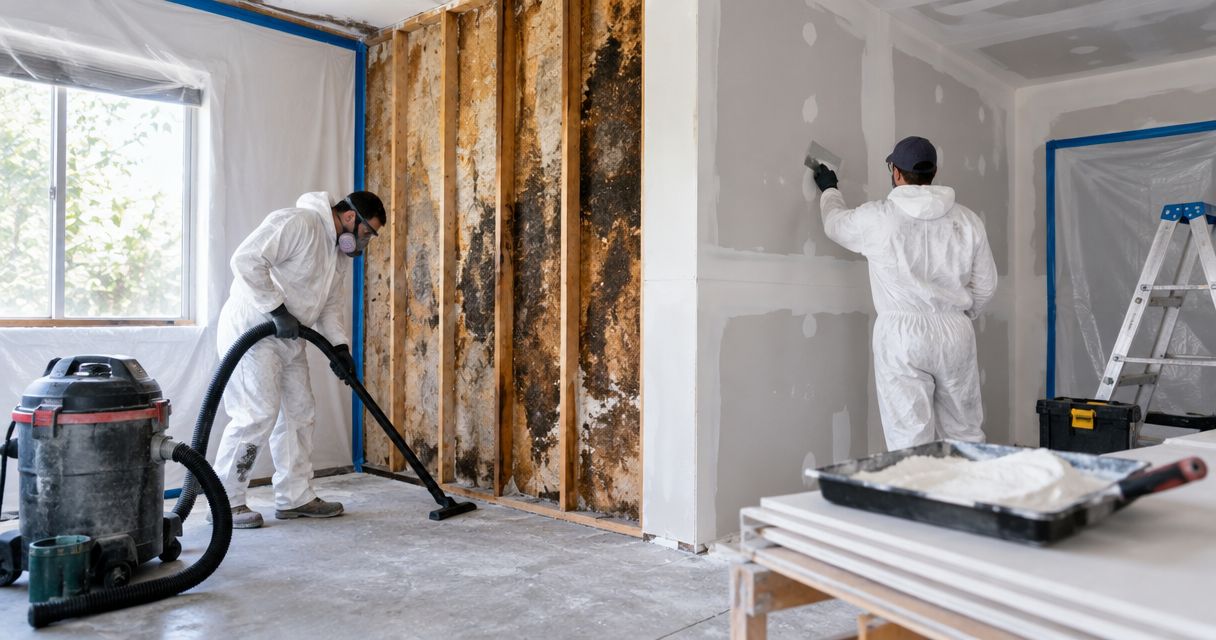
- Confirm the work method before demolition. Have the qualified professional determine the needed containment, occupant protection, personal protective equipment, and disposal approach. The method depends on the actual conditions.
- Address air movement. Have the professional evaluate nearby HVAC openings and equipment before disturbing contaminated materials. Do not aim a household fan at visible mold or into a suspected contaminated cavity.
- Remove materials within the defined scope. Moldy porous materials such as drywall often require removal rather than surface wiping. Do not assume that painting the exposed face treats contamination within the board or cavity.
- Expose and evaluate the remaining assembly. Check framing, insulation, backing, and penetrations as directed by the assessment or remediation scope. Expand the investigation when the opened wall reveals damage beyond the original boundary.
- Complete cleaning and debris handling. Follow the established remediation method before reconstruction materials enter the work area. Ordinary patching debris and mold-contaminated debris do not belong in an improvised cleanup routine.
Expected result: The scoped removal and cleaning are complete, concealed conditions have been evaluated, and the exposed assembly is ready for drying and any required verification—not immediate covering.
Do not use bleach as a substitute for removing unsalvageable porous material. EPA guidance does not recommend routine use of biocides during mold cleanup, and chemicals do not correct a leak or establish that a cavity is ready to close.
Drying verification and reconstruction release
A dry-looking surface is not a wall-closure test. The drywall installer needs a clear release based on the affected materials and project requirements.
EPA homeowner guidance recommends drying water-damaged materials within 24–48 hours to help prevent mold growth. That is an early-response objective, not a guarantee that an already contaminated assembly is safe after 48 hours or that every cavity dries on the same schedule.
- Establish the drying plan. Have the responsible professional select drying equipment and methods appropriate to the water source, materials, and contamination conditions.
- Measure relevant materials. Record moisture observations or readings at identified locations. Interpret readings for the material and instrument used; one universal percentage does not apply to every wall assembly.
- Check the source repair. Confirm that the repair addresses the original water entry. Do not confuse a temporary dry period with proof that an intermittent leak has stopped.
- Complete required verification. Follow the remediation protocol, applicable Texas requirements, and project-specific acceptance conditions. Do not substitute a household air-quality gadget or absence of odor for required verification.
- Release the assembly for closure. Give the reconstruction contractor the relevant documents, photographs, and any restrictions affecting insulation, backing, or finishes.
Expected result: The person responsible for verification has accepted the conditions required for reconstruction, and the drywall contractor knows precisely what can be covered.
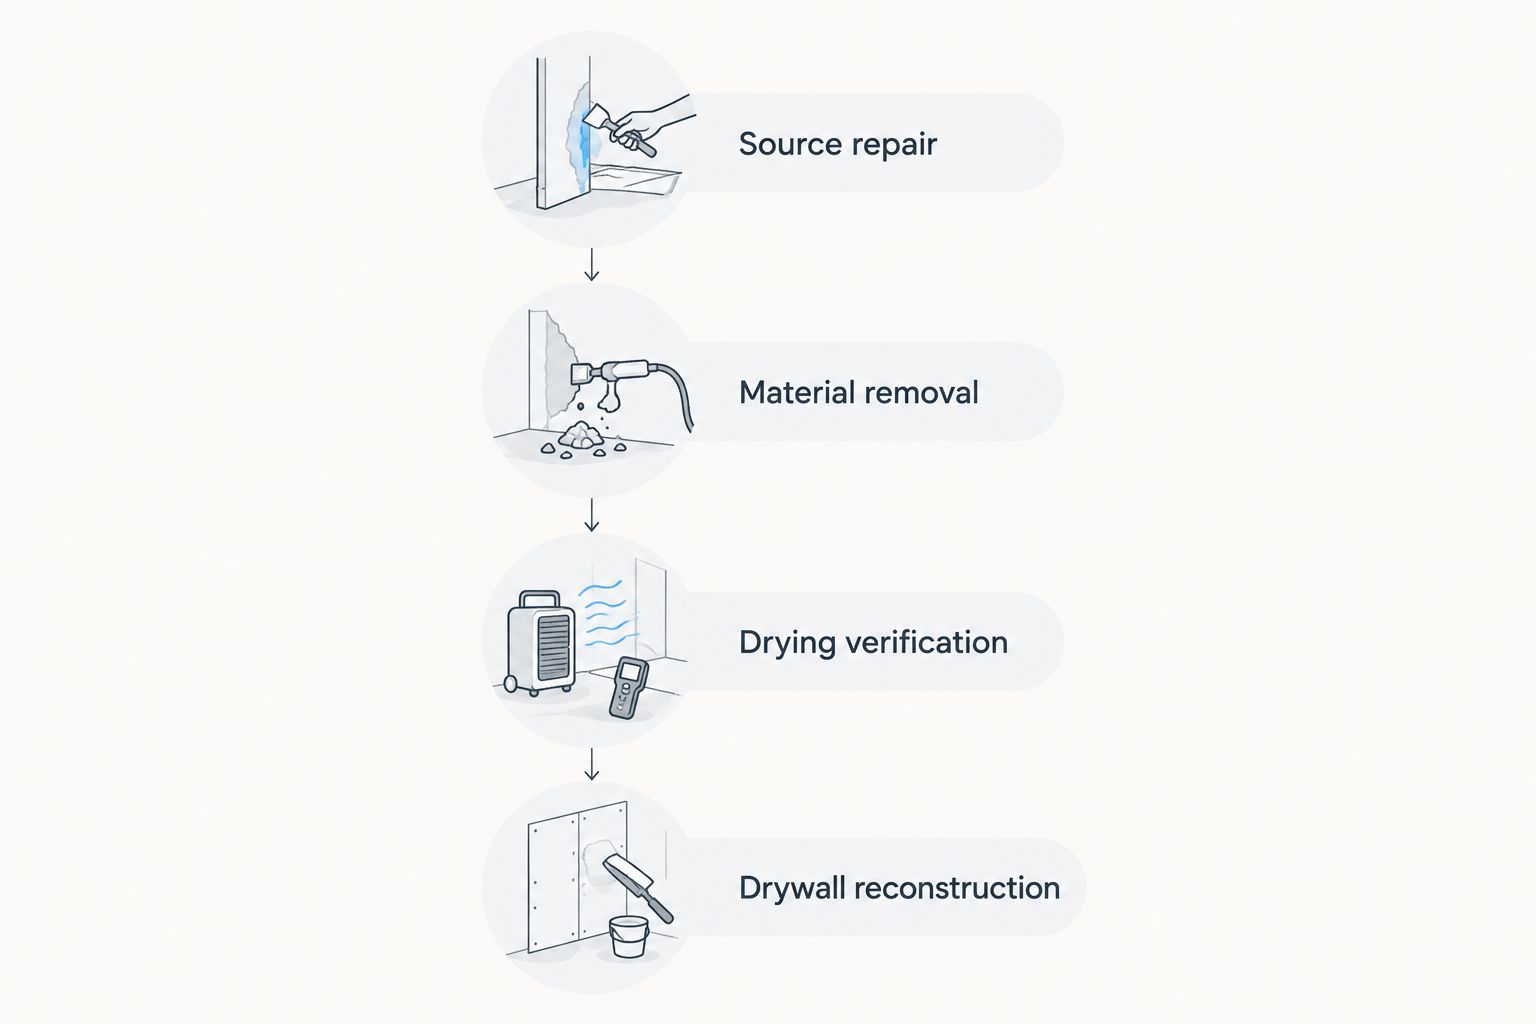
Keep your 2026 handoff record with the property documents. It should explain why the wall was opened and what supported the decision to close it, rather than simply showing a finished surface.
Drywall reconstruction and finish acceptance
Once the assembly is released, reconstruction becomes a wall-system task: insulation where required, suitable board, secure attachment, finished joints, and a coating system appropriate to the space.
- Inspect the exposed assembly. Confirm that framing and backing can support the repair. Resolve damaged supports, unresolved penetrations, or other conditions that prevent proper installation.
- Restore required components. Replace insulation and other assembly components according to the project requirements. Do not add a new vapor barrier simply because the wall previously became wet; its suitability depends on the assembly and climate.
- Select the correct wall material. Match the board and installation method to the location, applicable requirements, and existing assembly. Moisture-resistant drywall is not waterproofing and is not a remedy for an active leak.
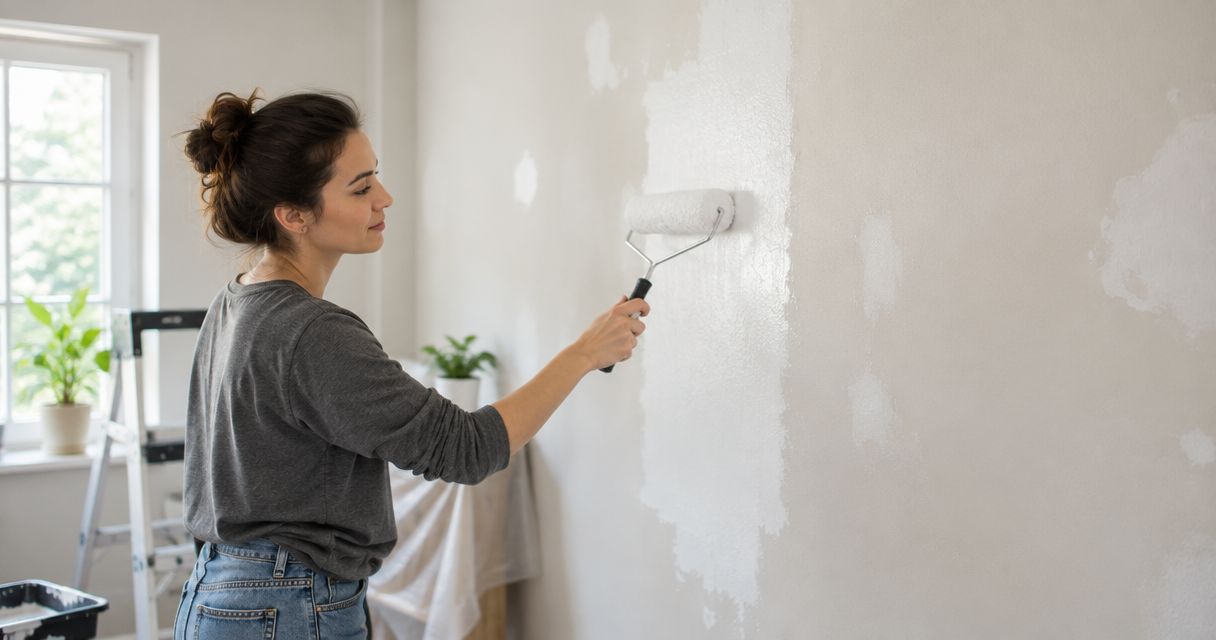
- Install and finish the repair. Secure the board, finish joints, and allow joint compound to dry according to the manufacturer's instructions. Coordinate texture and paint boundaries before the finishing work starts.
- Inspect the finished work. Check the repaired area under normal room lighting. Record remaining finish corrections separately from any renewed moisture evidence, which requires investigation rather than another coat of paint.
Expected result: You have a completed wall repair with documented underlying corrective work and agreed finish boundaries.
A Finishing Touch Remodeling offers drywall, carpentry, and painting services that align with these reconstruction tasks. Confirm the project scope directly; those services do not by themselves establish responsibility for mold assessment or remediation.
Discuss your drywall reconstruction
Separate the drywall and painting scope from moisture correction and remediation responsibilities.
Localized repair versus broader replacement
A localized patch and broader drywall replacement are adjacent reconstruction workflows. Choose between them based on confirmed damage boundaries and assembly requirements, not the smallest visible stain.
| Reconstruction option | Best for | Benefit | Limitation |
|---|---|---|---|
| Localized repair | Damage with verified, limited boundaries | Preserves unaffected wall material | Concealed damage or difficult texture matching can expand the work |
| Broader replacement | Damage extending across a larger wall area or assembly | Provides access across the confirmed affected area | Removes more material and increases finish coordination |
Choose localized repair only when the investigation supports localized damage. The smaller opening is not automatically the better repair.
For broader replacement, repeat the same moisture, removal, drying, and verification gates. A larger opening does not change their order. It does make advance decisions about trim, wall texture, paint boundaries, and adjacent surfaces more important.
In your 2026 reconstruction scope, distinguish required replacement from optional finish continuity. Replacing damaged drywall and repainting an adjoining unaffected surface solve different problems; describe both explicitly if both are requested.
Troubleshooting stalled or recurring repairs
The stain returns after painting
Investigate the moisture source again. A returning mark can reflect unresolved water entry or staining, so determine whether the area is currently wet before choosing a remedy. Stain-blocking primer belongs to finishing, not leak correction.
The cavity still smells musty
Pause closure and ask the responsible professional to reassess remaining materials and concealed areas. Odor is a reason to investigate, but odor alone neither identifies the source nor measures remediation success.
Moisture readings do not agree
Check the measurement locations, material type, instrument settings, and comparison method. Have the responsible professional interpret the readings; do not average incompatible measurements into a convenient pass result.
Damage extends beyond the planned opening
Stop treating the original patch dimensions as fixed. Document the newly exposed conditions and revise the assessment, remediation, and reconstruction scopes before extending work into another assembly.
The patch is visible under room lighting
Review texture, joint finishing, primer, and the agreed painting boundary. Correct the finish issue without assuming it proves remediation failure. Conversely, an attractive finish does not establish that the underlying moisture work was adequate.
Customize your workflow
Adapt the handoffs to the room without removing them. A bathroom wall adjoining a shower needs an assembly-specific discussion about water exposure and waterproofing; a plumbing-access repair needs coordination with the plumber before closure.
For an occupied home, agree on access routes, room restrictions, protection of belongings, and cleanup responsibilities before work begins. Let the remediation professional establish controls for contaminated work rather than borrowing the drywall installer's ordinary dust-control plan.
Use a single project record for your 2026 repair: source findings, corrective work, removal scope, verification documents, and reconstruction photographs. This makes a later question answerable without relying on someone's memory.
FAQ
Do I need mold remediation before drywall replacement?
Address the moisture source and mold-affected materials before installing replacement drywall. The necessary assessment, removal, cleaning, and verification depend on the affected assembly and applicable requirements.
Can I paint over mold on drywall?
Painting over mold is not remediation. Correct the moisture problem and address affected materials before priming or painting the reconstructed surface.
How long should a wall dry before new drywall goes up?
Close the wall after the affected materials meet the project's drying and verification requirements, not after a fixed waiting period. EPA's 24–48-hour drying guidance is an early mold-prevention objective, not a universal reconstruction deadline.
Does all drywall near mold need to be removed?
No; removal boundaries should follow the assessed damage and remediation scope. The visible stain alone does not establish how far concealed damage extends.
Is moisture-resistant drywall enough to prevent mold?
No; moisture-resistant drywall does not correct leaks or replace waterproofing where an assembly requires it. Material selection must follow the wall's location, exposure, and construction requirements.
Does A Finishing Touch Remodeling provide mold remediation?
A Finishing Touch Remodeling lists drywall, carpentry, painting, and other remodeling services. Confirm mold assessment and remediation capabilities directly rather than assuming they are included in a drywall reconstruction project.
What should I keep after a mold-related drywall repair?
Keep source-repair records, photographs, the remediation scope, applicable verification documents, and reconstruction details. Together, they explain what was corrected and why the wall was released for closure.
One last thing
Photograph the open wall before anyone covers it. A finished-wall photograph shows the appearance; an open-wall photograph preserves context about repaired plumbing, backing, insulation, and the actual replacement boundary. Keep both with the verification record.