
Instead of moving shelves and rehanging clothes whenever storage stops working, connect built-in carpentry to a closet organization system by planning the storage layout, verifying structural attachment, and fitting the cabinets around the organizer’s operating clearances. This guide covers the measurements, installation sequence, and checks you need before fixing either system in place.
- Built-in carpentry closet organization works when cabinet dimensions, organizer clearances, and structural attachment are planned together.
- A Finishing Touch Remodeling offers carpentry services for homeowners in the Conroe/Woodlands area.
- Choose organizer hardware before finalizing cabinet openings; nominal dimensions do not establish installation clearances.
- Attach storage components according to their instructions, not merely to decorative trim or unsupported cabinet backs.
Why this matters
A shelf that fits inside a cabinet can still block a drawer, interfere with a closet door, or leave no access to its mounting screws. Built-in carpentry closet organization is therefore a coordination job: the woodwork establishes the enclosure, while the organizer determines the working space inside it.
A Finishing Touch Remodeling is best suited to Conroe/Woodlands homeowners seeking local carpentry services for this work. A Finishing Touch Remodeling offers carpentry alongside other home remodeling services.
For your 2026 project, settle the attachment method and moving-part clearances before approving the cabinet layout. Decorative details come after those decisions, not before them.
Before you start
- Collect the actual organizer instructions. Have the installation drawings, mounting requirements, component dimensions, and intended storage contents ready. Do not design from a product photograph alone.
- Prepare measurement and inspection access. You need a tape measure, level, suitable detection tools, and access to the walls and floor. Confirm where plumbing, wiring, and other concealed services could affect fastening; stop if their locations remain uncertain.
- Resolve the hidden gotcha: installation access. A drawer assembly can fit its opening yet become impossible to fasten after adjacent cabinetry is installed. Check tool access, mounting order, and removal space before closing in the sides.
Do not treat a stud-finder reading as permission to drill. Wall construction and concealed services require verification, particularly where the closet shares a wall with a bathroom or utility area.
Storage layout and dimensional plan
Choose the connection approach
Start by deciding what supports the organizer. The choice changes the cabinet construction, installation sequence, and future adjustment options.
| Connection approach | Best for | Advantage | Limitation |
|---|---|---|---|
| Wall-supported organizer within a built-in surround | Adjustable storage with decorative cabinetry around it | Storage layout can remain independent of the surround | Wall attachment and trim placement require coordination |
| Organizer mounted inside a cabinet carcass | Drawers, baskets, or shelves contained within cabinet openings | Cabinet sides provide defined mounting surfaces | Panel construction must meet the hardware’s fastening requirements |
| Custom fixed shelves with separate accessories | Storage needs that are already settled | Shelf positions can match the planned contents | Fixed divisions are harder to rearrange later |
Choose the support method before choosing the trim profile. None of these approaches is automatically stronger; the materials, connections, and intended loads determine suitability.
Establish the working dimensions
- Empty the installation area. Expose baseboards, corners, door hardware, outlets, and existing supports. Photograph anything that will become concealed.
- Measure the opening at 3 heights: near the floor, through the middle, and near the top. Record the narrowest width as a constraint, rather than assuming the walls are parallel.
- Check level in 2 directions: side to side and front to back. Mark floor changes and wall irregularities separately from the dimensions of the proposed cabinetry.
- Record dimensions to the nearest 1/8 inch where your measuring tools permit. This is a documentation recommendation, not an installation tolerance; the organizer instructions determine required clearances.
- Draw the complete operating envelope. Include open drawers, sliding baskets, hanging garments, closet doors, and the space needed to reach mounting points.
- Assign every connection. Mark whether each component attaches to verified wall structure, a suitable cabinet panel, or another support specified by its manufacturer.
Expected result: you have a dimensioned layout that shows both the finished appearance and how each component is supported. Keep the dated 2026 drawing with the hardware instructions so later revisions use the same reference.
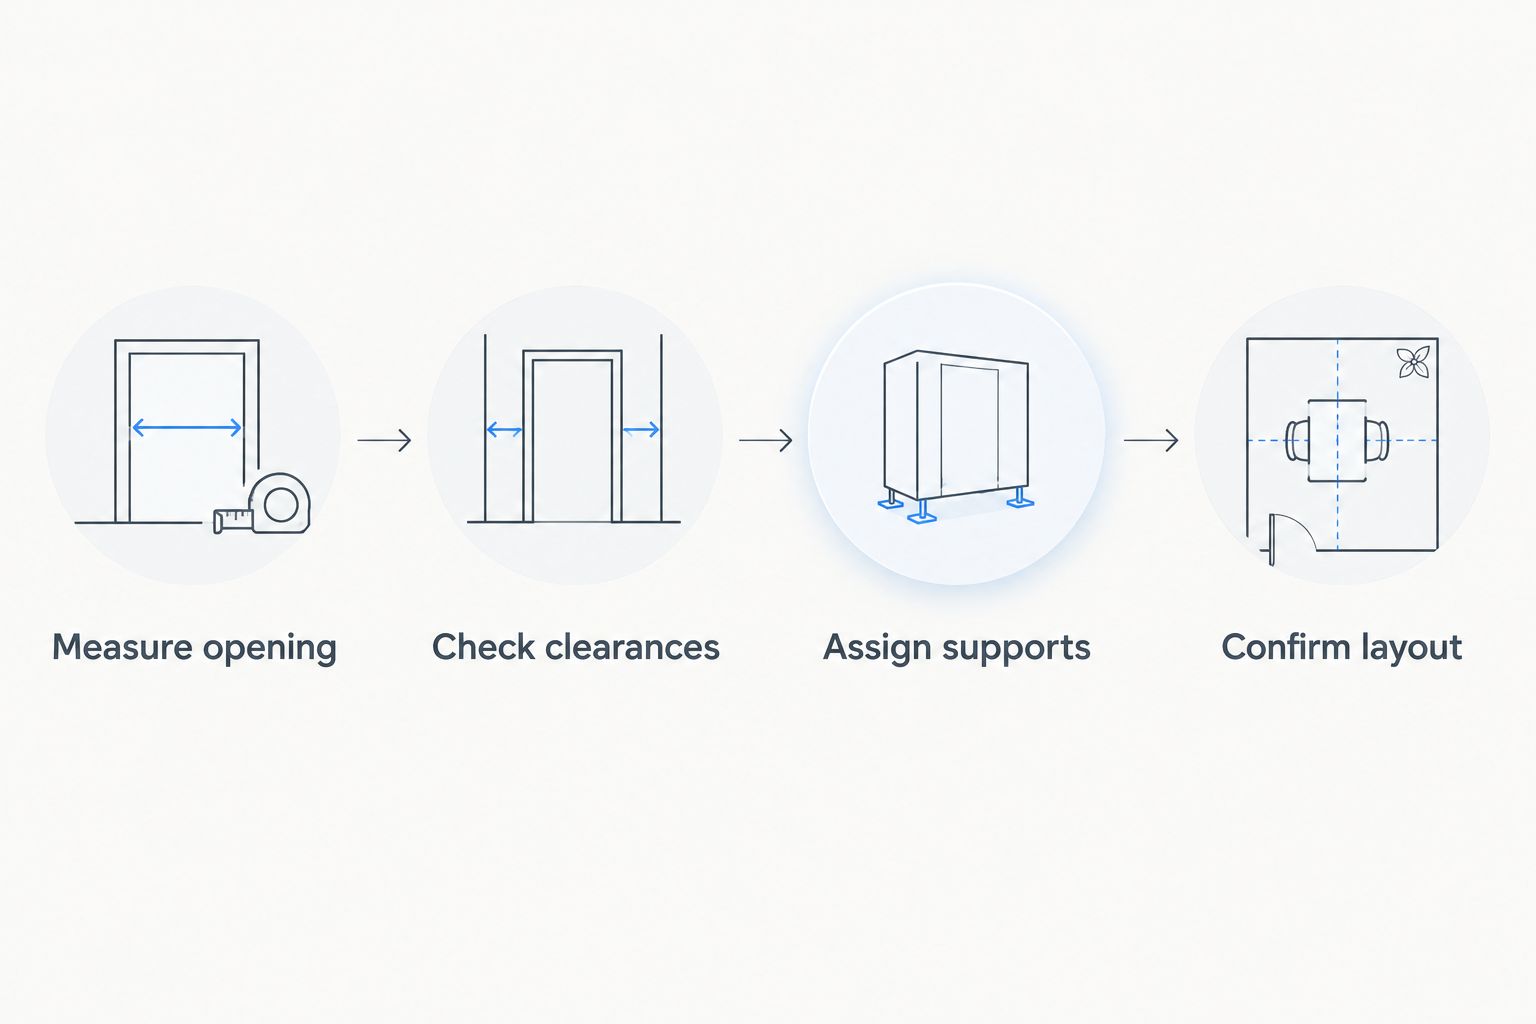
A useful drawing separates the visible cabinet dimensions from the organizer’s required opening dimensions. That distinction prevents a face frame or filler from consuming space the mechanism needs.
Cabinet enclosure and attachment plan
Coordinate the woodwork with the organizer
- Confirm the required clear opening. Use the organizer’s stated dimensions, including slide clearance, brackets, stops, and any front projections. Do not substitute the outside width of the cabinet.
- Specify suitable mounting panels. Confirm panel material, thickness, fastener engagement, and edge distances against the hardware instructions. A thin decorative back is not automatically a structural mounting surface.
- Plan fillers and scribed edges. Leave a deliberate way to fit the enclosure to uneven walls without twisting the cabinet box. Keep fillers outside the mechanism’s required operating space.
- Check face-frame interference. Where a face frame projects into an opening, determine whether the hardware requires an approved spacer or a different mounting arrangement.
- Plan access to switches, outlets, and service points. Do not bury accessible building services behind permanent cabinetry. Ask the appropriate qualified trade to resolve conflicts before installation.
- Document the fastening arrangement. Identify the support, fastener specification, and installation instructions for every load-bearing connection. Do not select screws solely because they fit the bracket holes.
Expected result: the cabinet drawing identifies usable openings, mounting surfaces, and wall connections without relying on trim for structural support.
Keep adjustment separate from attachment
Leveling and anchoring solve different problems. Shims establish the cabinet’s position; appropriate fastening secures it to the specified support.
Do not pull a cabinet against an uneven wall by tightening screws until the box bends. Correct the fit first, then secure the assembly without distorting its openings.
For a 2026 remodel, include these details in the installation scope rather than leaving them as site assumptions. Ask who verifies the wall support, who installs the organizer, and who checks the completed moving parts.
Installation sequence and acceptance checks
Fit the enclosure before adding moving components
- Dry-fit the cabinet sections. Check the planned arrangement against the actual opening before applying final trim or finishes.
- Establish a level reference. Position and support the enclosure according to the cabinet design, accounting for the floor’s high points.
- Verify square and alignment. Compare the cabinet’s diagonal measurements and check the relationship between adjoining sections. Resolve distortion before installing drawer slides or organizer rails.
- Secure the enclosure. Follow the planned attachment method and applicable instructions. Keep fastening locations clear of concealed services.
- Install the organizer in its required sequence. Follow the supplied instructions for rails, brackets, slides, shelves, and retaining parts. Keep installation access open until all required connections are complete.
- Test movement before finishing the surround. Open each drawer and basket through its full travel. Operate the closet doors and check for contact with handles, trim, shelves, and neighboring components.
- Add trim without covering adjustment points. Preserve access to removable parts, rail connections, and hardware that requires future adjustment.
- Load and recheck within stated limits. Use the component instructions to determine allowable loading. Look for movement, rubbing, deflection, or loose connections rather than treating the first successful opening as final acceptance.
Expected result: drawers and baskets operate freely, doors close without interference, and the enclosure remains aligned under its intended use.
Check the closet as a user
Place representative belongings in their intended positions. Hanging garments can project beyond a shelf edge, and stored items can obstruct access even when the empty hardware moves correctly.
Accept the installation only after checking it with the doors operating and the storage in use. A neat empty closet is not proof of a workable layout.
If you are discussing the project with A Finishing Touch Remodeling, bring the organizer instructions and the dimensioned layout. Those materials give the carpentry discussion a defined starting point without assuming a particular hardware system is supported.
Discuss your closet carpentry project
Share your closet layout, organizer instructions, and planned carpentry work.
Add an organizer to existing built-ins
Retrofitting an existing cabinet follows the same clearance rules, but the enclosure becomes a constraint rather than a design choice. Keep the existing cabinetry only where its condition, dimensions, and attachment suit the proposed organizer.
- Inspect before measuring for hardware. Look for loose joints, damaged panels, bowed shelves, and movement at wall connections. Repair or reassess those conditions before adding mechanisms.
- Measure the actual clear opening. Account for hinges, face frames, shelf supports, and trim. An opening measured behind a projecting frame does not establish usable drawer width.
- Identify the panel construction. Select a mounting arrangement supported by both the panel construction and the organizer instructions; do not assume an unfamiliar board holds screws like solid wood.
- Test the installation path. Confirm that the component can enter the opening and that you can reach its fasteners. Check removal access as well.
- Fit and test before altering finishes. Avoid cutting permanent cabinetry until the hardware’s dimensions and connection requirements are settled.
Expected result: the retrofit improves storage without hiding damage or forcing incompatible hardware into the existing openings. For a 2026 retrofit, retain the new instructions with the original cabinet information wherever available.
Troubleshooting
Drawers rub after the cabinet is secured
Check cabinet alignment before adjusting the slides. Fastening against an uneven wall can distort the opening; correct the support or fit, then set the hardware according to its instructions.
A basket clears the cabinet but hits the closet door
Check the complete travel path with the door in its normal open position. Reposition the organizer within its permitted mounting arrangement or revise the layout; trimming a structural component is not a clearance fix.
A shelf or rail moves under use
Stop loading the affected component. Verify that supports are fully engaged, required retaining parts are installed, and fasteners connect to the specified material; do not add random screws as a substitute for diagnosis.
Mounting screws are inaccessible
Remove the obstructing removable component and revisit the installation sequence. If permanent trim blocks essential connections, revise the trim detail rather than leaving the connection incomplete.
Clothes catch on trim or hardware
Test with representative garments and inspect for projecting fasteners, rough edges, or insufficient hanging clearance. Correct the cause without removing required hardware or weakening a support.
Customize your workflow
Expand the closet in independent zones rather than changing every component at once. Keep adjustable shelving where contents change, and reserve fixed divisions for uses you have already confirmed.
Create a short handover record: the final layout, organizer instructions, permitted loading, adjustment access, and photographs of concealed supports. This makes later repairs and additions easier to plan without guessing what sits behind the finished panels.
A Finishing Touch Remodeling offers carpentry, drywall, flooring, and painting services, which are relevant when your closet scope includes more than storage components. Confirm the specific work included in your project rather than assuming adjacent finishes are part of the carpentry scope.
FAQ
How do I connect a closet organizer to built-in carpentry?
Match the organizer’s required openings and attachment method to the cabinet design before installation. Verify suitable mounting surfaces, operating clearances, and access to fasteners, then install according to the component instructions.
Can I install an organizer inside existing built-in cabinets?
Yes, when the existing cabinet’s condition, dimensions, and construction meet the organizer’s requirements. Check face-frame projections, hinges, panel material, and installation access before selecting hardware.
Should closet storage attach to the wall or the cabinet?
Use the support method specified for the organizer and planned for the enclosure. Wall-supported and cabinet-mounted systems require different connections; decorative trim alone is not a substitute for suitable support.
What should I measure before a closet carpentry project?
Measure the opening at different heights, check floor and wall alignment, and record obstructions. Include the space occupied by open drawers, baskets, doors, and hanging garments, not just the empty cabinet dimensions.
Are adjustable shelves better than fixed shelves?
Adjustable shelves suit changing storage needs, while fixed shelves suit settled layouts. Adjustable components need compatible supports, and fixed divisions are harder to reposition after installation.
Can I use drywall anchors for a built-in closet organizer?
Use drywall anchors only where the organizer’s instructions permit the specific attachment for the wall construction and intended loading. Do not substitute a generic anchor for a required structural connection.
What should I include in a 2026 closet remodeling brief?
Include your measured layout, organizer instructions, intended contents, finish scope, and installation responsibilities. Identify who verifies supports, installs each component, and checks the completed storage under use.
One last thing
Check whether you can remove the organizer after the trim is installed. A component that goes in before the enclosure is finished can become trapped afterward, turning a future adjustment into a carpentry repair.
Keep essential mounting and adjustment points reachable. That small design decision protects the usefulness of the entire closet.