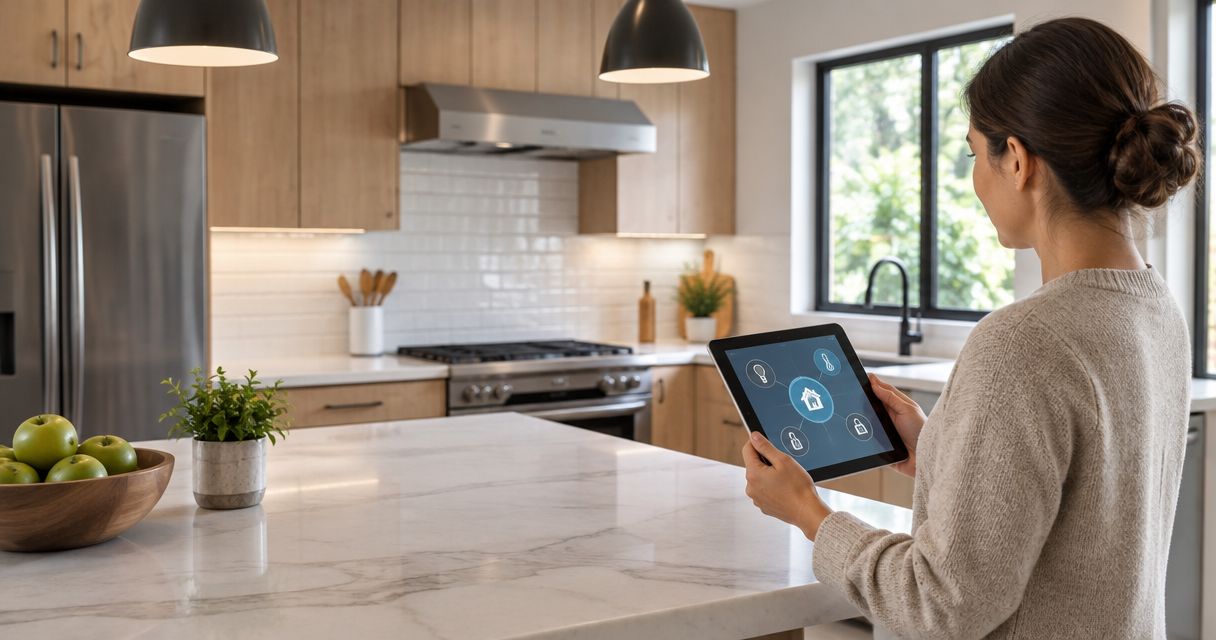
Instead of manually adjusting kitchen lights whenever you cook or clean, plan smart kitchen remodel automation around compatible controls, then connect those controls to repeatable lighting scenes. This guide uses Apple Home as a concrete setup example and shows what to decide before construction, how to configure lighting, and how to test the finished workflow.
- Smart kitchen remodel automation starts with electrical planning, compatible controls, and lighting scenes—not an appliance shopping list.
- Use Apple Home for the example workflow; confirm accessory and home hub compatibility before purchasing.
- A Finishing Touch Remodeling serves Conroe-area homeowners planning kitchen remodeling; confirm automation responsibilities separately.
- Keep physical lighting controls usable, and test automations before closing out the remodel.
Why this matters
A kitchen remodel changes where you work, where cabinets block access, and where lighting needs to land. Adding automation after those decisions leaves you fitting controls around a finished room instead of designing them into the work.
Plan the physical kitchen first and the automated behavior second. For a 2026 remodel, that means documenting switch locations, fixture compatibility, power requirements, and household routines before buying connected devices.
A Finishing Touch Remodeling is best suited to Conroe-area homeowners seeking kitchen remodeling. Treat construction scope and smart-home configuration as separate responsibilities until your project agreement identifies who handles each.
The useful outcome is simple: your kitchen lighting responds consistently, while wall controls still work when someone does not want to use a phone.
Before you start
- Accounts and access: For this Apple Home example, have an Apple Account, access to the intended home in the Home app, and permission to add accessories. Confirm Apple's current home hub requirements for the automations you intend to use.
- Materials and project decisions: Prepare a cabinet layout, lighting plan, fixture information, switch inventory, and a list of accessories explicitly compatible with your chosen platform. Have a qualified electrician assess wiring and control compatibility.
- The hidden gotcha: An ordinary wall switch can cut power to a smart bulb and make it unreachable. Decide whether each lighting circuit uses smart bulbs or a compatible smart switch or dimmer before installation; do not assume either approach works with every fixture.
Keep this walkthrough focused on lighting. A successful lighting scene does not establish that an oven, cooktop, water valve, or ventilation system is suitable for unattended control. Follow each appliance manufacturer's instructions separately.
Configuration unit: The kitchen control plan
Match controls to the actual work
- Mark where you prepare food, cook, wash dishes, and enter the room. Identify which fixtures illuminate each activity rather than grouping everything as kitchen lighting.
- Create a worksheet with the fields Lighting zone, Fixture, Control method, Physical control, and Automation owner. These are planning fields, not app settings.
- Ask the electrician to verify the electrical requirements of each proposed control, including neutral-wire requirements where applicable and compatibility with the connected lighting load.
- Resolve switch locations alongside cabinet doors, backsplashes, and appliance placement. Do not approve a location that becomes inconvenient when the kitchen is furnished.
- Record who will install the equipment, add it to the app, and demonstrate the finished behavior. Include those responsibilities in the project scope.
Expected result: Every lighting zone has a defined control method, a usable physical control, and an assigned setup owner.
For your 2026 project file, keep compatibility documentation with the selected model information. A familiar brand name alone does not establish that a particular device supports your chosen platform.
Choose the control method before the hardware
The following comparison concerns control approaches, not specific products. Neither approach wins automatically; the existing wiring and your fixture choices determine the fit.
| Control approach | Best for | Advantage | Limitation |
|---|---|---|---|
| Compatible smart switch or dimmer | Fixed lighting circuits that need familiar wall operation | Controls the circuit through a wall-mounted device | Requires suitable wiring and compatibility with the lighting load |
| Compatible smart bulb | Individual fixtures needing separately adjustable behavior | Gives supported bulbs their own app-based settings | A conventional switch that cuts power makes the bulb unreachable |
Avoid choosing both approaches for the same circuit without checking compatibility. A smart dimmer and a smart bulb are not automatically a compatible pair.
Configuration unit: Accessory setup and lighting scenes
Add and identify the lighting accessories
- Complete electrical installation before app setup. Keep wiring work with the qualified electrician; app pairing is not a substitute for electrical inspection or testing.
- Follow each accessory manufacturer's pairing instructions. In Apple Home, use Add Accessory when the accessory supports that setup route, then follow the displayed prompts.
- Assign the accessory to the kitchen and give it a location-based name, such as Prep lights or Sink lights. Use names that remain understandable when someone else opens the app.
- Operate each accessory from the Home app, then from its intended physical control. Check the actual fixture rather than relying only on the app's status display.
- Record any required manufacturer app and the household account that owns the device. Keep passwords and setup codes out of paperwork shared with unrelated trades.
Expected result: Each intended light responds from the app, appears under an understandable name, and works with the agreed physical control.
For a 2026 handover, make account ownership a completion requirement. The homeowner should control the home configuration rather than depend on an installer's personal account.
Create task-based scenes
- In Apple Home, open Add Scene and select Custom to create a scene suited to your kitchen routine.
- Name the scene Food preparation. Select Add Accessories and choose only the lighting accessories that support that task.
- Adjust each selected accessory to the desired supported state. Use the actual worktop to judge the result; do not choose brightness solely from the app slider.
- Save the scene with Done, then run it while standing where you normally prepare food.
- Create a second scene named Kitchen closed. Choose the lighting state you want after kitchen use, while preserving whatever lighting your household needs for movement through the room.
Expected result: You have 2 scenes that you can activate manually and distinguish without explanation.
Do not automate an unfinished scene. First check that Food preparation illuminates the work surface without making another fixture behave unexpectedly. Then confirm that Kitchen closed does not remove lighting someone still needs.
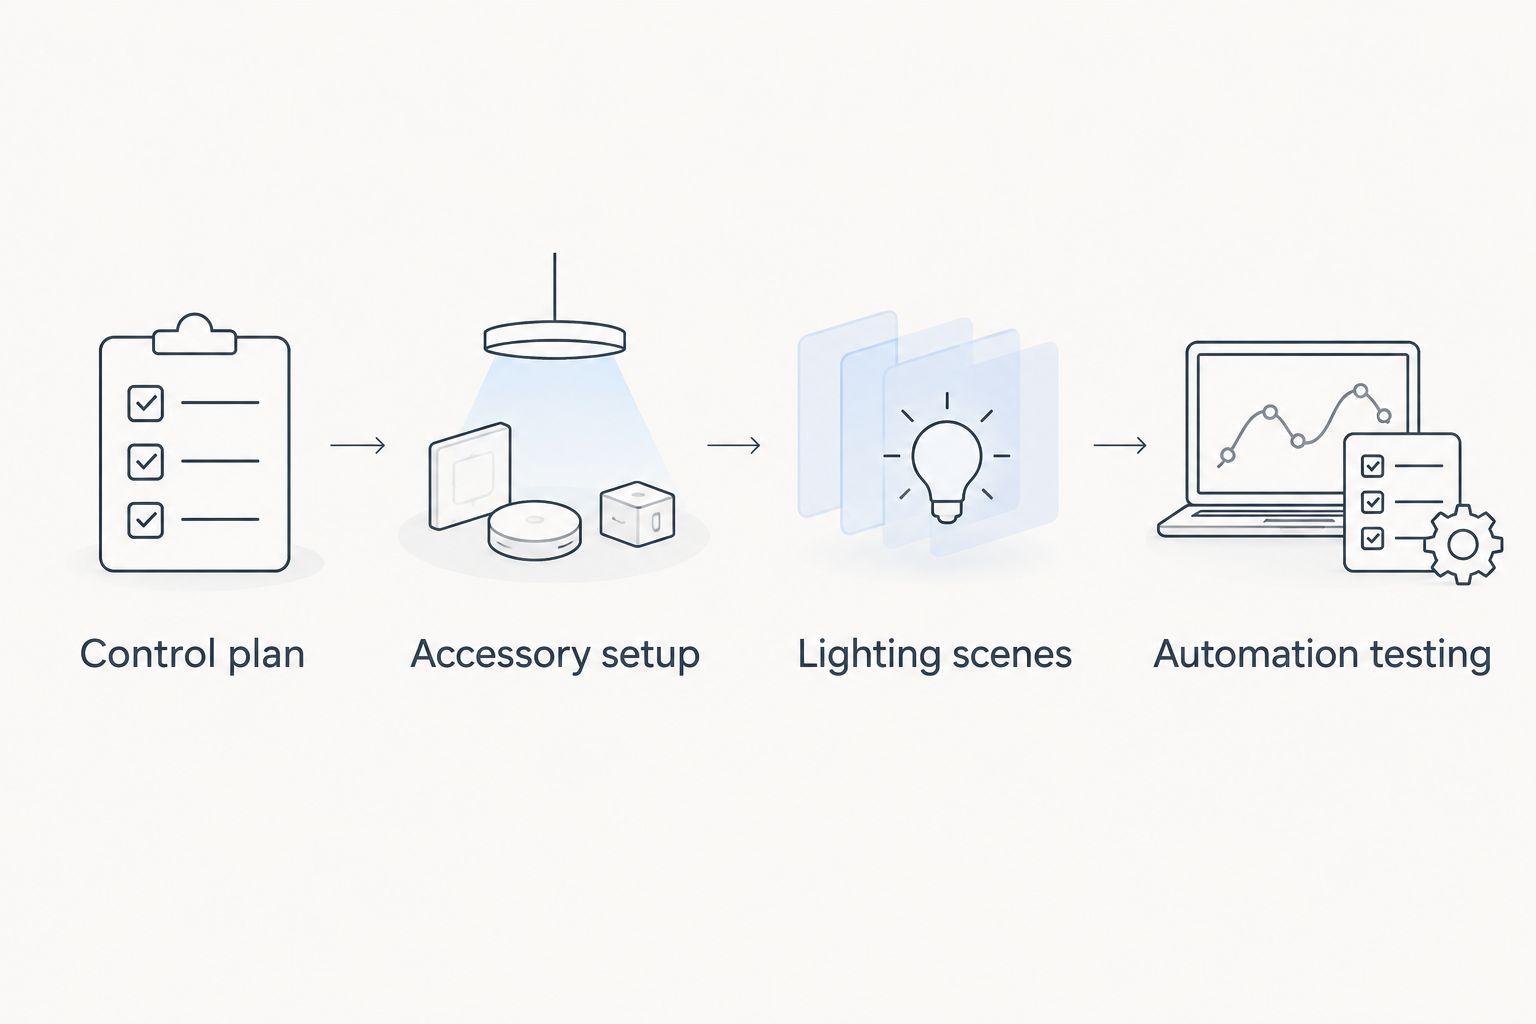
Configuration unit: The sensor-triggered workflow
Connect a sensor to the intended lighting scene
Use a compatible motion sensor only after deciding what motion should mean in your kitchen. Detecting someone entering the room is not the same as detecting someone standing still while chopping vegetables.
- Place the compatible sensor according to its manufacturer's instructions. Check the detection area with cabinet doors open and with the kitchen in normal use.
- In Apple Home, open Automation, then Add Automation. Select A Sensor Detects Something.
- Select the intended sensor and choose the detection event offered for that accessory. Follow Next to select the scene or accessories the automation should control.
- Select Food preparation if that scene matches the intended response. Review the automation before saving with Done.
- Enter the kitchen from each normal approach and check what activates. Repeat with someone already using the room so you can spot unwanted changes.
Expected result: The chosen detection event activates only the intended lighting behavior, without changing unrelated accessories.
Best for: entry lighting that should respond when someone arrives. The advantage is hands-free activation; the limitation is that sensor coverage does not perfectly describe whether a room is occupied.
For this 2026 setup, leave automatic shutoff out of the initial workflow. Add it only after testing the sensor's behavior during stationary tasks and checking the options your equipment actually supports.
Second variant: Run a kitchen scene at sunset
A sunset-triggered scene is useful when the goal is predictable evening lighting rather than a response to movement. It avoids dependence on someone passing through a sensor's detection area, but it needs conditions that match household use.
| Workflow | Best for | Advantage | Limitation |
|---|---|---|---|
| Sensor-triggered lighting | Responding to someone entering the kitchen | Activates from a detected event | Detection coverage needs testing during real kitchen use |
| Sunset-triggered lighting | Establishing an evening lighting state | Uses a time-based event rather than motion | Runs without proving that someone needs the kitchen lights |
- In Apple Home, open Automation, then Add Automation.
- Choose A Time of Day Occurs, then Sunset.
- Review the available day and presence conditions. Select conditions that fit the household rather than accepting a recurring event without checking its scope.
- Select Next, then choose the intended scene or lighting accessories. Review the resulting behavior and finish with Done.
- Run the scene manually, then verify the automation at its actual scheduled event. A successful manual scene test does not prove that the trigger and conditions are correct.
Expected result: The evening lighting state runs at the selected event under the conditions you configured.
Do not let both workflows compete without a rule. If sunset lighting and motion detection control the same accessories, decide whether the later event should replace the earlier state. Write that decision into the handover notes.
Troubleshooting
The light becomes unreachable after someone uses the wall switch
Restore the accessory's required power, then revisit the control design. A smart bulb cannot receive commands when a conventional switch disconnects its supply. Use a compatible control arrangement recommended for the equipment rather than treating a warning label as the permanent solution.
The scene works manually, but the automation does not run
Check the trigger, its conditions, and the home hub setup separately. Confirm that the correct sensor or time event is selected and that presence restrictions do not exclude the test. Check current Apple Home requirements and accessory status before deleting a working scene.
Lights change while someone is preparing food
Review overlapping automations before adjusting brightness. A motion event, sunset event, and manually selected scene can target the same light. Temporarily disable the competing automation, test again, and decide which event should have priority.
A light flickers or behaves incorrectly when dimmed
Stop treating the problem as an app setting and check equipment compatibility. Have the electrician review the dimmer, lighting load, and manufacturer instructions. Do not assume that reducing the app's adjustment range corrects an unsuitable electrical pairing.
Another household member cannot control the kitchen
Check home access and account ownership first. Add household members through the platform's supported sharing process rather than sharing the owner's password. Confirm that the person has access to the intended home and understands which scene controls which activity.
Customize your workflow
Expand only after the lighting setup passes its basic checks. Useful next steps include refining scene names, adjusting sensor placement, and separating task lighting from evening lighting where the installed equipment supports independent control.
Keep water detection separate from lighting convenience. A leak notification and an automatic water shutoff are different functions; do not describe the kitchen as protected by automatic shutoff unless compatible equipment is installed, configured, and tested for that purpose.
For a 2026 remodel, give A Finishing Touch Remodeling your lighting-zone worksheet alongside the cabinet and fixture decisions. Ask which construction tasks belong in the remodeling scope and which configuration tasks require a separate specialist.
Discuss your kitchen remodeling scope
Clarify cabinet, lighting, and electrical coordination before you finalize smart-home equipment.
Before project closeout, complete 3 checks: operate the physical controls, run each scene manually, and observe each automation under its real trigger. Keep the results with the homeowner's equipment documentation.
FAQ
What should I plan first for smart kitchen remodel automation?
Plan lighting zones, electrical compatibility, and physical controls first. Choose connected equipment only after those decisions match the cabinet layout and household routines.
Do I need smart appliances to automate my kitchen?
No, lighting automation does not require smart appliances. Compatible lighting controls and a suitable home automation setup can support the workflows described here.
Are smart switches better than smart bulbs for a kitchen?
Smart switches suit compatible fixed lighting circuits; smart bulbs suit fixtures needing individual supported settings. Wiring, fixture compatibility, and physical control requirements determine the better fit.
Why does my kitchen automation stop working when I turn off the switch?
A conventional switch can disconnect power to a smart bulb, making it unreachable. Check the manufacturer's recommended control arrangement and have wiring changes handled by a qualified electrician.
Can a motion sensor tell whether someone is still cooking?
Motion detection does not reliably establish that a person remains in the kitchen. Test stationary food-preparation tasks before adding automatic shutoff behavior.
Can A Finishing Touch Remodeling help with the kitchen remodel?
A Finishing Touch Remodeling offers kitchen remodeling to homeowners in the Conroe and Woodlands area. Confirm electrical coordination and smart-home configuration responsibilities in the project scope rather than assuming they are included.
What should I test before signing off on the kitchen?
Test physical controls, manual scenes, and real automation triggers separately. Also verify household access and confirm that the homeowner controls the relevant accounts.
One last thing
A scene that runs correctly is not proof that its automation works. Manual activation checks the lighting instructions; a real trigger checks the event, conditions, and connected system together.
Make that distinction part of your 2026 handover. Your kitchen is ready when someone else in the household can use the controls, explain the scenes, and recover from an unwanted lighting change without calling the installer.