Drywall repair finished with premixed joint compound generally needs about 24 hours per coat to dry, not 24 hours for the entire repair. For your 2026 project, allow additional time for deeper fills, damp conditions, subsequent coats, primer, and paint; setting-type compound can harden sooner without being dry enough to finish.
- How long does drywall repair take to dry? Premixed joint compound generally needs about 24 hours per coat.
- Setting time is not drying time: hardened compound can still contain moisture.
- Sand, prime, and paint only after the repair meets the material manufacturer's drying instructions.
- A Finishing Touch Remodeling serves Conroe and Woodlands homeowners who need drywall repair and other remodeling services.
Why this matters
Drying controls when you can continue—not when the patch first feels hard. Sanding damp compound can tear or smear the surface. Painting too soon can leave you with an uneven finish and another round of work.
For Conroe and Woodlands homeowners planning work with A Finishing Touch Remodeling, the useful question is when each coat becomes ready for the next step. A repair appointment, a dry patch, and a paint-ready wall are different milestones.
How long does drywall repair take to dry?
Allow about 24 hours per coat for conventional premixed joint compound under normal drying conditions. USG's published joint-compound application guidance uses approximately 24 hours between coats under suitable conditions; temperature, humidity, and coat thickness affect that interval. Check the instructions for the actual material on your wall rather than applying that estimate to every patching product.
This comparison separates the material choices you will encounter when planning a repair in 2026:
| Repair material | Best for | Timing to use | Main advantage | Main limitation |
|---|---|---|---|---|
| Premixed joint compound | Taped repairs and broad finishing coats | About 24 hours per coat under normal drying conditions | Spreads and sands for a gradual transition into the wall | Each coat must lose moisture before finishing continues |
| Setting-type joint compound | Repairs needing a controlled hardening interval | Labels such as 45 minutes or 90 minutes describe setting, not complete drying | Hardens through a chemical reaction | Can remain damp after becoming hard |
| Spackling compound | Small holes and localized surface defects | Follow the specific product's drying instructions | Convenient for small repairs | Formulas differ; one drying time does not cover the category |
These materials do not serve identical purposes. A small fastener hole and a taped drywall patch need different repair methods, even when both will receive the same wall paint.
What does about 24 hours per coat actually mean?
About 24 hours per coat is a planning allowance for the compound—not a promise that the wall will be painted the next day. Additional coats start their own drying intervals, and primer and paint have separate instructions.
A thin finish coat and a thick depression filled with compound also behave differently. Use the clock to plan an inspection, not to overrule a damp patch.
Premixed joint compound: about 24 hours per coat
Premixed joint compound dries as water leaves the material. A thin coat exposed to suitable room conditions dries more readily than a deep fill in a cool, poorly ventilated room.
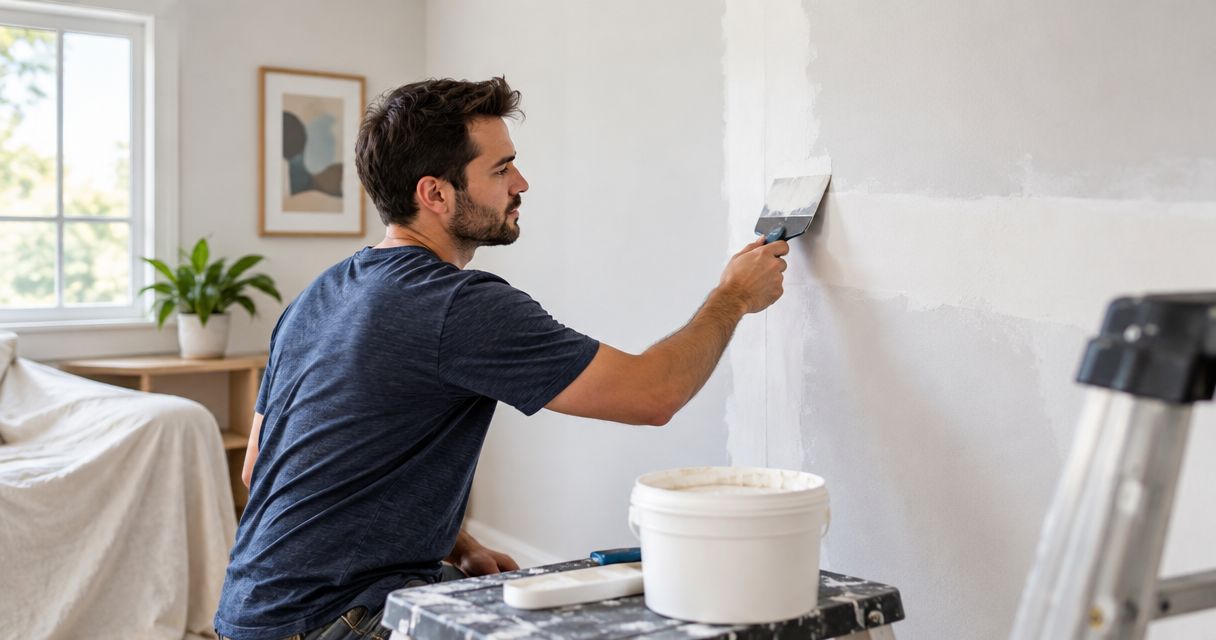
The benefit is control over the finished surface. You can spread the compound beyond the damaged area and feather its edges into the existing wall. The drawback is waiting between coats, especially when the repair needs tape, additional filling, and a final skim.
Best for: taped patches and repairs that need a broad, smooth transition. For your 2026 schedule, keep application time separate from drying time: a short visit to apply compound does not mean the wall is ready to sand that afternoon.
Check the material's application limits before starting. Conditions outside those limits are a reason to correct the room environment, not simply add another coat and hope it dries.
Setting-type compound: 45-minute and 90-minute set labels
Setting-type compound hardens through a chemical reaction after mixing. Common labels such as 45 minutes and 90 minutes refer to nominal setting intervals under specified conditions; they are not promises of a paint-ready wall.
That distinction matters because a firm patch can still contain water. Some setting compounds permit another coat after setting, according to their instructions, while sanding and decoration require adequate drying.
Best for: repairs where controlled hardening helps organize the work. Its advantage is earlier firmness; its limitation is that you must mix, apply, and finish it within the material's working period.
Do not treat a shorter set label as permission to rush every later step. Read the separate directions for recoating, sanding, and decorating, and keep those stages distinct when discussing the repair schedule.
Spackling compound: follow the formula's drying instructions
Spackling products vary in formulation, intended fill depth, and readiness indicators. That makes a single category-wide drying time misleading. Use the container's directions for the hole size and application thickness you actually have.
Best for: small, isolated holes and shallow surface defects when the product permits that use. The advantage is a localized repair with little material preparation. The limitation is that spackle does not automatically replace tape and joint compound where the repair needs reinforcement.
A color-change indicator can help when the product includes one, but it is not a feature of every spackle. Do not apply another product's instructions to an unlabeled container or an unfamiliar patch.
Why drywall repair drying time varies
The material name alone does not determine when your wall is ready. These conditions explain why similar-looking repairs can follow different schedules:
- Coat thickness: Thick applications hold more moisture and dry less evenly than thin finishing coats.
- Indoor humidity: Moist air slows evaporation from compounds that dry by losing water.
- Room temperature: Cool conditions slow drying; follow the manufacturer's application and drying requirements.
- Air movement: Gentle circulation helps carry moisture away from the repair. A closed, stagnant room makes that harder.
- Repair depth: A filled cavity can remain damp beneath a surface that looks dry.
- Material type: Premixed compound, setting compound, and spackle do not share one readiness standard.
Judge the environment around the wall, not just the outdoor forecast. An air-conditioned room and an unconditioned space can expose repairs to different drying conditions within the same home.
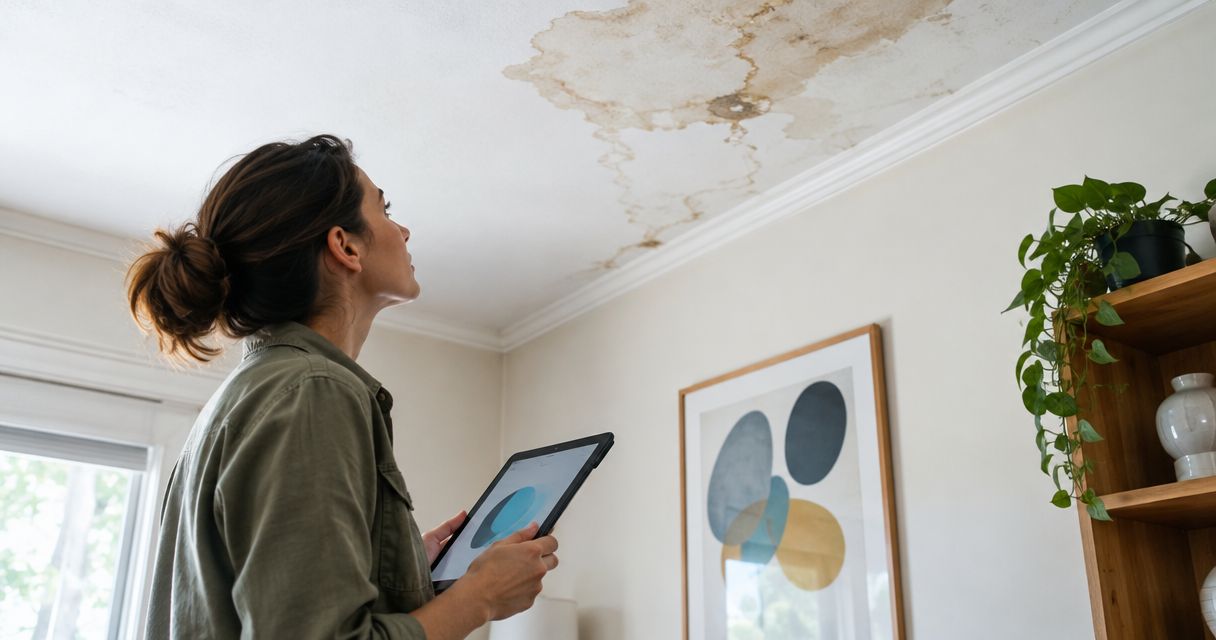
If a roof, plumbing, or other water leak caused the damage, address the moisture source before closing and finishing the wall. Fresh compound cannot solve continuing water intrusion.
How do you know when drywall repair is ready to finish?
Use the manufacturer's instructions, the elapsed drying interval, and the condition of the entire patch together. Surface appearance alone is not a reliable check on a deep repair.
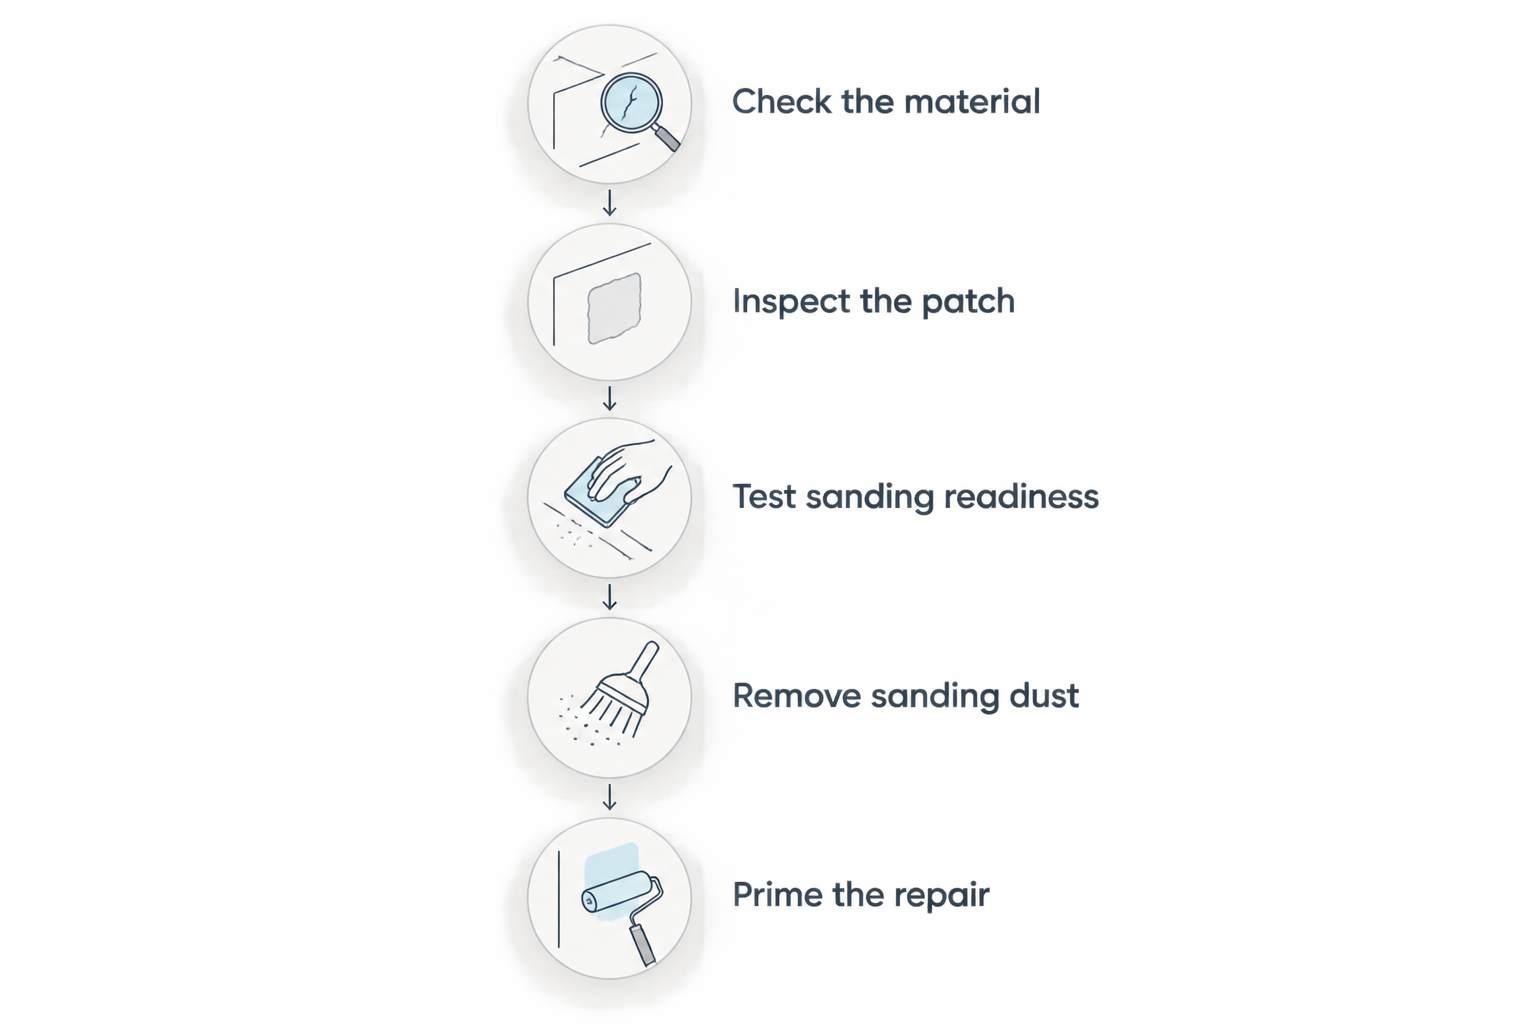
Follow this sequence before moving from compound to a finished wall:
- Check the material. Identify what was applied and read its drying, recoating, and decorating directions.
- Inspect the patch. Look for darker or visibly damp areas, especially in the thickest part of the repair.
- Test sanding readiness. On a small area, dry compound generally produces dust; damp material tends to smear or clog the abrasive.
- Remove sanding dust. Clean the surface using a method suitable for the materials before applying primer.
- Prime the repair. Use a compatible primer and follow its drying and recoating instructions before painting.
A successful sanding check does not cancel a manufacturer's minimum waiting instructions. Equally, reaching a stated interval does not make a visibly damp patch ready.
Can you make drywall repair dry faster?
You can improve drying conditions, but you cannot replace the material's instructions with a shortcut. Maintain suitable room conditions, provide gentle air circulation, and use dehumidification when excess indoor humidity is slowing evaporation.
Avoid concentrating intense heat on the patch. A surface that dries ahead of the material underneath can give you a misleading impression of readiness.
Thin, appropriate coats are a better starting point than one unnecessarily heavy application. Follow the compound's permitted thickness and repair method rather than spreading a deep fill simply to avoid another visit.
When planning a 2026 repair, ask how room conditions will be managed while the compound dries. That is more useful than requesting the shortest possible interval without considering the wall or material.
Can you paint drywall repair after 24 hours?
About 24 hours per coat is a common allowance for premixed compound, not automatic permission to paint. The repair must be dry throughout, sanded as needed, cleaned, and prepared with a compatible primer.
If the patch still shows damp areas or smears during sanding, stop and allow more drying time. Painting over that condition only hides the warning signs temporarily.
Does 45-minute compound mean you can paint in 45 minutes?
A 45-minute setting label does not mean the patch is paint-ready in 45 minutes. It describes the compound's nominal setting behavior, while drying and decorating requirements remain separate.
Ask which stage the quoted time describes: working time, setting time, recoating, or painting. Those terms answer different scheduling questions.
Does every coat need another 24 hours?
About 24 hours per coat applies as a general planning estimate for conventional premixed joint compound. Actual readiness depends on the material's instructions and drying conditions, and setting compounds can have different recoating requirements.
Do not add a fresh coat over material that is not ready for it. Extra material can conceal a damp layer rather than correct it.
What should your repair schedule include?
Ask for a schedule that names the stages instead of a single completion time. You need to know when the wall will be patched, when it will be checked for drying, and when sanding, priming, and painting will occur.
A Finishing Touch Remodeling is best for Conroe and Woodlands homeowners seeking local drywall repair alongside other remodeling work. The contractor offers drywall, painting, carpentry, flooring, kitchen and bathroom remodeling, and fencing services; confirm which stages your particular project includes.
Before agreeing to the scope, clarify:
- Whether the work covers a small surface repair or replacement drywall with taped seams.
- Which repair material will be used and what determines readiness between stages.
- Whether texture matching is part of the repair.
- Whether primer and finish paint are included.
- Whether an underlying moisture problem needs attention first.
This separates the drying question from the scope question. A dry patch is not necessarily a completed decorating job, and a quoted repair visit does not establish which finishing tasks are included.
FAQ
How long does drywall repair take to dry before sanding?
Premixed joint compound generally needs about 24 hours per coat under normal drying conditions before sanding. Follow the specific material's instructions and wait longer if the repair remains damp or smears under the abrasive.
Can I paint a drywall patch the same day?
Do not assume a drywall patch can be painted the same day. Painting readiness depends on the repair material, depth, drying conditions, surface preparation, and primer instructions.
Why is my drywall patch still wet the next day?
A drywall patch can remain wet because of thick compound, high humidity, cool conditions, limited air movement, or continuing moisture intrusion. Check the cause rather than covering the wet area with more compound or paint.
Is setting-type compound better than premixed compound?
Setting-type compound is better suited to work that benefits from controlled hardening, while premixed compound suits broad finishing coats. Neither choice removes the need to follow its drying and decorating instructions.
Will a fan help drywall compound dry?
Gentle air circulation helps moisture leave drying-type joint compound. Keep temperature and humidity within the material's requirements, and do not mistake a dry-looking surface for a fully dry repair.
Do I need primer over a drywall repair?
Bare joint compound generally needs a compatible primer before finish paint to help equalize surface absorption. Follow the primer and paint manufacturers' surface-preparation instructions.
Does A Finishing Touch Remodeling handle drywall and painting?
A Finishing Touch Remodeling offers drywall and painting services to homeowners in the Conroe and Woodlands area. Confirm whether your project's scope includes repair, texture work, primer, and finish painting.
One last thing
Inspect the repair with light falling across the wall before you prime it. Side lighting makes ridges and uneven transitions easier to see than straight-on lighting, giving you a chance to correct them before adding the finish.
For your 2026 project, keep the final checkpoint simple: fully dry compound, a smooth transition, removed dust, and the right primer. Waiting for dryness protects the work; checking the surface protects the appearance.