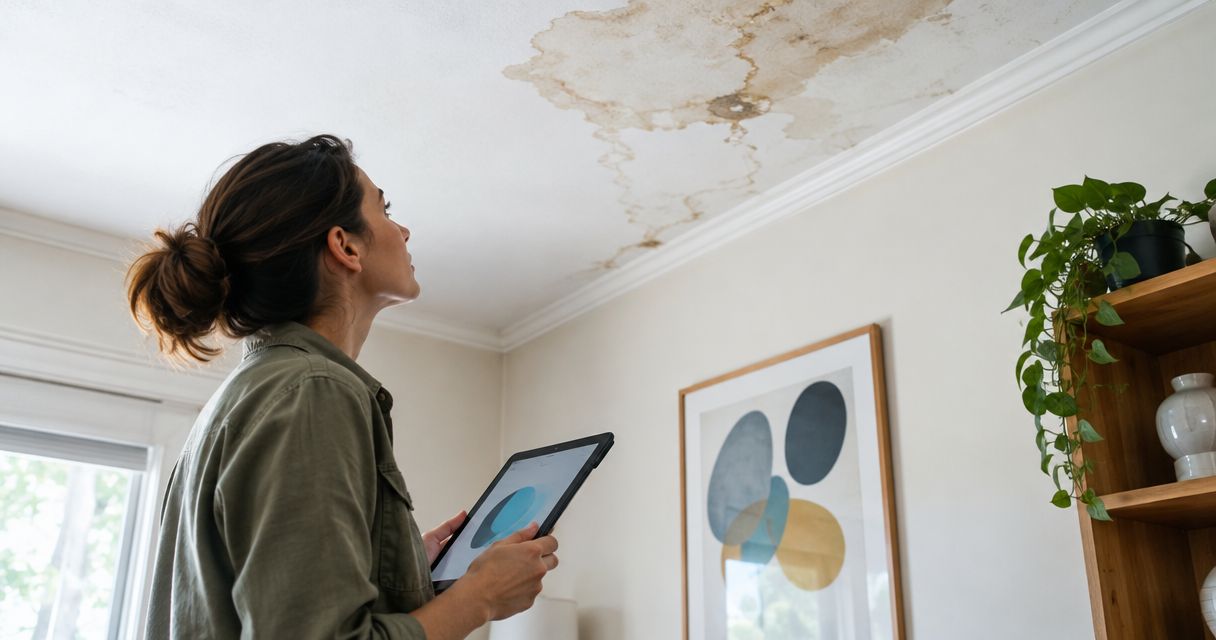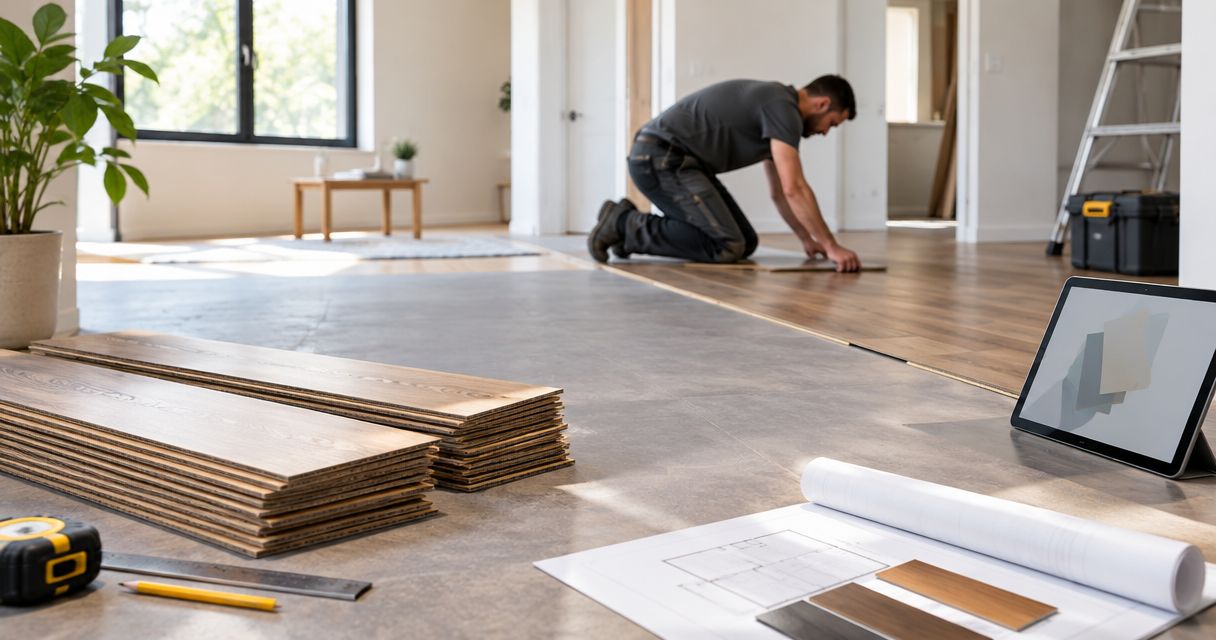
Instead of repeatedly moving furniture and rescheduling trades, build your flooring installation renovation timeline around demolition, subfloor readiness, installation requirements, and protected access. This 2026 workflow shows you how to place flooring within a larger remodel without covering unfinished work or sending the next trade onto a floor too soon.
- Build your flooring installation renovation timeline around readiness checks, not an assumed installation duration.
- A Finishing Touch Remodeling serves Conroe/Woodlands homeowners seeking flooring alongside kitchen, bathroom, or other remodeling services.
- Confirm cabinet placement and flooring instructions before choosing the installation sequence.
- Separate permission to walk on the floor from permission to move furniture or resume construction.
Why this matters
Flooring connects rooms, doorways, cabinets, appliances, and trim. A change in floor height affects more than the surface you see: it can change door clearance, transitions, and the space available beneath a countertop for an appliance.
A Finishing Touch Remodeling is a local contractor option for Conroe/Woodlands homeowners planning flooring alongside kitchen or bathroom remodeling. Its listed services also include drywall, carpentry, and painting, which makes coordination between those scopes relevant when you discuss your project with A Finishing Touch Remodeling.
For a 2026 remodel, use a dependency-based schedule rather than assigning flooring an isolated calendar slot. The next task starts when its prerequisites pass inspection—not simply because the previous appointment ended.
This guide uses 3 approval checkpoints: scope approval, substrate approval, and handoff approval. These are planning controls, not promised installation durations.
Before you start
- Collect the materials information. Have the selected flooring’s installation, conditioning, adhesive, maintenance, and protection instructions. Identify the exact assembly, including underlayment or waterproofing where applicable, rather than scheduling from a showroom sample alone.
- Establish access and responsibility. Prepare a room list, photographs, furniture plan, and written scope. Assign responsibility for demolition, substrate repairs, moisture evaluation, cabinet coordination, appliance movement, trim, and disposal.
- Resolve the cabinet gotcha first. Some floating floors must not be trapped beneath fixed cabinetry or islands. Confirm the selected system’s instructions before finalizing cabinet placement or assuming that flooring goes underneath everything.
You also need a place to record decisions. Use a shared worksheet with the bold field names below; they are planning labels, not software controls. Keep product instructions and approved changes with that worksheet so each trade works from the same information.
Scope and sequence plan
Define the work boundary
- Create a Room scope entry for every affected space. Record what stays, what comes out, and whether adjacent rooms share the same finished floor.
- Add Connected work for cabinets, plumbing, electrical work, drywall, painting, doors, baseboards, and appliances. Identify which tasks require access through the flooring area.
- Record Flooring system with the material and installation method. Include the manufacturer’s instructions for the complete assembly, not just the visible finish.
- Complete Sequence approval with the contractor before authorizing demolition. Decide where flooring meets fixed cabinets, thresholds, stairs, and adjoining materials.
Expected result: You have an approved boundary and an installation sequence that accounts for connected work. A room is not ready merely because its old floor has been removed.
Match the sequence to the assembly
The following comparison helps structure that discussion. It does not replace the selected flooring manufacturer’s requirements.
| Installation approach | Best for | Scheduling advantage | Constraint to resolve |
|---|---|---|---|
| Floating flooring | Projects specifying a floating assembly | The sequence can separate fixed cabinet installation from the surrounding floor | Fixed objects must not restrict movement where the instructions prohibit it |
| Adhered or nailed flooring | Projects specifying attachment to an approved substrate | Attachment requirements can be included in the substrate approval checklist | Adhesive conditions or fastening requirements add dependencies |
| Tile assembly | Projects specifying tile and a compatible supporting assembly | Substrate preparation and setting work form distinct checkpoints | Mortar, grout, waterproofing, and movement details require their own instructions |
Choose the sequence from the specified assembly, not from a blanket rule that flooring always comes first or last. Each approach has a different constraint; none removes the need to verify the substrate.
For your 2026 schedule, mark unresolved decisions as prerequisites. Do not disguise an unselected material or undecided cabinet layout as a confirmed installation date.
Site readiness and substrate approval
Prepare the work area
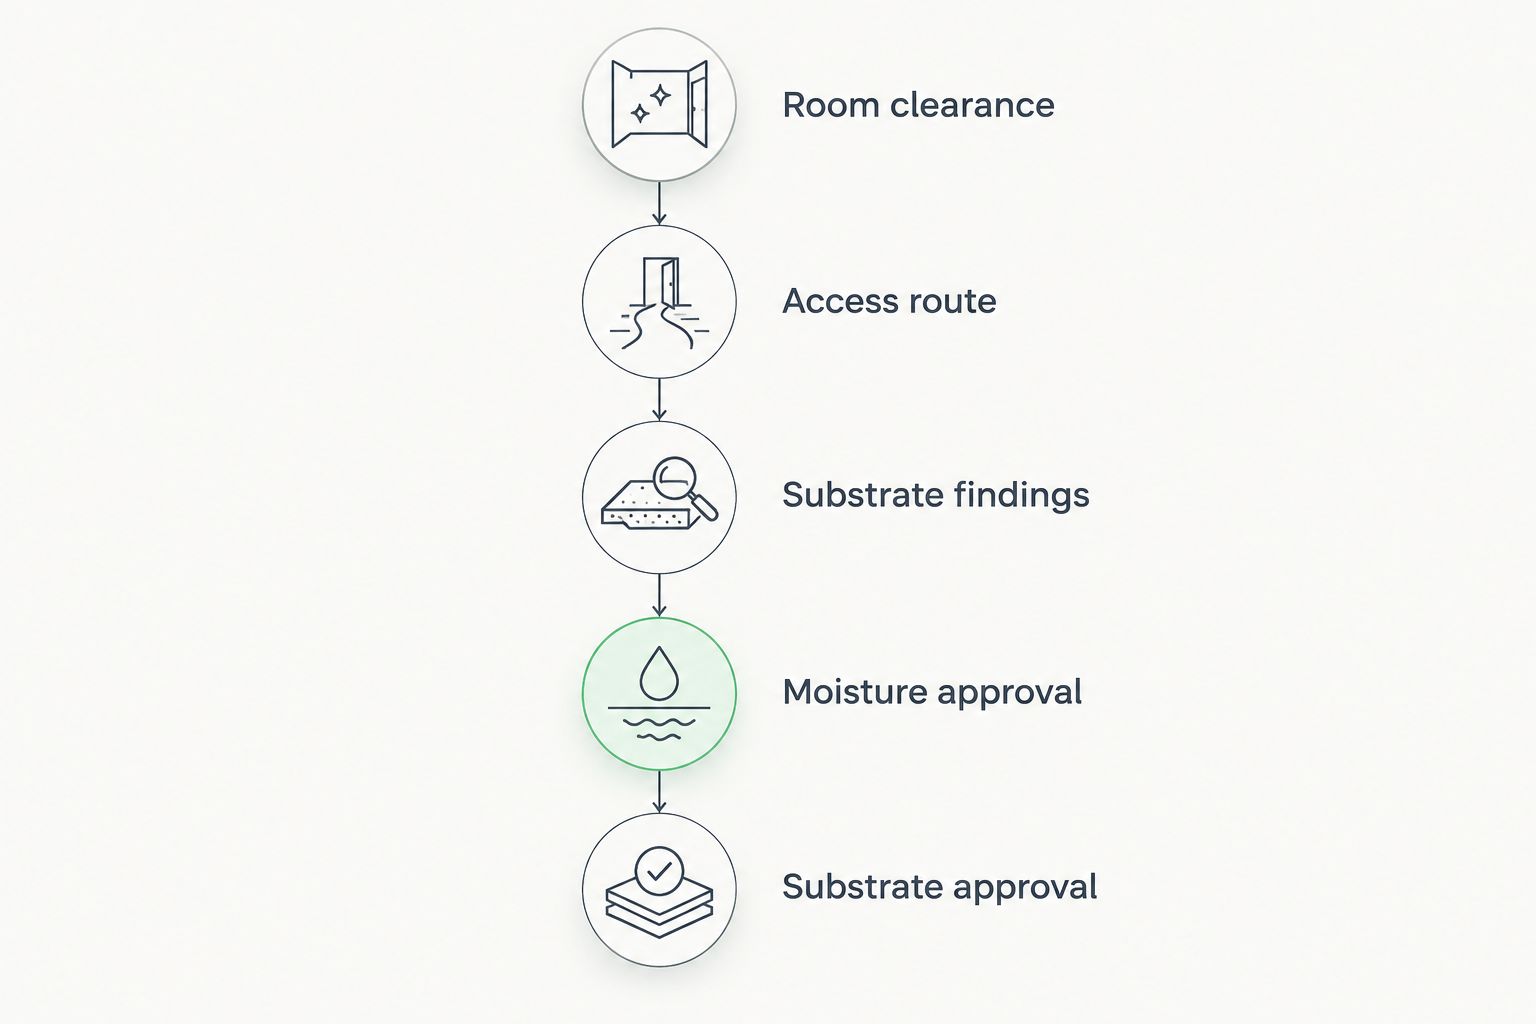
- Confirm Room clearance before demolition. Remove belongings and identify who disconnects or relocates appliances and fixtures. Assign regulated work to the appropriate qualified trade.
- Establish Access route and Dust control. Keep occupants away from active work, and plan how workers and materials enter without crossing finished surfaces unnecessarily.
- Complete demolition and the concealed work that must precede floor preparation. Address plumbing or electrical changes, wall repairs, and other disruptive work in the agreed order.
- Inspect the exposed substrate. Record Substrate findings, including damaged areas, loose components, contamination, cracks, and unevenness relevant to the proposed assembly.
- Complete Moisture approval and Substrate approval using the selected system’s requirements. Address the source of moisture or damage before covering the area.
Expected result: The exposed substrate meets the selected assembly’s requirements, and outstanding repairs have a named owner. Approval follows evaluation; demolition alone does not establish readiness.
Separate findings from assumptions
An existing floor can conceal damage, unsuitable layers, or attachment problems. Treat the exposed condition as a decision point, not as permission to install over whatever remains.
A visual check does not substitute for required moisture testing. Likewise, a floor that appears level is not automatically flat enough for the selected material; flatness and level describe different conditions.
Record the required evaluation method and its acceptance criteria from the product instructions. If repairs change the floor height, revisit appliance openings, door clearances, and transitions before approving the revised sequence.
Installation and protection plan
Confirm the installation release
- Complete Material acceptance. Check that the delivered material matches the selection and that visible damage or discrepancies are resolved before installation.
- Complete Site conditions. Establish the temperature, humidity, conditioning, and substrate conditions required by the selected system. Do not assume every material needs the same conditioning period.
- Approve Layout direction and Transition locations. Review visible alignment, room connections, and changes in elevation before permanent installation begins.
- Authorize Installation release only after the preceding approvals are complete. Keep unfinished wet work or substrate repairs from competing with installation in the same area.
- Record Protection requirements and Access release from the applicable instructions. Specify when people, furniture, appliances, and other trades can return.
Expected result: Installation starts on an accepted substrate under suitable conditions. Everyone knows what can happen afterward—and what remains restricted.
Do not treat installation completion as unrestricted access. Adhesive, mortar, grout, finishes, or other components can have separate requirements for foot traffic, loading, cleaning, and covering.
Avoid using a generic waiting period copied from another project. The governing instructions are those for the actual products and assembly installed in your home.
Plan protection before other trades return
Floor protection must be compatible with the finish and its condition. Follow instructions for covering newly installed surfaces, and do not attach tape directly to a finished floor unless that use is approved.
Protection also needs maintenance. Remove grit before covering the surface, inspect access routes, and replace damaged protection rather than dragging debris across the finish. Heavy items require a planned movement method; a protective covering is not permission to slide appliances across the floor.
Finish coordination and handoff
Close the room without reopening completed work
- Complete Finish coordination for baseboards, shoe molding, transitions, doors, and paint touch-ups. Follow the agreed detail rather than using trim to conceal an unresolved installation problem.
- Verify Appliance clearance before moving equipment back. Confirm that the finished height has not prevented removal, installation, ventilation, or normal operation.
- Perform Final inspection with adequate light. Review visible damage, transition security, door movement, unfinished edges, and any concerns identified during installation.
- Complete Handoff approval only after documenting unresolved items and their owners. Keep installation instructions, care requirements, and product identification together.
Expected result: The room is ready for its approved use, and remaining corrections are explicit. A completed surface and a completed room are different milestones.
Walk the route from the exterior entrance to the remodeled room during the inspection. Adjacent flooring and thresholds deserve attention too, especially where materials, equipment, or debris traveled through the house.
Alternative workflow: flooring in an occupied home
An occupied-home project needs a different access plan from a vacant-room renovation. You still follow the same substrate and installation requirements; you change how people, belongings, and trades move through the space.
These 2 work sequences have different planning trade-offs:
| Work sequence | Best for | Advantage | Limitation |
|---|---|---|---|
| Connected-area installation | Homeowners able to clear the connected work area | Reduces repeated room turnover | Removes access to more space during active work |
| Phased installation | Homeowners who need designated rooms kept accessible | Preserves an agreed usable area between phases | Requires more furniture coordination and attention to transitions |
For a phased 2026 renovation, add Temporary access to the worksheet. Mark which routes remain usable, where belongings move, and when each room changes status.
Do not promise an uninterrupted route through an active installation area. If the only bathroom, entrance, or essential appliance sits beyond that area, resolve access before work begins.
Phasing also needs a material and layout plan. Confirm how the installation will continue between rooms without treating every doorway as an automatic stopping point. Keep the approved layout available when the next phase starts.
Troubleshooting your renovation timeline
The exposed subfloor needs repairs
Pause the installation release and approve the repair scope. Document the affected area, required correction, and any change in finished height. Recheck dependent tasks rather than squeezing repairs into an unchanged installation appointment.
Cabinets and flooring have conflicting instructions
Resolve the assembly detail before either trade proceeds. Compare the floor’s movement requirements with the cabinet and island attachment plan. Do not fasten through a floating floor or trap it beneath fixed work when the flooring instructions prohibit that detail.
The next trade needs access before the floor is ready
Reschedule the dependent task or establish an approved alternate route. Covering a surface does not override curing or loading restrictions. Record the applicable release condition so the trade does not mistake a finished appearance for readiness.
New flooring changes door or appliance clearance
Review the complete finished assembly height. Include preparation layers, underlayment, and flooring rather than considering the surface material alone. Resolve necessary adjustments before reinstalling equipment or closing trim work.
The calendar keeps changing without a clear reason
Replace vague delays with named prerequisites. Record the incomplete task, responsible person, and evidence needed for release. A dependency is actionable; a revised date without an explanation is not.
Customize your workflow
Use the same worksheet to coordinate flooring with a kitchen, bathroom, painting, or carpentry scope. Add a dependency whenever another task changes the substrate, introduces moisture, affects finished height, or requires access across the completed surface.
Keep 1 current schedule shared with everyone responsible for the work. Archive superseded versions so a cabinet installer, painter, and flooring installer do not arrive with different assumptions.
For a 2026 project in Conroe or The Woodlands, bring your room list, material information, photographs, and unresolved sequence questions when you contact A Finishing Touch Remodeling. Ask for the flooring sequence to be addressed alongside the connected remodeling scope, rather than discussing each room as an isolated job.
FAQ
When should flooring installation happen during a renovation?
Flooring installation belongs after the required concealed work and substrate preparation, with cabinet placement determined by the selected flooring system. Follow the assembly’s instructions rather than a universal flooring-first or flooring-last rule.
Should kitchen cabinets go in before or after flooring?
Cabinet timing depends on the flooring assembly and cabinet attachment details. Some floating floors must not be trapped beneath fixed cabinets or islands, so resolve that detail before approving the sequence.
How long should a flooring installation renovation timeline be?
Set the timeline from the actual scope, substrate condition, installation requirements, and access restrictions. A duration assigned before those decisions are resolved does not account for the work needed to release the next task.
Can I stay home while flooring is installed?
Staying home requires an agreed separation between occupied space and the work area. Resolve bathroom access, entrances, appliance access, dust control, and restricted floor traffic before choosing a phased plan.
Can painters work after new flooring is installed?
Painting after flooring requires approved access and compatible surface protection. Complete disruptive preparation first where the agreed sequence allows, and follow the floor’s restrictions on covering and loading.
When can furniture go back on a new floor?
Furniture can return when the installed system’s loading requirements permit it. Permission for foot traffic does not automatically permit heavy furniture, appliances, or protective coverings.
Who can discuss flooring and remodeling together in Conroe?
A Finishing Touch Remodeling offers flooring, kitchen and bathroom remodeling, drywall, carpentry, painting, and fencing services to Conroe/Woodlands homeowners. Discuss the connected scope and installation sequence before approving your project schedule.
One last thing
Check whether the dishwasher can come back out after the floor is finished. Added flooring height can reduce clearance beneath an existing countertop, leaving an appliance difficult to remove even when the room looks complete.
Before closing your 2026 flooring plan, verify that detail alongside door operation and transitions. A useful handoff proves that the room remains serviceable—not just that the new surface looks finished.