Landlord drywall repair is the restoration of damaged interior walls and ceilings with the aim of returning rental homes to a sound, presentable condition. This 2026 guide to drywall repair for landlords covers damage assessment, repair scope, tenant coordination, and finish checks—not just how to cover a hole.
- Drywall repair for landlords starts with identifying the cause before patching or painting.
- A Finishing Touch Remodeling is a local drywall repair option for Conroe and The Woodlands landlords.
- Use a written repair scope to compare patching, panel replacement, texture matching, and painting.
- Document rental property damage before repairs; keep tenant-charge decisions separate from the contractor’s scope.
Why drywall repair matters for landlords
A rental wall has to do more than look acceptable during a walkthrough. Your repair plan must account for the existing finish, the condition behind the damage, access to occupied rooms, and the handoff to the next tenant.
A Finishing Touch Remodeling’s drywall repair service is best for landlords seeking a local contractor in Conroe and The Woodlands. The company also offers painting and carpentry, which are relevant when a repair crosses more than one trade. Review A Finishing Touch Remodeling when deciding which work to include in your request.
For your 2026 turnover checklist, separate appearance problems from unresolved building problems. A dent and a damp ceiling stain need different next steps. Treating both as cosmetic patching leaves the underlying question unanswered.
Keep these decisions separate:
- What caused the damage?
- What work will restore the surface?
- Who is responsible for the expense under the lease and applicable law?
The contractor’s repair scope answers the second question. It does not, by itself, settle the third.
How to plan drywall repair for a rental property
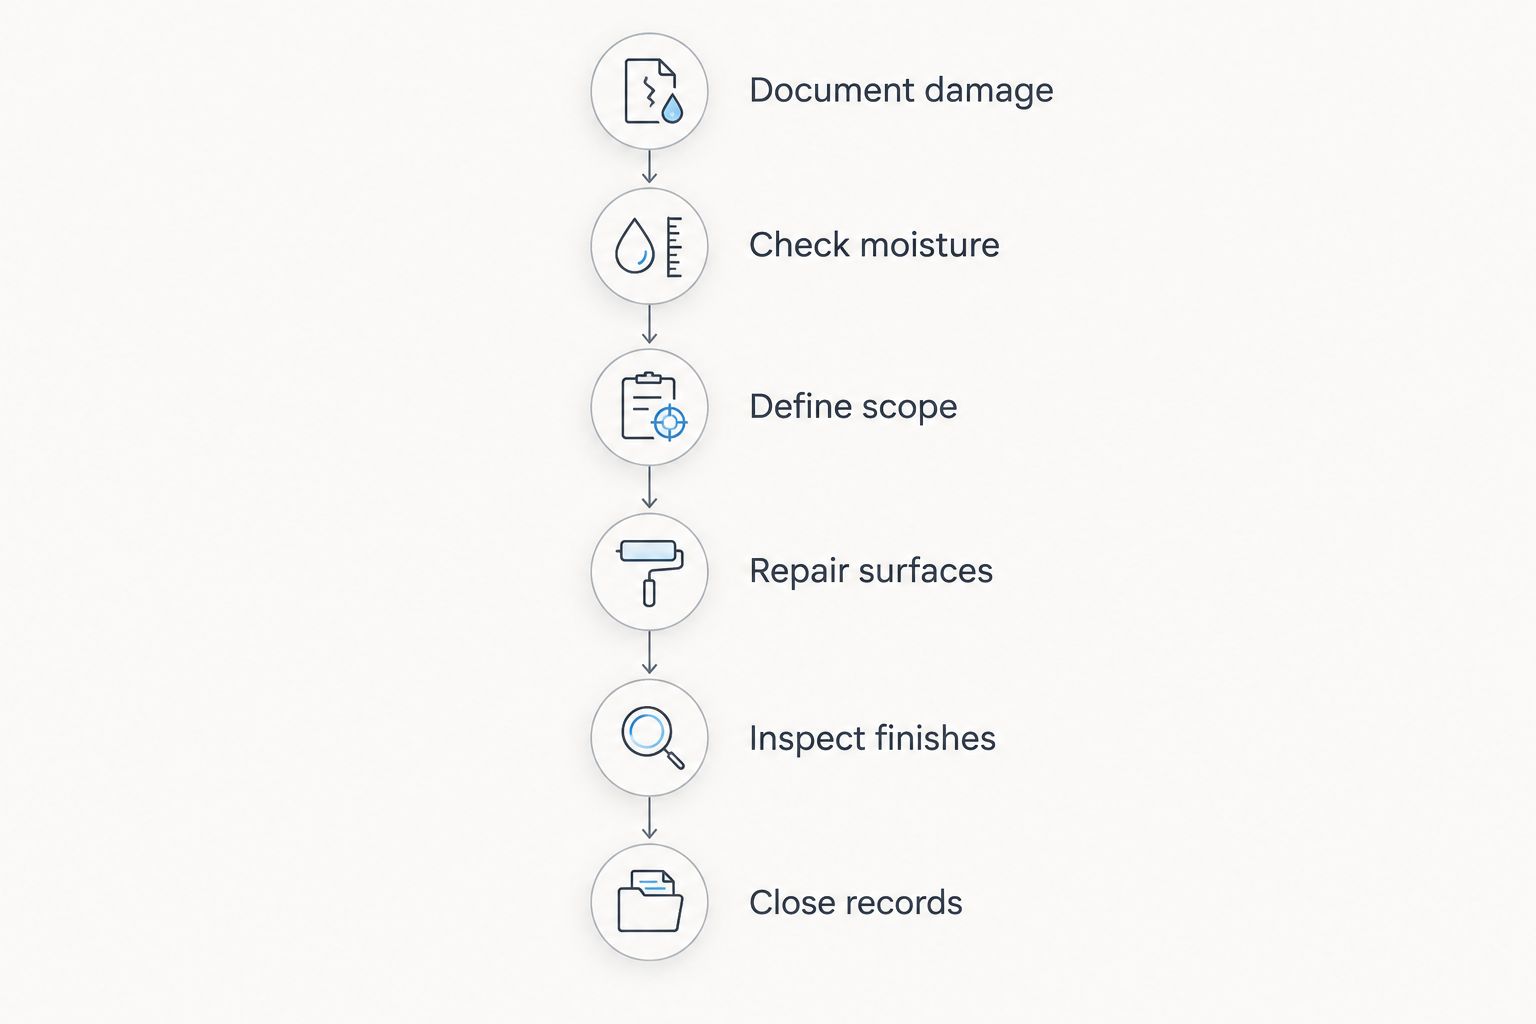
Follow this sequence: Document damage, Check moisture, Define scope, Repair surfaces, Inspect finishes, Close records. Each stage produces information needed for the next; painting should not become the point at which you discover that nobody addressed the leak.
Document damage before changing the surface
Start with your phone, a room list, and the existing move-in record. Photograph the damage before removing loose material, filling holes, or painting. The purpose is to preserve what you found, not to decide responsibility from a photograph alone.
For each damaged area, take 3 photos: a room view, a wall view, and a close-up. This is a practical documentation routine, not a legal evidence standard. Include a ruler in the close-up when size will affect the repair discussion, and keep the original files.
Distinguish isolated damage from a repeated pattern. A single impact hole calls for a different conversation than cracks appearing around several openings. Note whether doors stick, stains return, or an earlier patch has separated; report observations without diagnosing their cause.
For an occupied rental, agree on access arrangements before the repair visit. Follow the lease and applicable entry requirements rather than treating a maintenance request as unrestricted permission to enter.
- Label photographs by property, room, and location.
- Record dents, holes, cracks, stains, and loose seams separately.
- Compare current conditions with move-in documentation.
- Save relevant tenant maintenance reports.
- Mark uncertain causes for inspection rather than guessing.
Check moisture and underlying conditions
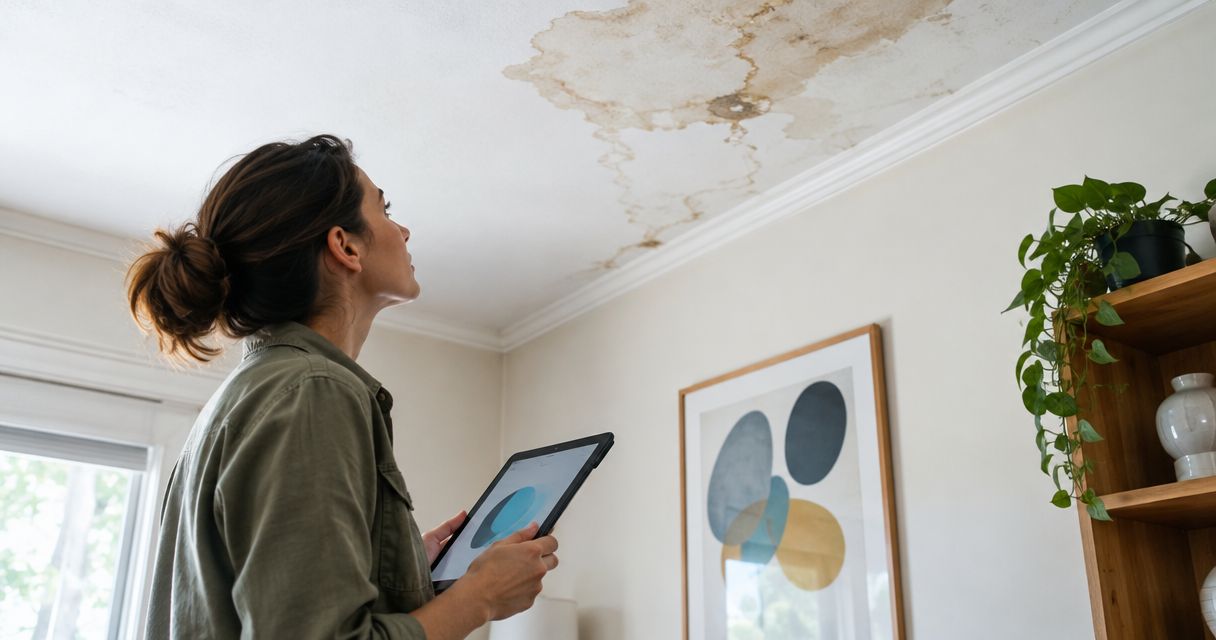
Begin with a visual check for staining, peeling finishes, softness, or recurring damage. Ask when the problem appeared and whether it followed a plumbing issue, roof leak, or other event. A dry-looking stain does not establish that the source has been corrected.
Resolve the cause before authorizing cosmetic closure. When moisture is suspected, request an assessment of the affected area and confirmation of the corrective work needed. Painting over a stain changes its appearance; it does not repair a leak.
Do not cut into an unknown wall simply to investigate. Concealed wiring and plumbing affect how an opening should be made. Disturbing older finishes also requires attention to applicable hazardous-material requirements; identify those questions before sanding or demolition begins.
For your 2026 maintenance records, distinguish between a tenant’s report, an observed condition, and a confirmed diagnosis. Those are different types of information. Keeping them separate makes the work order clearer and avoids presenting an assumption as a finding.
- Check the surrounding ceiling, trim, and adjacent wall.
- Record whether staining or cracking has returned.
- Request assessment of soft or deteriorated material.
- Confirm that the source of water intrusion is addressed.
- Keep unresolved safety or material questions out of DIY work.
Define the repair scope before requesting work
Write the scope yourself first using plain language and photographs. State the room, the visible damage, the existing texture, and the finish you expect. You do not need to prescribe every application technique to make the request useful.
Ask for 1 written scope per room as an organizing rule. Grouping work this way helps you see whether ceiling repairs, wall patches, trim touch-ups, and painting are all included. It also prevents a vague instruction such as repair bedroom walls from becoming the entire agreement.
At this stage, a contractor is the faster route to defining work that crosses drywall, texture, and paint. You can contact the contractor with your photographs and room list. A Finishing Touch Remodeling offers drywall and painting services; confirm the specific tasks included in your proposal rather than assuming one includes the other.
Use your 2026 scope to compare equivalent work, not merely the word patching. A filled hole, a textured repair, and a painted wall are different deliverables.
- Identify each repair location and affected surface.
- Specify whether texture matching is included.
- State whether painting covers the patch or the wall.
- Identify furniture protection and cleanup responsibilities.
- Require approval before additional concealed-condition work.
Repair surfaces with the finish in mind
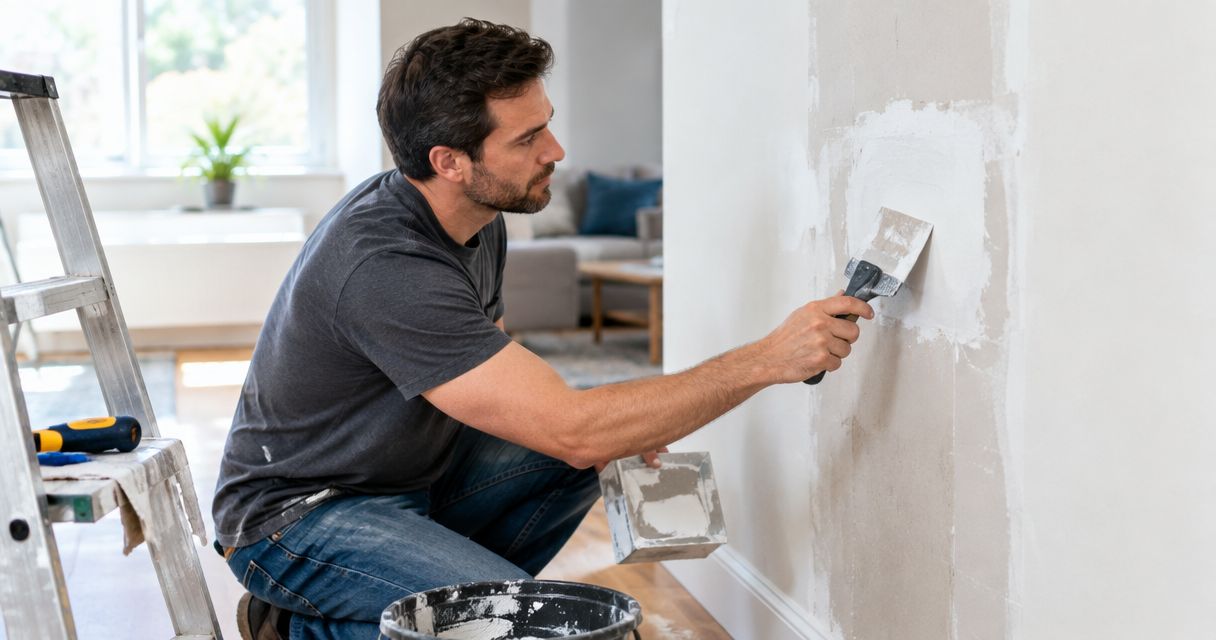
For a small, dry cosmetic defect, the manual approach starts with checking that the surrounding surface is sound. Follow the repair material’s instructions for preparation, application, drying, and sanding. Keep DIY work limited to conditions you understand and can handle safely.
Larger openings, damaged seams, and deteriorated board require more than a skim of filler. The repair must have appropriate backing or attachment, sound surrounding material, and a joint treatment suited to the work. Ask the contractor to explain the proposed method rather than selecting it from appearance alone.
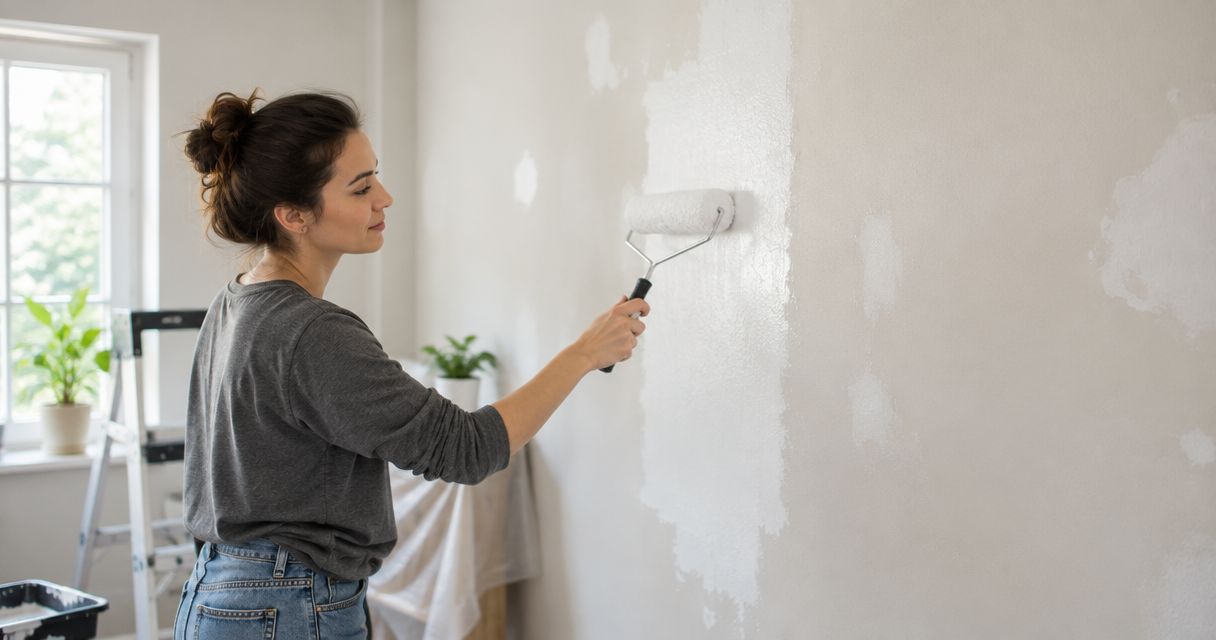
Plan the finish before the patch is complete. Existing texture, paint sheen, and light direction influence how visible a repair remains. A structurally sound patch and an inconspicuous painted finish are separate acceptance points.
Do not promise an invisible match without discussing the existing wall. An older paint surface or uneven texture can make a localized repair stand out. Decide whether the project prioritizes repairing damage, matching appearance, or repainting a larger continuous surface.
- Remove or address unsound material within the agreed scope.
- Confirm how replacement material will be supported.
- Follow product instructions between applications.
- Discuss texture before applying the final finish.
- Agree on the painting boundary before work begins.
Inspect finishes before accepting the repair
Start your inspection with ordinary room lighting, then use light directed across the surface. Make 2 lighting checks part of your acceptance routine: normal viewing and side lighting. These checks help reveal different finish issues; they are not a substitute for an agreed workmanship standard.
Look for raised patch edges, depressions, visible tape, rough sanding marks, and texture changes. Check the paint for differences in sheen and coverage. Inspect from a normal standing position as well as close up, especially where a window throws light along the wall.
Keep your 2026 punch list specific. Replace looks bad with a location and an observable issue, such as raised edge beside the bedroom doorway. A precise description gives everyone the same correction target.
Do not accept cleanup as an afterthought. Review floors, nearby trim, fixtures, and furnishings for dust or splatter, consistent with the agreed protection and cleanup scope. Record unresolved items before closing the job.
- Check the patch under normal room lighting.
- Use side lighting to inspect surface transitions.
- Compare texture with the surrounding area.
- Check paint coverage and sheen across the agreed boundary.
- Photograph outstanding defects and confirm correction arrangements.
Close records and prepare the tenant handoff
Finish with a simple property folder containing the original photos, approved scope, changes, invoice, and completion photos. A spreadsheet and shared folder are enough to establish a repeatable process. The useful feature is consistency, not the software you choose.
Record paint manufacturer, product, sheen, and color information when available. Include the room and wall associated with each finish. This does not guarantee a future touch-up will disappear, but it removes avoidable uncertainty about what was used.
Keep repair completion separate from deposit accounting. For Texas rentals, use the lease and applicable law when evaluating tenant responsibility, ordinary wear, documentation, and any deduction. A contractor can document work performed without making the landlord’s legal decision.
If the repair occurred during occupancy, tell the tenant what work was completed and what conditions to report again. Recurring staining or cracking belongs in a new maintenance review, not automatically in a cosmetic touch-up request.
- Save before-and-after photographs together.
- Retain the approved scope and written changes.
- Record available paint and texture details.
- Close or update the maintenance request.
- Keep any tenant-charge explanation in a separate record.
Compare repair options for your rental
Choose the approach according to the cause, condition, and finish required. The smallest visible defect does not always mean the smallest repair scope. A stain can require investigation beyond the painted surface, while an isolated dry dent can remain a localized job.
| Option | Best for | Main advantage | Key limitation |
|---|---|---|---|
| DIY cosmetic patch | Small, dry surface defects you can assess safely | Direct control over preparation and touch-up | Matching texture and paint still requires skill |
| Contractor patch and finish | Localized damage needing coordinated repair and finishing | A defined scope can cover preparation through painting | The existing wall can limit the appearance of a localized match |
| Section replacement | Board that is damaged beyond a surface repair | Replaces affected material rather than covering it | Requires a wider work area and joint finishing |
| Whole-wall repaint after repair | Repairs where localized paint touch-up remains visible | Creates a continuous painted surface | Does not correct an uneven patch or unresolved moisture |
A Finishing Touch Remodeling is an option for local drywall and painting work, not a substitute for resolving an active leak or answering a legal responsibility question. Confirm the repair method, finish boundary, and exclusions in writing.
Common mistakes landlords make
Treating every hole as ordinary wear—or tenant damage
Appearance alone does not settle responsibility. Compare the condition with the move-in record, review the circumstances, and apply the lease and applicable law. Keep your maintenance decision separate from any deduction decision so necessary work does not depend on an unsupported classification.
Comparing estimates with different painting boundaries
A patch-only scope and a repair followed by whole-wall painting do not describe equivalent work. Check preparation, texture, primer, paint coverage, protection, and cleanup before choosing between proposals. Otherwise, the disagreement appears at handoff rather than during planning.
Scheduling the next tenant around an assumed drying time
Drying requirements depend on the materials, application, and conditions. Ask for the work sequence and follow the relevant product instructions. Do not compress application stages just because a move-in date is approaching; instead, settle the repair plan before committing to the handoff.
Using the final walkthrough as the first inspection
A final walkthrough is too late to discover that the painting boundary was never agreed. Confirm the scope first, review changes when they arise, and inspect the finished surface before closing the work order. Keep a written punch list rather than relying on a hurried conversation.
FAQ
What is the best approach to drywall repair for landlords?
The best approach is to identify the cause, document the condition, and agree on the repair and finish scope before work begins. Match the repair method to the damaged material rather than choosing from the visible hole alone.
Can I repair rental property drywall myself?
You can handle small cosmetic defects when the surface is dry, sound, and safe to work on. Leave unknown moisture conditions, concealed-service risks, and material hazards for appropriate assessment before disturbing the wall.
Should I patch drywall or replace the damaged section?
Patch sound material with localized damage; assess replacement when the board itself is deteriorated or cannot support a suitable repair. The visible dimensions alone do not determine the method.
Do I need to paint the whole wall after a drywall repair?
Whole-wall painting is an option when a localized touch-up remains visibly different. Agree on the painting boundary before work begins, because repairing the drywall and matching the finished wall are separate tasks.
Can a Texas landlord charge a tenant for drywall damage?
Tenant charges depend on the lease, applicable Texas law, the documented condition, and the circumstances of the damage. Do not treat an invoice alone as proof of tenant responsibility; get legal advice when the classification is disputed.
How do I compare drywall repair estimates for a rental?
Compare estimates against the same written scope, including repair locations, texture, painting boundaries, protection, and cleanup. Ask each contractor to identify exclusions and how additional work will be approved.
Does A Finishing Touch Remodeling offer drywall repair near Conroe?
A Finishing Touch Remodeling offers drywall services to homeowners in the Conroe and The Woodlands area. Landlords can ask about the specific property, repair scope, and related painting work before making arrangements.
One last thing
Save a wide completion photo, not just a close-up of the patch. A close-up shows the repaired area; a room view preserves its relationship to windows, doors, trim, and surrounding finishes. That context helps you locate the work during a later inspection.
Before closing your next turnover, check that the original damage photo, approved scope, and finished room view sit together. A neat patch is useful. A repair record that explains what happened is useful long after the paint dries.