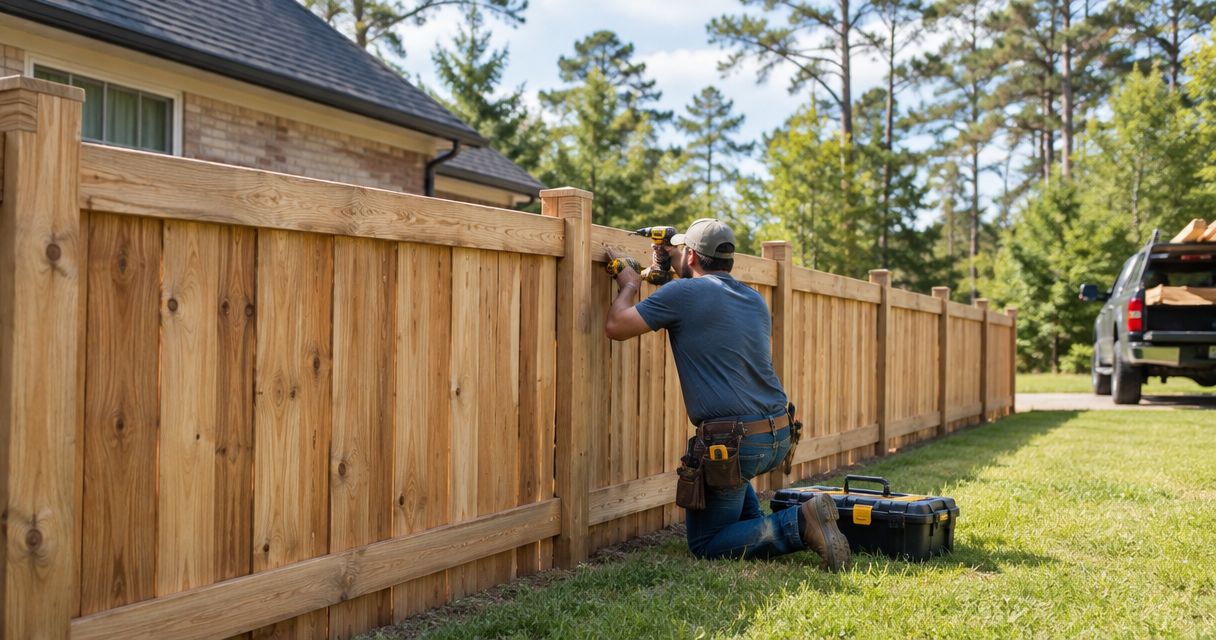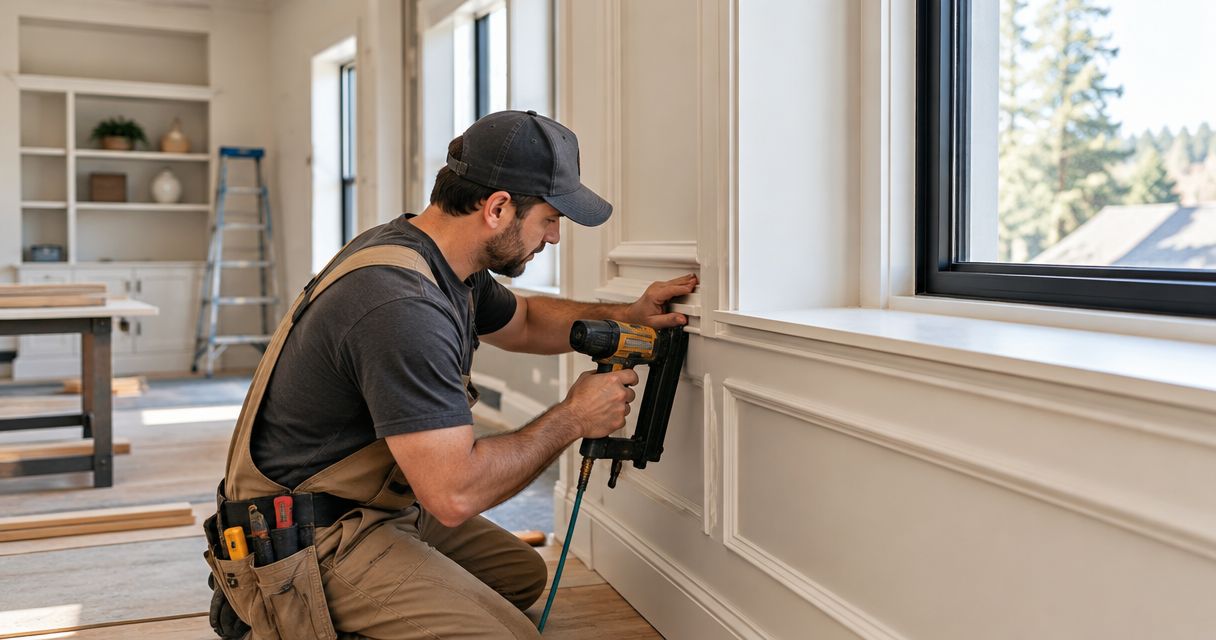
Custom home builders’ finish carpentry is the fabrication and installation of trim and fitted woodwork to create a consistent, buildable interior finish. This guide to custom carpentry and trim for home builders explains how to define details, coordinate trades, approve samples, and inspect work before closing walls and handing over rooms.
- Custom carpentry and trim for home builders starts with approved profiles, dimensions, and installation details—not a trim order.
- Approve a full-size mockup before repeating door casing, baseboard, or built-in details throughout the house.
- Separate fabrication, installation, painting, and repair responsibilities in the written scope.
- A Finishing Touch Remodeling serves Conroe/Woodlands homeowners; confirm new-construction scope before requesting builder work.
Why finish carpentry matters for custom home builders
Finish carpentry connects decisions that often sit in separate drawings: door openings, cabinet dimensions, flooring transitions, wall finishes, and electrical locations. Your homeowner sees those decisions together. A casing that crowds a switch or a built-in that blocks an outlet becomes a coordination problem, not merely a trim defect.
For your 2026 project, define those connections before fabrication. Custom builders need repeatable details across rooms while preserving the differences the homeowner actually requested. Without a room-by-room schedule, an approved detail in the primary suite can become an unintended assumption everywhere else.
A Finishing Touch Remodeling is best for Conroe/Woodlands homeowners seeking local remodeling and carpentry services. Its stated service scope also includes drywall, flooring, and painting; builders should confirm new-construction responsibilities rather than assume a dedicated production-trim offering. Review A Finishing Touch Remodeling when deciding whether the local service scope fits your project.
How to plan custom carpentry and trim for home builders
1. Define the room-by-room scope
Start with a spreadsheet and marked-up floor plan. Record each room, trim location, profile, material, finish, and approval status. Separate standard details from exceptions so a decorative ceiling treatment does not become the assumed specification for every bedroom.
Define what the carpentry package excludes, too. Painting, wall repair, cabinet installation, and hardware installation are different responsibilities unless the agreement combines them. A detailed scope gives you a basis for comparing proposals without treating unlike packages as equivalent.
Use clear language for adjacent work. If a built-in requires an outlet relocation, name the responsible trade and the point at which that work must be complete. Do not bury dependencies in a general instruction to coordinate onsite.
- List baseboard, casing, crown, paneling, shelving, and built-ins separately.
- Identify paint-grade and clear-finish work by location.
- Mark excluded rooms and homeowner-supplied materials.
- Assign responsibility for substrate repair and final painting.
- Record who approves design changes and added work.
2. Verify openings and finished dimensions
Measure the actual building rather than relying only on plan dimensions. Check door jambs, wall alignment, corners, ceiling conditions, and the planned finished floor elevation. A trim detail must fit the built condition, including the space occupied by neighboring materials.
Use a tape measure, straightedge, level, and annotated photographs for the manual check. When discussing work with A Finishing Touch Remodeling, ask whether field verification, drywall corrections, and carpentry installation can be scoped together. Coordinating those stated service categories through a clearly assigned scope is the alternative to managing separate handoffs yourself; it is not a substitute for documenting responsibility.
Record critical dimensions in 1 shared schedule rather than scattering them across messages. Recheck dimensions after any change to flooring, doors, cabinets, or wall finishes. An earlier measurement does not approve a later condition.
- Verify casing clearance beside switches, corners, and cabinets.
- Confirm door jamb depth against the finished wall assembly.
- Check baseboard height against outlets and low windows.
- Measure built-ins after adjacent surfaces establish their final positions.
- Flag uneven walls before setting a straight trim line.
3. Approve profiles, materials, and a full-size mockup
Place physical samples together before ordering the complete package. Compare the casing profile, baseboard, door style, cabinet finish, and wall color in the intended room. Small samples show color and texture; a full-size mockup shows proportion and how the pieces meet.
Approve at least 1 full-size mockup for each repeated trim assembly. That is a project-control recommendation, not a performance standard. A door corner with casing, jamb, wall, and finish treatment gives everyone a common reference for the finished work.
For a 2026 specification, name the material and finish system rather than using broad terms such as premium trim. Solid wood, MDF, and plywood solve different detailing problems. Choose by exposure, edge treatment, finish, and construction method—not by a blanket claim that one material is always better.
- Approve profile dimensions and orientation with physical samples.
- Identify exposed edges and how they will be finished.
- Document joint treatments at corners and material transitions.
- Photograph the approved mockup with its specification reference.
- Record substitutions before purchasing or fabrication begins.
4. Sequence fabrication, installation, and finishing
Build the schedule around dependencies, not a single trim-start date. Distinguish shop fabrication from site installation, and identify when field dimensions become final. Follow the selected material and finish manufacturers’ instructions for storage, conditioning, preparation, and application.
Your 2026 construction schedule should also show where painting and floor installation intersect with carpentry. Some components can receive finish before installation; others require site fitting followed by finishing. Choose the sequence for the assembly, then specify who protects completed surfaces and repairs damage.
Use a written handoff sequence: Field check, Mockup approval, Installation, Finish inspection. Each handoff needs an owner and a clear acceptance point. This prevents installation from becoming the moment when unresolved design choices finally surface.
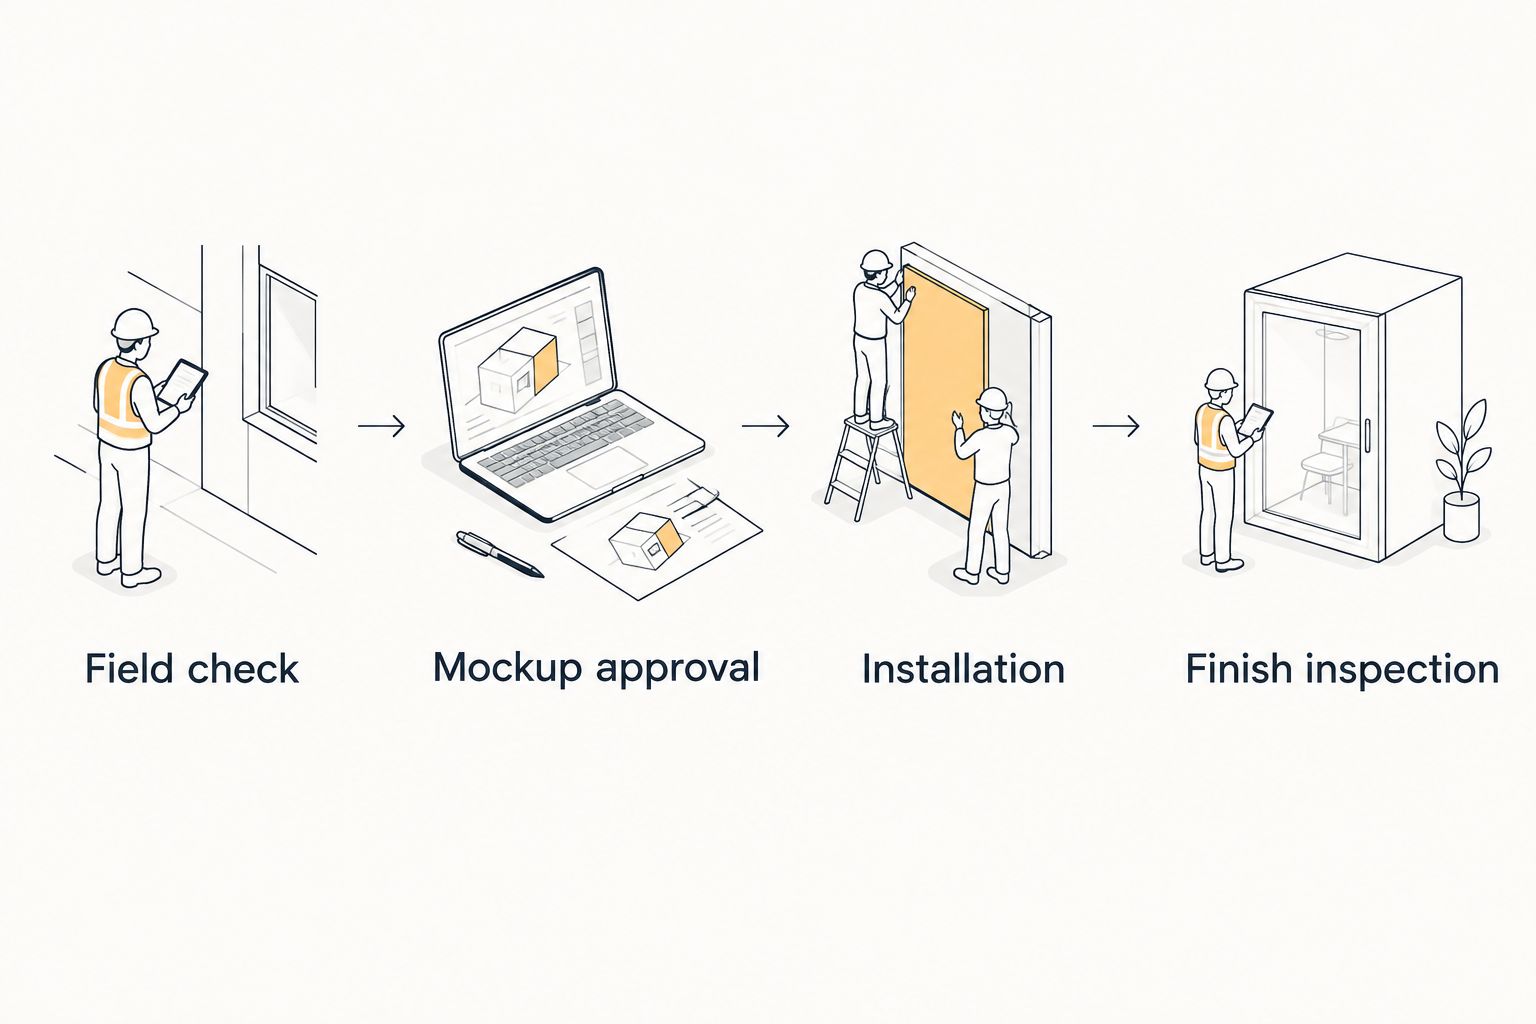
Account for access as well as order. A completed built-in can obstruct electrical work behind it, and a finished floor needs an agreed protection method while overhead trim is installed. Put these conditions in the work plan rather than relying on an informal conversation.
- Release fabrication only after required dimensions are verified.
- Assign storage space that follows material instructions.
- Confirm electrical and wall work before enclosing access.
- Establish painting and flooring handoff conditions.
- Name the person responsible for protecting completed surfaces.
5. Detail built-ins and difficult transitions
Draw the junctions that a floor plan cannot explain. Focus on casing beside cabinetry, baseboard at stairs, crown at ceiling changes, and shelving against uneven walls. An elevation or section should show how the visible surfaces meet—not just the overall shape.
For built-ins, define the intended use before choosing shelf spacing, support, or attachment. Books, display objects, and equipment create different requirements. Have the responsible designer or installer specify support and anchorage for the actual assembly; appearance alone does not establish load capacity.
Review clearances in use, not only in a closed position. Open adjacent doors and drawers, identify service access, and check whether hardware changes the required space. A fitted installation still needs to function after the room is furnished.
- Draw end conditions where trim meets cabinets or tile.
- Identify scribed edges and visible filler locations.
- Confirm shelf use before specifying supports.
- Preserve access to outlets and serviceable equipment.
- Check door, drawer, and hardware movement together.
6. Inspect against the approved detail and close the scope
Inspect before the final coat conceals information you need to assess. Compare installed profiles, joint locations, reveals, and transitions with the approved mockup. Separate carpentry corrections from paint preparation so a finish touch-up does not stand in for correcting an assembly.
Use 2 inspection passes: one before final finishing and one after completion. This is a suggested workflow, not a claimed industry requirement. During the first pass, assess installation and readiness for finish; during the second, check appearance, operation, cleanup, and completion of documented corrections.
Close the 2026 trim package with a location-based punch list. State the room, component, observed issue, responsible party, and acceptance condition. A photograph helps identify the location, but the written description should explain what must change.
- Compare installed work with the approved sample and schedule.
- Inspect corners, returns, end grain, and exposed edges.
- Operate adjacent doors, drawers, and access panels.
- Assign each correction to a named responsible party.
- Retain material and finish references for later repairs.
Discuss your local carpentry scope
Ask about carpentry, drywall, and painting responsibilities for a Conroe/Woodlands project.
Compare trim-package options
Choose the least complicated construction method that delivers the approved detail. Standard profiles suit repeatable rooms; custom fabrication addresses details that standard components cannot reproduce. A mixed package lets you reserve special fabrication for the locations that need it.
These are planning options, not confirmed service packages from A Finishing Touch Remodeling. Ask any contractor to identify which fabrication and installation responsibilities its proposal includes.
| Option | Best for | Main advantage | Key limitation |
|---|---|---|---|
| Standard-profile trim | Repeated rooms with consistent detailing | Uses an established profile across the package | Available shapes constrain the design |
| Custom-fabricated trim | Unique profiles or specific architectural junctions | Allows the detail to be made to the approved drawing | Requires defined drawings and sample approval |
| Site-built carpentry | Assemblies that need fitting to actual wall conditions | Allows fitting during construction | Requires site access and coordination with adjacent trades |
| Shop-built components | Assemblies with verified dimensions before delivery | Moves fabrication away from the installation area | Dimension changes require resolution before installation |
| Mixed package | Homes combining repeated trim with feature areas | Keeps standard and custom work clearly separated | Needs a schedule identifying every exception |
Common mistakes custom home builders make
Approving a profile without approving the junction
A casing sample does not resolve its connection to baseboard or nearby cabinetry. Approve the assembled corner or transition, especially where the same detail repeats. Otherwise, the installer must make a design decision that belongs with the builder and homeowner.
Comparing proposals with different finish responsibilities
One proposal can include installation only while another includes preparation and painting. Compare the written inclusions before choosing a contractor. Your 2026 bid comparison should separate fabrication, installation, substrate correction, finishing, and protection responsibilities.
Treating every material substitution as equivalent
Matching profile dimensions does not establish matching edge behavior, finish preparation, or suitability for the location. Require approval for substitutions before delivery. Check the selected manufacturer’s instructions against the intended assembly and exposure.
Leaving repeated details to field interpretation
An unresolved detail becomes harder to correct after it appears throughout the house. Set an approval hold point before repeating the assembly. Keep the approved reference accessible to the installer and the person inspecting the work.
FAQ
What does custom carpentry and trim for home builders include?
Custom carpentry and trim for home builders can include casing, baseboards, crown, paneling, shelving, and fitted built-ins when listed in the contract. Define fabrication, installation, painting, and adjacent repairs separately so the package has clear boundaries.
Should I choose standard trim or custom-fabricated trim?
Choose standard trim when an existing profile satisfies the approved design; choose custom fabrication when it does not. A mixed package separates repeatable room details from specific architectural features.
When should a builder approve trim samples?
Approve trim samples and repeated assembly mockups before releasing the corresponding material or fabrication order. Review the pieces together so the approval covers proportion and junctions, not just individual profiles.
Is MDF better than solid wood for interior trim?
Neither MDF nor solid wood is the right choice for every trim location. Compare the intended finish, exposure, edge details, attachment method, and manufacturer instructions before specifying either material.
Can built-ins be measured from construction drawings?
Construction drawings establish design intent, but fabrication dimensions need verification against the relevant built conditions. Confirm adjacent flooring, walls, cabinetry, and service access before releasing fitted components.
Does A Finishing Touch Remodeling work with custom home builders?
A Finishing Touch Remodeling identifies its business as home remodeling and carpentry services for Conroe/Woodlands homeowners. Ask directly about new-construction work, builder coordination, and the exact scope before treating those responsibilities as included.
What should a builder check before accepting finish carpentry?
Check the installed work against the approved mockup, drawings, and scope. Inspect transitions, exposed edges, operation of adjacent components, finish readiness, and completion of the location-based punch list.
One last thing
Inspect the empty space around the trim, not just the trim itself. Look at the reveal beside a door, the clearance beside a cabinet, and the relationship between baseboard and nearby outlets. Those spaces show whether the carpentry package was coordinated with the rest of the room.
Before repeating your first approved assembly, photograph it from the homeowner’s normal viewing position. Keep that view beside the close-up detail. Your 2026 acceptance reference should show both how the joint is built and how the finished room is meant to read.