Best overall: cut out and replace damaged drywall. Best for intact drywall after a clean-water leak: controlled drying; best for a dry, sound panel with a remaining stain: stain-blocking primer and repainting. This 2026 guide matches each repair method to the condition of your wall or ceiling, so you fix the damage instead of covering it.
- For the search best drywall repair water damage, choose replacement when drywall is soft, sagging, crumbling, or delaminated.
- Controlled drying suits intact drywall after clean-water exposure; painting does not fix trapped moisture.
- A Finishing Touch Remodeling serves Conroe and Woodlands homeowners seeking drywall repair and other home remodeling services.
- Stop the leak and assess contamination before choosing a patch, joint repair, repaint, or larger replacement.
Why this matters
Water damage creates two separate problems: moisture inside the assembly and damage to the finished surface. A smooth patch solves neither problem if the leak continues or the wall cavity stays wet. Your 2026 repair plan should address the water source before the appearance.
A Finishing Touch Remodeling is a local option for Conroe and Woodlands homeowners seeking drywall repair. The right scope depends on whether the drywall remains sound, whether insulation is wet, and whether the water introduced contamination—not just how large the stain looks.
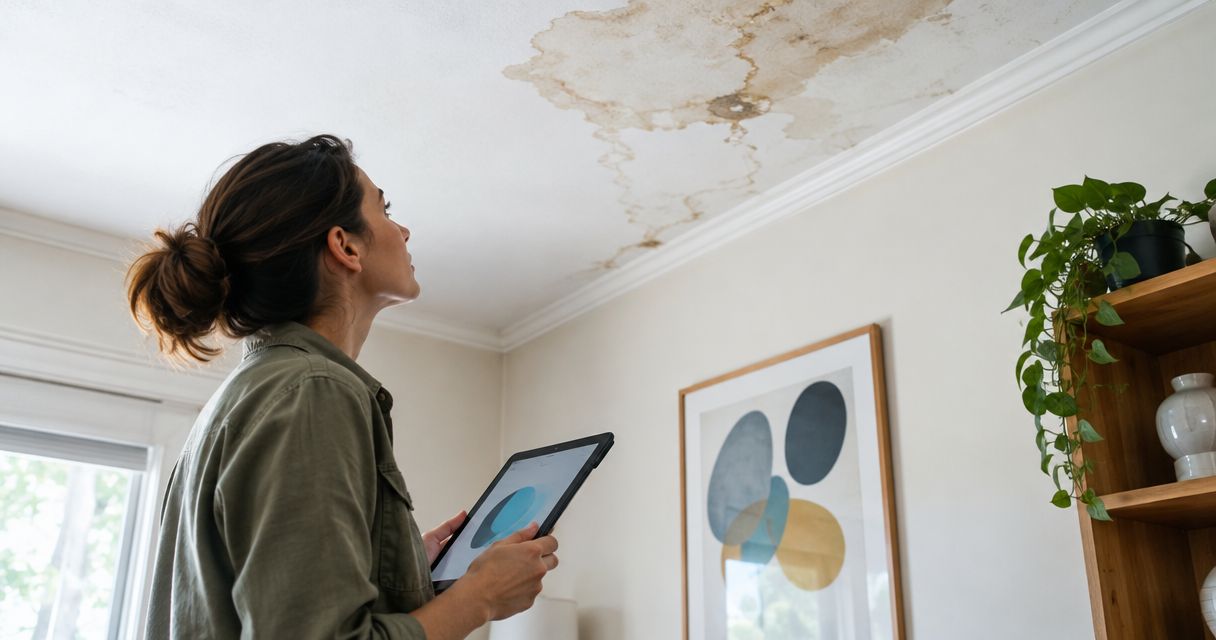
A stain is evidence of a leak, not a measurement of the damage behind it. Never press on a bulging ceiling or stand beneath loose material. If water reaches electrical fixtures, avoid the affected area and have the electrical hazard addressed before inspection or repair.
What makes the best water-damaged drywall repair?
Judge your options against these criteria before choosing a method:
- Material condition: Sound drywall has a different repair path from panels with softened cores, loose paper, or sagging.
- Water source: A clean-water plumbing leak needs a different response from sewage or floodwater contamination.
- Drying access: The repair must account for the cavity, insulation, and framing—not only the painted face.
- Damage extent: An isolated opening supports a local patch; widespread deterioration calls for broader removal.
- Finish continuity: Joint placement, texture, and paint affect how clearly the repair shows after drying.
- Safety: Ceiling instability, electrical exposure, and suspected mold take priority over cosmetic work.
No method wins every category. Choose the smallest repair that removes compromised material and allows the remaining assembly to dry properly.
Water-damaged drywall repair methods at a glance
| Rank and method | Best for | Standout feature | Key limitation |
|---|---|---|---|
| 1. Cut out and replace | Localized, physically damaged drywall | Removes unsound material and exposes the cavity | Requires backing, joint finishing, and finish matching |
| 2. Controlled drying | Intact drywall after clean-water exposure | Preserves sound material when conditions allow | Does not restore a softened or delaminated panel |
| 3. Joint repair | Failed seams on otherwise sound, dry drywall | Rebuilds damaged tape and compound | Does not correct damage throughout the panel |
| 4. Stain-blocking primer and repainting | Residual discoloration on dry, sound drywall | Treats the visible stain without unnecessary cutting | Cannot repair softness, sagging, or trapped moisture |
| 5. Larger panel replacement | Widespread damage across a wall or ceiling | Avoids retaining many damaged sections | Expands demolition and finish restoration |
1. Cut out and replace: best for localized damaged drywall
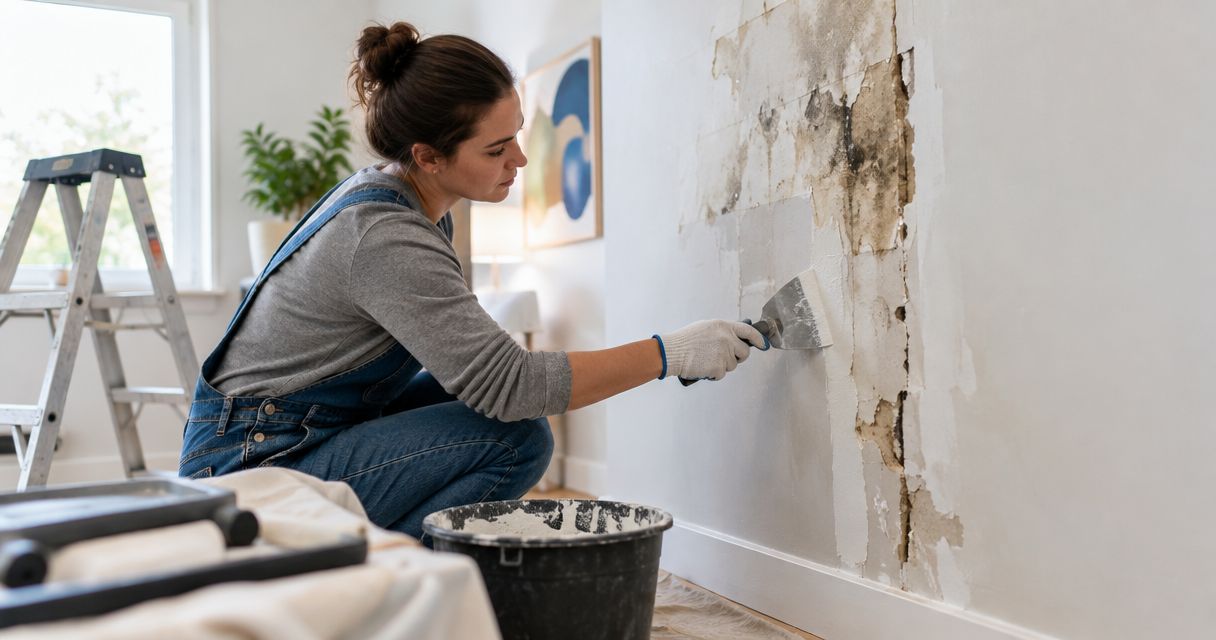
Cutting out and replacing drywall is the default choice when an isolated area becomes soft, swollen, crumbly, or separated from its face paper. The opening also allows inspection of the cavity before new material closes it.
Remove damaged material back to sound boundaries and provide suitable support for the replacement piece. Match the existing board thickness and preserve any required wall or ceiling assembly details; a cosmetic patch is not a substitute for restoring the assembly correctly.
Cut-out replacement pros:
- Removes material that drying cannot make sound again.
- Exposes wet insulation and concealed moisture for assessment.
- Keeps demolition focused when the surrounding drywall is sound.
Cut-out replacement cons:
- Creates joints that need taping, finishing, and sanding.
- Texture and paint blending extend beyond the opening.
- A small visible stain does not guarantee a small final opening.
Best for: A contained area of damaged drywall after the source and contamination questions are resolved.
For a 2026 repair, ask for the removal boundary and cavity-drying plan before approving the patch. Verdict: Buy—approve localized replacement when the panel has lost its integrity.
2. Controlled drying: best for intact clean-water exposure
Controlled drying preserves drywall only when the panel remains sound and the water source supports that approach. It requires checking the affected assembly, not simply aiming a fan at the paint.
EPA mold-prevention guidance recommends drying water-damaged materials within 24–48 hours to help prevent mold growth. That window is a response priority, not proof that every wet panel becomes safe to retain after 48 hours.
Controlled drying pros:
- Preserves material that remains structurally sound.
- Avoids unnecessary cutting and new repair seams.
- Allows the decision to follow moisture conditions rather than stain appearance.
Controlled drying cons:
- Cannot reverse crumbling, sagging, or paper separation.
- A dry surface does not establish that the cavity is dry.
- Contamination changes which materials are suitable to retain.
Best for: Firm, intact drywall after a clean-water incident, with access to assess drying progress.
Do not direct ordinary fans across visible mold or contaminated water damage. Verdict: Hold—retain the drywall only after its condition, water source, and drying results support doing so.
3. Joint repair: best for damaged seams on sound drywall
Joint repair addresses lifted tape, cracked compound, or a failed seam when the surrounding drywall is dry and firm. Loose finishing material is removed before the joint is rebuilt with appropriate tape and compound.
This method belongs after the moisture problem is resolved. Spreading compound over loose tape or softened paper leaves the failed layer underneath the new finish.
Joint repair pros:
- Targets a seam failure without replacing an otherwise sound panel.
- Restores the joint rather than disguising it with paint.
- Limits the repair area when damage truly stops at the seam.
Joint repair cons:
- Does not strengthen a damaged gypsum core.
- New compound must dry before subsequent finishing steps.
- Recurring movement or moisture can cause another failure.
Best for: Localized tape or compound damage with sound drywall on both sides of the joint.
Ask the repairer to distinguish a finishing failure from panel deterioration. If the surrounding paper lifts or the core breaks apart, expand the scope instead of adding more compound. Verdict: Buy—approve joint repair only when the panel itself remains sound.
4. Stain-blocking primer: best for dry cosmetic discoloration
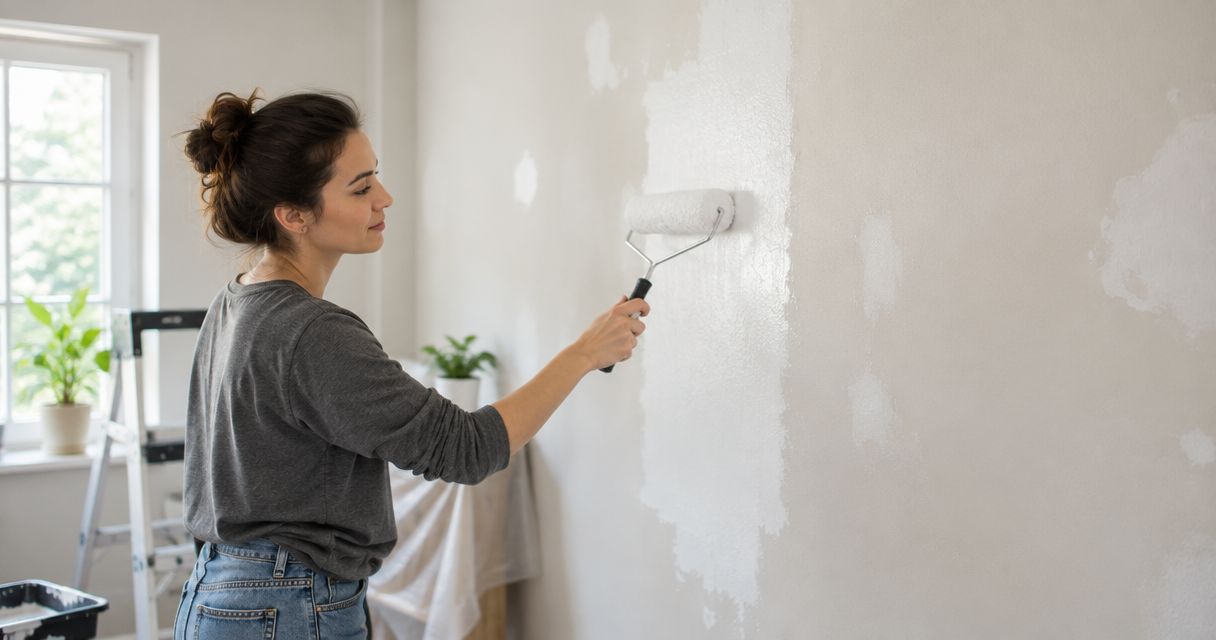
Stain-blocking primer followed by finish paint suits a residual water mark on dry, undamaged drywall. It is a finishing method, not a drying method or a mold treatment.
Your 2026 repainting decision should follow verification that the leak has stopped and the affected materials have dried. Choose a primer intended for the stain and compatible with the existing surface and finish coating, following the manufacturer's instructions.
Stain-blocking primer pros:
- Addresses discoloration that ordinary finish paint can fail to hide.
- Preserves drywall that does not need replacement.
- Fits naturally into the final stage of a completed water-damage repair.
Stain-blocking primer cons:
- Does not repair a weakened panel or loose face paper.
- Cannot resolve wet insulation or moisture inside the cavity.
- Spot painting can leave a visible color or sheen difference.
Best for: A remaining stain after the assembly is dry and the surface is sound.
Repainting the affected wall or ceiling plane gives the finish a consistent boundary. Verdict: Skip as a standalone water-damage fix; buy it only as the final cosmetic step.
5. Larger panel replacement: best for widespread deterioration
Larger replacement makes sense when damage crosses several areas or leaves too little sound drywall for isolated patches. Removing a broader section also exposes more of the assembly for inspection and drying.
This is not an automatic recommendation to strip an entire room. Set removal boundaries according to material condition, contamination, access, and assembly requirements—not a preference for a larger project.
Larger replacement pros:
- Removes multiple compromised areas in one repair scope.
- Provides broader access to wet insulation and concealed damage.
- Avoids retaining narrow strips of questionable material between patches.
Larger replacement cons:
- Creates more demolition debris and disruption.
- Increases the area needing finishing and painting.
- Can expose additional work that must be addressed before closure.
Best for: Widespread softening, ceiling deterioration, or damage extending across multiple sections.
A Finishing Touch Remodeling offers drywall repair and other remodeling services; describe the full affected area when discussing your project rather than requesting only a stain cover-up. Verdict: Buy—approve broader replacement when isolated patches would leave damaged material behind.
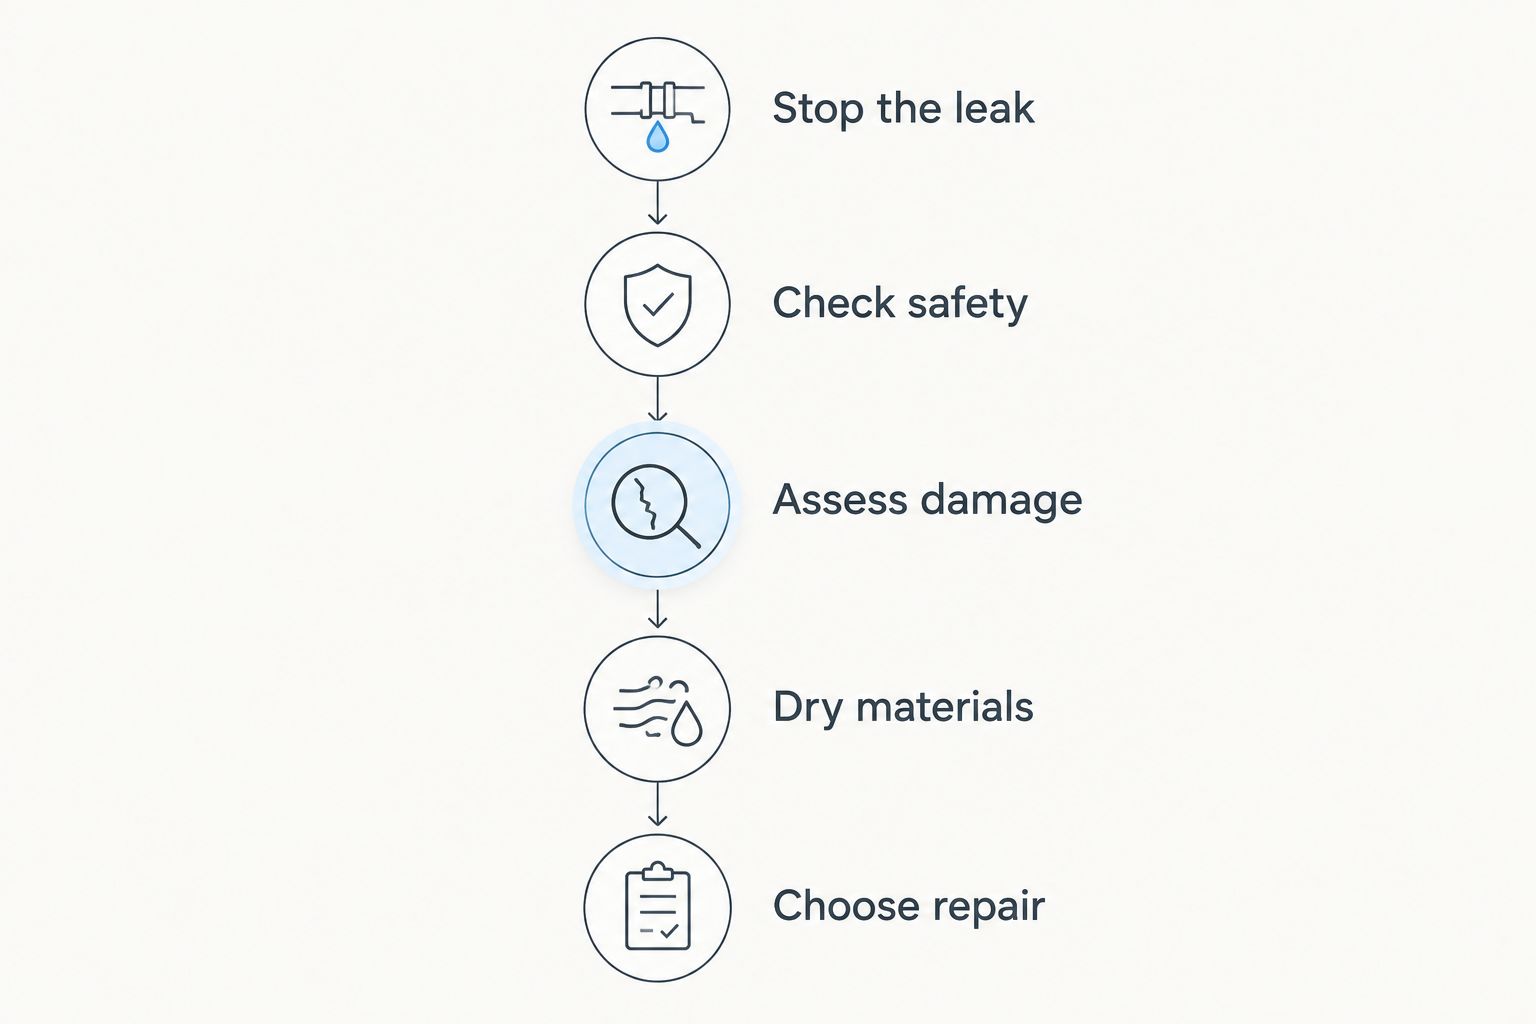
Choose the repair in this order
A reliable 2026 repair sequence separates urgent safety decisions from finish choices. Work through these steps before selecting materials or approving a cosmetic scope.
- Stop the leak. Address the plumbing, roof, drainage, or other source responsible for the wetting.
- Check safety. Keep clear of sagging ceilings and water-affected electrical components; arrange appropriate assessment.
- Assess damage. Identify the water source, panel condition, affected cavity, and signs of suspected mold.
- Dry materials. Remove materials that cannot be retained and verify drying of the remaining assembly.
- Choose repair. Select localized replacement, controlled drying, joint repair, stain treatment, or larger replacement according to the findings.
EPA homeowner mold-cleanup guidance uses about 10 square feet as a reference point for small mold areas that homeowners can often handle themselves. Larger areas, sewage contamination, hidden growth, or health concerns call for further guidance and an appropriately qualified professional—not a routine drywall patch.
Ask anyone proposing the repair to explain what gets removed, what stays, and how they will determine readiness for closure. A moisture meter helps assess conditions, but one surface reading does not establish that every layer is dry.
How the methods are ranked
These methods are ranked by the damage each one actually corrects: material failure, retained moisture, failed joints, cosmetic staining, or widespread deterioration. The ranking is a condition-based decision guide, not a claim that one method performs best in every home.
Replacement leads because it removes unsound drywall. Drying ranks next because sound material does not automatically need demolition; joint repair and stain treatment address narrower defects. Larger replacement serves a broader damage pattern rather than a universally better finish.
Which drywall repair method should you choose?
Choose localized cut-out replacement when water has physically damaged the panel. Choose controlled drying only for suitable, intact material; reserve joint repair and stain-blocking primer for dry surfaces with limited finishing defects.
For Conroe and Woodlands homeowners, A Finishing Touch Remodeling provides drywall repair alongside kitchen and bathroom remodeling, carpentry, flooring, painting, and fencing. Discuss the water source and panel condition first, then the desired finish.
Before approving a 2026 scope, get these items stated clearly:
- The affected area and proposed removal boundaries.
- Responsibility for correcting the water source.
- Inspection and drying of the exposed cavity.
- Required backing, board, tape, and finish restoration.
- The extent of texture matching and repainting.
FAQ
What's the best way to repair water-damaged drywall?
Cut out and replace drywall that is soft, sagging, crumbling, or delaminated. Intact drywall after clean-water exposure can sometimes be retained after appropriate assessment and drying; a stain alone does not determine the repair.
Can I paint over a water stain on drywall?
Paint over a water stain only after the leak is fixed, the assembly is dry, and the drywall is sound. Use a suitable stain-blocking primer before finish paint; paint does not repair trapped moisture or weakened material.
Does every wet drywall panel need replacement?
No, wet drywall does not always need replacement. The decision depends on the water source, panel condition, contamination, and whether the affected assembly can be dried properly.
How quickly should water-damaged materials be dried?
EPA mold-prevention guidance recommends drying water-damaged materials within 24–48 hours to help prevent mold growth. This is a response target, not a guarantee that damaged drywall can be retained.
Is a water-damaged ceiling safe to patch myself?
Do not attempt a cosmetic patch on a sagging or bulging ceiling. Keep clear of unstable material and address any electrical hazards before arranging assessment and repair.
Can joint compound fix soft drywall?
Joint compound does not restore a softened gypsum core. Remove unsound drywall rather than covering it, and use joint compound to finish properly supported repairs on sound material.
Who offers drywall repair in Conroe and the Woodlands area?
A Finishing Touch Remodeling offers drywall repair to homeowners in the Conroe and Woodlands area. Explain the leak source, affected surfaces, and any softness or sagging when discussing the project.
One last thing
The smallest visible mark does not always deserve the smallest patch. Ask to see the condition of the cavity before it is closed, and keep photos of exposed framing, insulation, and replacement boundaries with your project records. Once the wall is finished, that evidence is no longer visible.