Aging-in-place bathroom remodeling is the adaptation of a bathroom to support independent daily use as mobility, balance, and assistance needs change. A bathroom remodel for aging in place should start with how you enter, bathe, use the toilet, and reach essentials—not with tile or fixture finishes.
- Plan your bathroom remodel for aging in place around daily routines, mobility needs, and caregiver access.
- A Finishing Touch Remodeling serves Conroe/Woodlands homeowners seeking a local bathroom remodeling contractor.
- Choose shower entry, grab-bar backing, reachable controls, and clear floor space before selecting finishes.
- A walk-in shower does not solve access problems if its entrance, controls, or drainage are poorly planned.
Why bathroom remodeling matters for aging-in-place homeowners
An aging-in-place bathroom must work when standing, bending, stepping, and reaching become difficult. A room that works today with good balance can become difficult to use with a walker, a temporary injury, or help from another person. Your 2026 remodeling plan should account for those situations before walls close.
A Finishing Touch Remodeling is best for Conroe/Woodlands homeowners seeking a local bathroom remodeling contractor. Its stated services include bathroom remodeling, drywall, carpentry, flooring, and painting. Start with A Finishing Touch Remodeling when discussing the work; establish project-specific accessibility requirements separately rather than assuming every bathroom remodel includes them.
The central trade-off is space. A larger shower can reduce transfer space beside the toilet. A deeper vanity can narrow the route from the door. Treat the bathroom as a connected sequence of movements, not a collection of accessible-looking products.
How to plan your aging-in-place bathroom remodel
1. Document your daily routines before choosing fixtures
Start with a paper checklist and observe normal bathroom use for 7 days. Record where you steady yourself, struggle to reach, turn sideways, or place items temporarily. Include nighttime trips and cleanup, not just showering.
Separate current difficulties from future provisions. A grab bar needed now belongs in the immediate scope; reinforcement for another location can be included while framing is exposed. If transfers, balance, or caregiver assistance are concerns, an occupational therapist can assess how the room needs to function for you.
Write your priorities as actions: enter without catching a walker, reach towels while seated, or operate the shower without standing under the water. These instructions give a remodeler something more useful than a request for an age-friendly bathroom.
- Record difficult movements and their locations.
- Note mobility aids used inside and outside the room.
- Identify routines that require another person's help.
- Separate immediate changes from future provisions.
- Keep a written list of tasks the finished room must support.
2. Measure the route through the entire bathroom
Use a tape measure and a simple floor sketch before shopping. Measure the doorway with the door open, the space beside the toilet, the shower entrance, and the narrowest point along your route. Include handles, door swings, and projecting cabinet corners.
The ADA Standards use a 32-inch minimum clear door opening and a 60-inch circular turning space in applicable accessible layouts. These are planning references, not a declaration that a private home's bathroom must meet ADA requirements. Door clear width is not the same as the nominal door size, and a turning circle alone does not establish an accessible layout.
Group your findings under Daily routines, Mobility needs, and Caregiver access. Bring the sketch to a remodeling discussion so proposed changes respond to actual measurements.
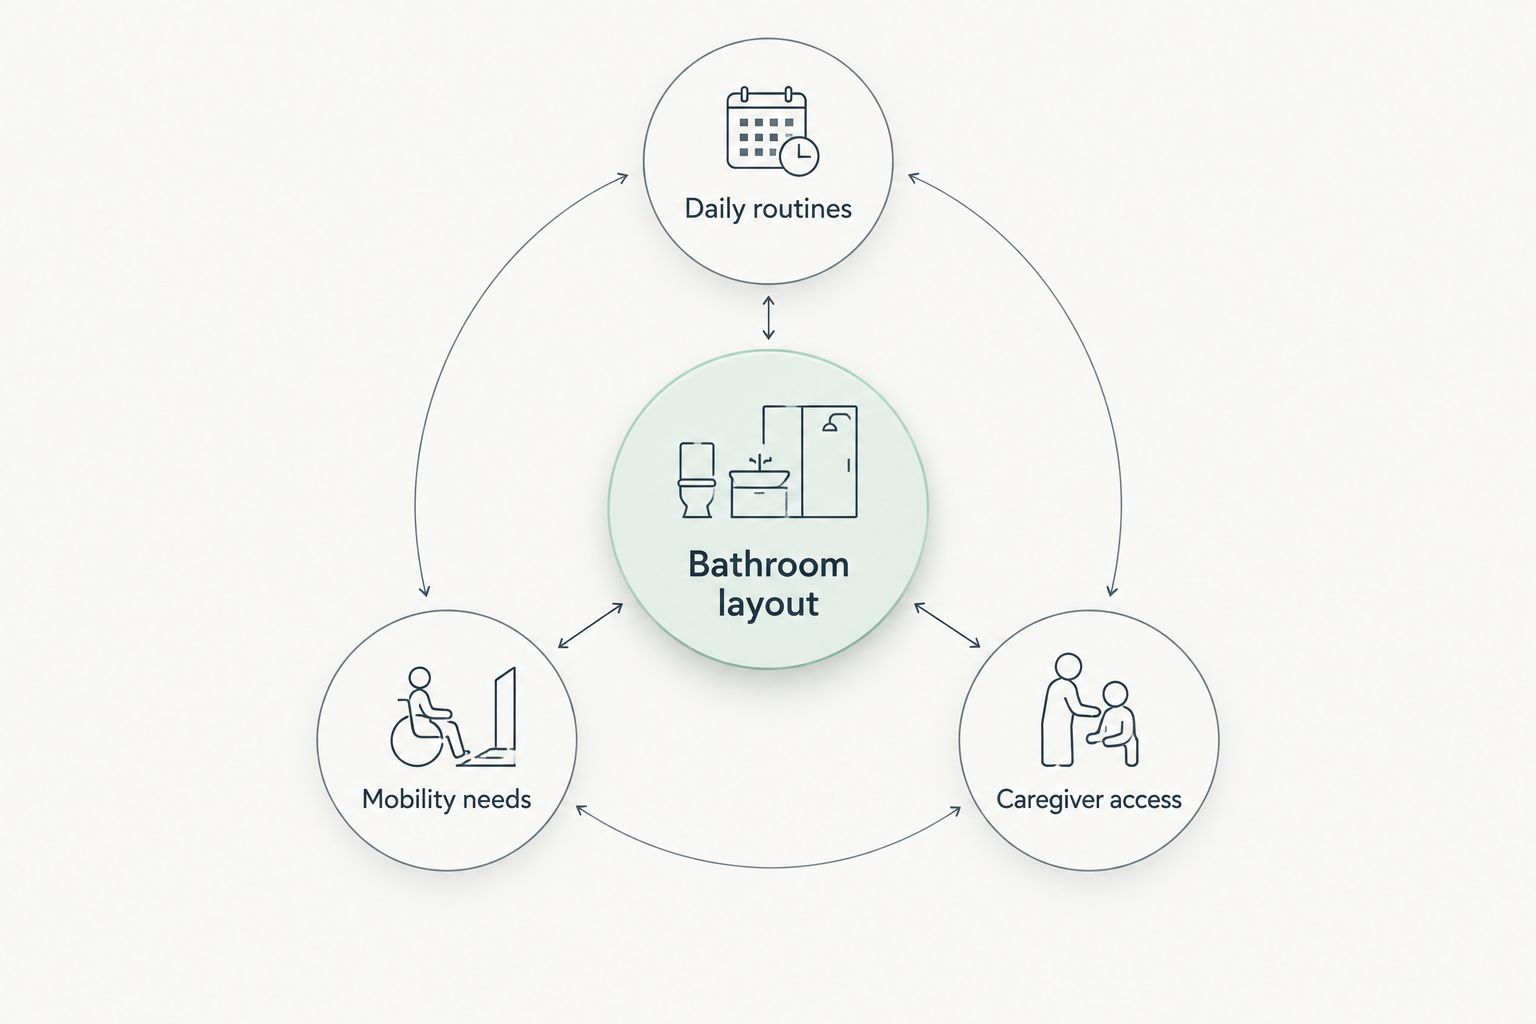
A Finishing Touch Remodeling offers bathroom remodeling; use the measured sketch to define the work you want assessed. Confirm structural, plumbing, and accessibility details before accepting a layout.
- Measure clear openings rather than door labels.
- Mark every door and cabinet swing.
- Trace the route using your current mobility aid.
- Mark where an assistant would stand.
- Record dimensions on the same floor sketch.
3. Resolve the layout before ordering materials
Move through the proposed layout using painter's tape on the floor. Represent the vanity, toilet, shower opening, and door swing. Test whether you can approach each fixture without backing into another obstruction.
Keeping fixtures in place limits layout changes, but it also preserves existing constraints. Moving fixtures creates more design freedom while adding plumbing and construction work. Decide based on usable space, not on whether a drawing looks tidy.
For a 2026 renovation, identify which adaptations must be built now and which can remain future options. For example, backing inside an open wall is a construction decision; the final grab-bar location is also a user-specific decision. Document both rather than treating them as interchangeable.
- Test fixture footprints before ordering.
- Keep the main travel route clear.
- Reserve space for toilet transfers and assistance.
- Check whether an open door obstructs rescue access.
- Record future provisions in the written scope.
4. Choose a shower entrance you can actually use
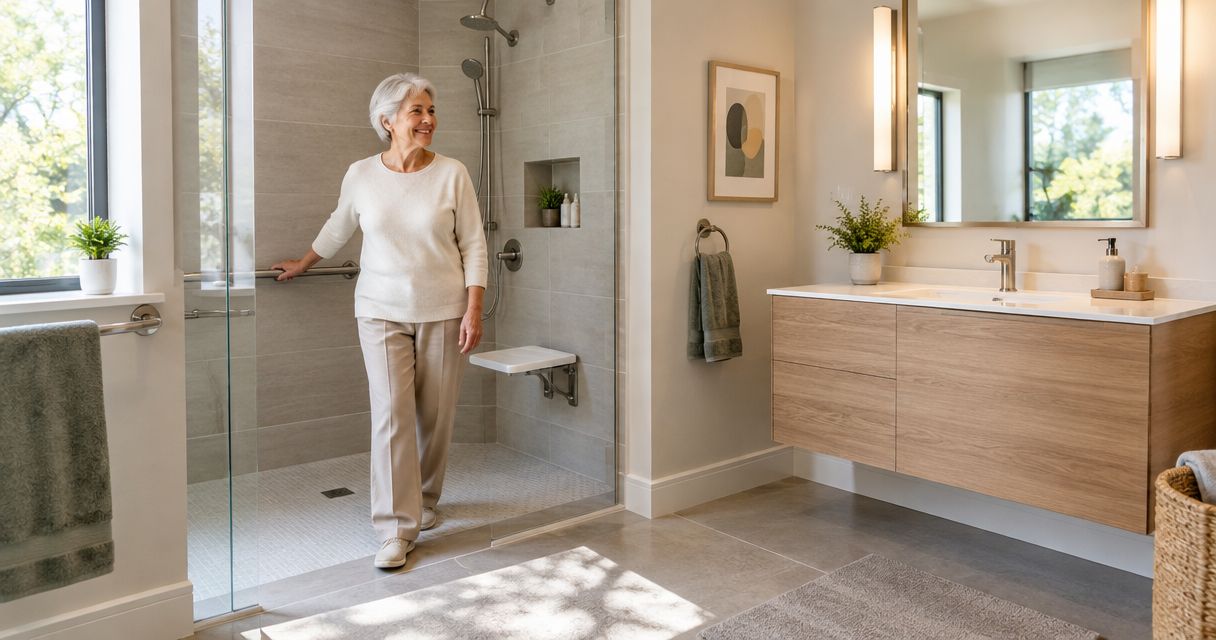
Assess your existing bathing routine first. A shower with a lower entry reduces the step compared with a high tub wall, but a threshold can still obstruct feet or mobility equipment. A curbless entrance removes that raised boundary; it also requires careful drainage and waterproofing design.
Choose the entrance around the user's movement, not the label on the shower. Check the opening, the approach, the controls, and the space needed to sit or receive assistance. A fixed glass panel can contain spray while restricting access.
A shower seat also changes the plan. The user must reach the controls and handheld shower from that seat, and the seat must suit the person's transfer method. Evaluate those relationships together before selecting hardware.
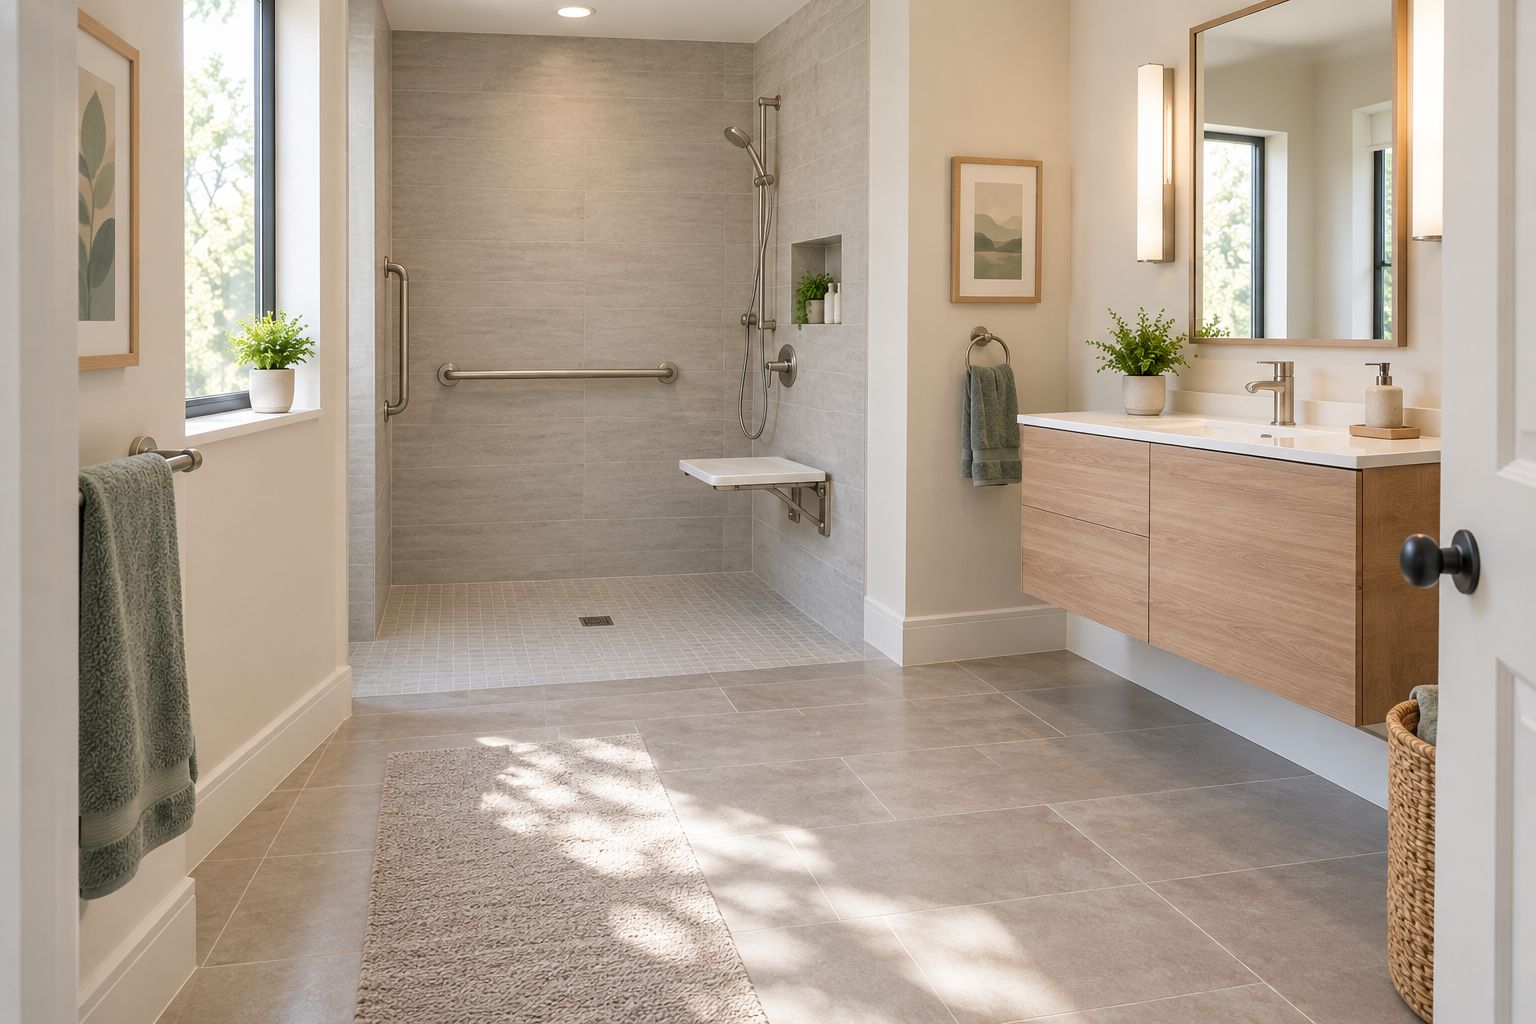
The illustration shows a planning concept, not a construction detail. Your room still needs a project-specific layout and waterproofing plan.
- Compare the entry with your actual stepping ability.
- Test control reach from seated and standing positions.
- Leave access for assistance when needed.
- Coordinate the seat, handheld shower, and supports.
- Confirm drainage and waterproofing before tile selection.
5. Plan support at the toilet and vanity
Identify where you naturally reach when sitting, standing, and transferring. A towel rail is not a substitute for a grab bar designed and installed for support. Grab-bar placement must match the user's movement and the mounting conditions.
A taller toilet is not automatically the right toilet. Seat height affects foot support, standing, and transfers; evaluate it with the person who will use it. Likewise, knee space beneath a sink helps seated access only when the approach, faucet reach, and plumbing protection also work.
Before finishes close the walls, ask the remodeler to document reinforcement locations. Keep that record with your 2026 project documents so future installations do not depend on guesswork about hidden framing.
- Test toilet seat height against the user's needs.
- Specify supports intended for body-weight assistance.
- Document backing and mounting requirements.
- Check faucet reach from the intended position.
- Keep regularly used supplies within comfortable reach.
6. Coordinate flooring, lighting, and temperature controls
Begin with simple housekeeping: remove loose rugs from travel paths, improve visibility, and move essentials out of awkward storage. These changes help you identify remaining construction needs, but they do not replace repairs or adaptations the room requires.
Select flooring using its documented suitability for bathroom conditions, including wet areas where relevant. Texture alone does not establish slip resistance, and grout lines do not eliminate slipping. Compare cleaning requirements alongside surface characteristics.
Lighting should make thresholds, controls, and changes in surface visible without forcing you to cross a dark room to find a switch. Ask a qualified plumber about temperature-limiting controls and how the selected valve operates. A familiar handle is not proof of protection against sudden temperature changes.
- Keep walking routes free of loose floor coverings.
- Review flooring documentation for its intended application.
- Place lighting controls along the normal entry route.
- Check glare from mirrors and glossy surfaces.
- Confirm temperature-control operation and maintenance.
7. Write the scope and test the finished room
Turn the layout into a written scope before authorizing construction. Name the entry design, supports, backing, fixture locations, waterproofing responsibilities, and finish selections. Separate confirmed work from optional work so you can compare proposals on the same basis.
A Finishing Touch Remodeling offers bathroom remodeling alongside related finish services. Ask which parts of your specific plan are included, which require other professionals, and what inspection or permit requirements apply locally. Do not treat an attractive rendering as evidence that those details are resolved.
For your 2026 handover, test the room through normal routines rather than inspecting finishes alone. Open doors, reach controls, sit, stand, and check storage access. Record unresolved issues before treating the project as complete.
- Put layout and accessibility decisions in writing.
- Identify responsibility for each construction task.
- Keep fixture instructions and reinforcement records.
- Test the room with the intended user.
- Document corrections and maintenance instructions.
Compare your bathroom adaptation options
Choose the approach that fixes the limiting task. A surface refresh does not correct a doorway that blocks your mobility aid, while a full layout change is unnecessary when the existing layout already supports your routines.
| Option | Best for | Main advantage | Key limitation |
|---|---|---|---|
| Targeted adaptations | Homeowners whose existing layout works | Focuses work on supports, controls, lighting, or storage | Leaves doorway and fixture-spacing constraints unchanged |
| Shower-focused remodel | Homeowners whose main difficulty is bathing entry or use | Concentrates construction on the bathing area | Does not resolve toilet transfers or the route through the room |
| Full bathroom reconfiguration | Homeowners blocked by fixture placement or circulation | Allows the layout to respond to movement and assistance needs | Requires broader construction coordination |
| Accessibility assessment before construction | Homeowners with complex transfers or changing mobility | Connects layout decisions to the individual's tasks | Does not replace construction planning or installation |
These approaches can overlap. An assessment can guide targeted adaptations or a complete reconfiguration. For a 2026 project, choose the smallest scope that meets your documented needs—not simply the smallest scope available.
Common mistakes aging-in-place homeowners make
Choosing a shower before testing the approach
A usable shower interior does not help if its entrance is blocked by the vanity or door. Check the route into the shower and the movement needed to exit before approving its dimensions.
Treating taller fixtures as universally accessible
Extra height can help one person and hinder another. Test the toilet, seat, and vanity against the intended user's reach, foot position, and transfer method rather than relying on an accessibility label.
Adding grab bars after every surface is finished
Waiting until the end leaves mounting conditions and support locations unresolved. Decide where support is needed during planning, then coordinate appropriate backing and installation with the wall construction.
Designing only for independent standing use
A bathroom can work while standing and fail when someone needs to sit or receive help. Test seated reach, space for assistance, and access around doors even when you do not currently need them.
FAQ
What's the best bathroom remodel for aging in place?
The best bathroom remodel for aging in place fixes the user's specific barriers to entering, bathing, using the toilet, and reaching essentials. Start with movement and assistance needs, then select fixtures and finishes.
Is a curbless shower better than a low-threshold shower?
A curbless shower removes the raised entrance, while a low-threshold shower still requires crossing a boundary. The better fit depends on the user's movement, the available layout, and the drainage and waterproofing design.
Do I have to make my private bathroom ADA compliant?
ADA accessibility requirements do not automatically apply to an ordinary private home's bathroom. Confirm applicable local requirements and use accessibility dimensions as planning references rather than assuming they define your entire project.
Can I install grab bars anywhere on a shower wall?
No. Grab bars need suitable mounting conditions and placement matched to the user's movements. Coordinate the supports, backing, and installation requirements before closing the walls.
Should I remove my bathtub to age in place?
Remove the bathtub when its entry or bathing routine no longer meets your needs and the replacement provides a workable alternative. Check shower access, seating, assistance space, and other household bathing needs before deciding.
Who should help plan a bathroom for changing mobility?
A remodeler plans construction, while an occupational therapist can assess daily activities, transfers, and assistance needs. Use both roles when the project involves complex movement requirements rather than expecting fixture selection alone to solve them.
How do I compare aging-in-place bathroom remodeling estimates?
Compare estimates against the same written layout and scope. Check whether each includes the specified supports, reinforcement, shower entry, waterproofing, fixture work, and finish restoration.
One last thing
Check emergency access before choosing the bathroom door. An inward-swinging door can be obstructed by someone on the floor behind it. Discuss alternatives with the remodeler, including their privacy, wall-space, and hardware trade-offs. That decision deserves the same attention as the shower entrance.